
By default, WooCommerce stores are built around a relatively slow purchase process. By using a WooCommerce buy now plugin, you can cut minutes off the purchase time for every customer. This will make a huge difference to your conversion rate and bottom line.
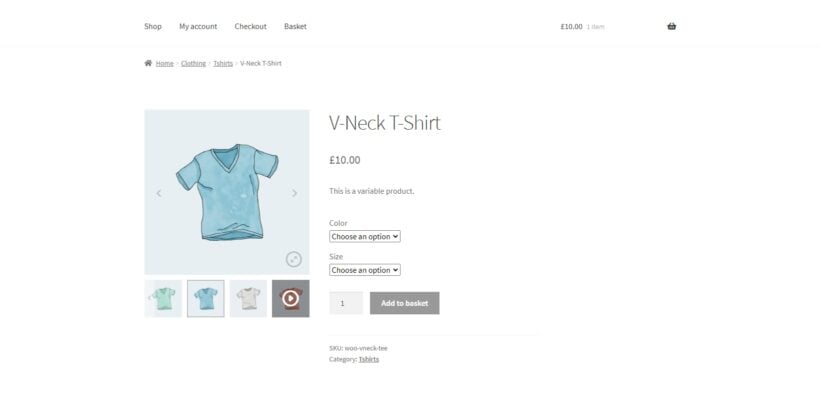
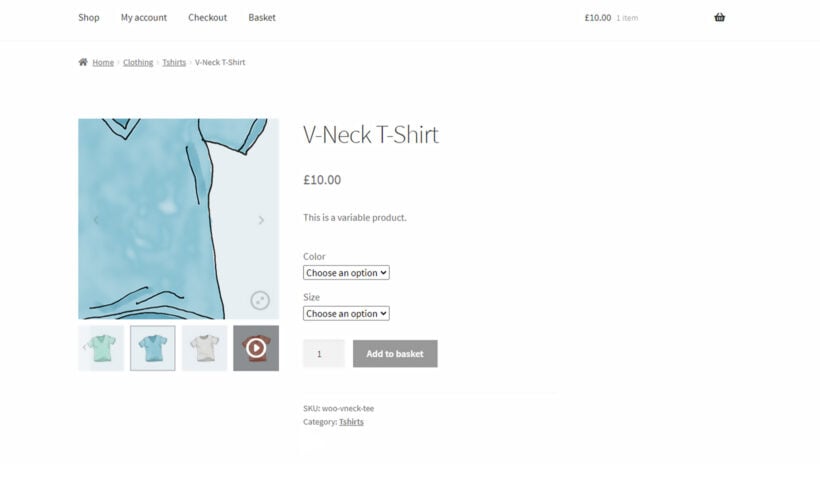
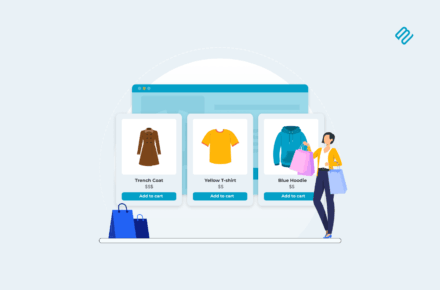
When you use WooCommerce as it comes, the customer journey is spread across multiple pages. Customers visit a separate page for each product, choose options, and add the product to their cart. When they’re done, they progress to a cart page to review their order. And, finally, they reach the checkout page to enter their shipping and billing information.
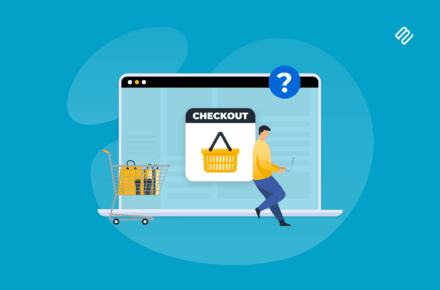
As you can imagine, such a long process will inevitably lose some customers along the way. This hurts your conversion rate, reducing your sales and revenue.
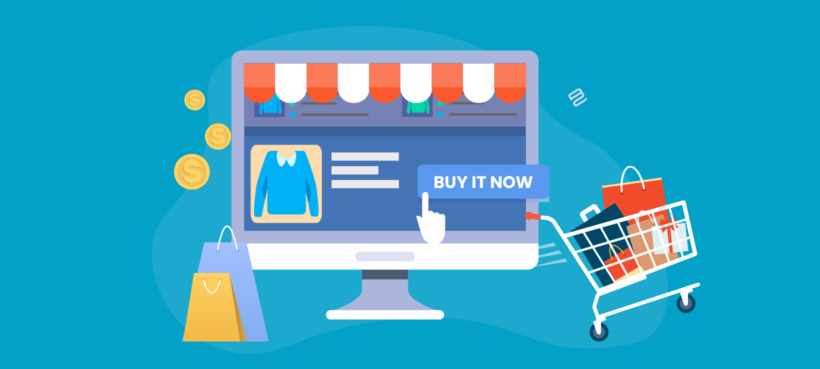
Fortunately, there's a better way. In this article, I’ll show you how to add WooCommerce buy now buttons to your store with a plugin called WooCommerce Fast Cart. 'Buy It Now' speeds up the customer journey, helping to boost your conversion rate. I'll also share some tips on how to speed up shopping even more.
You can also watch this video, which shows you how to add WooCommerce buy now from start to finish:
How does WooCommerce Buy Now work?
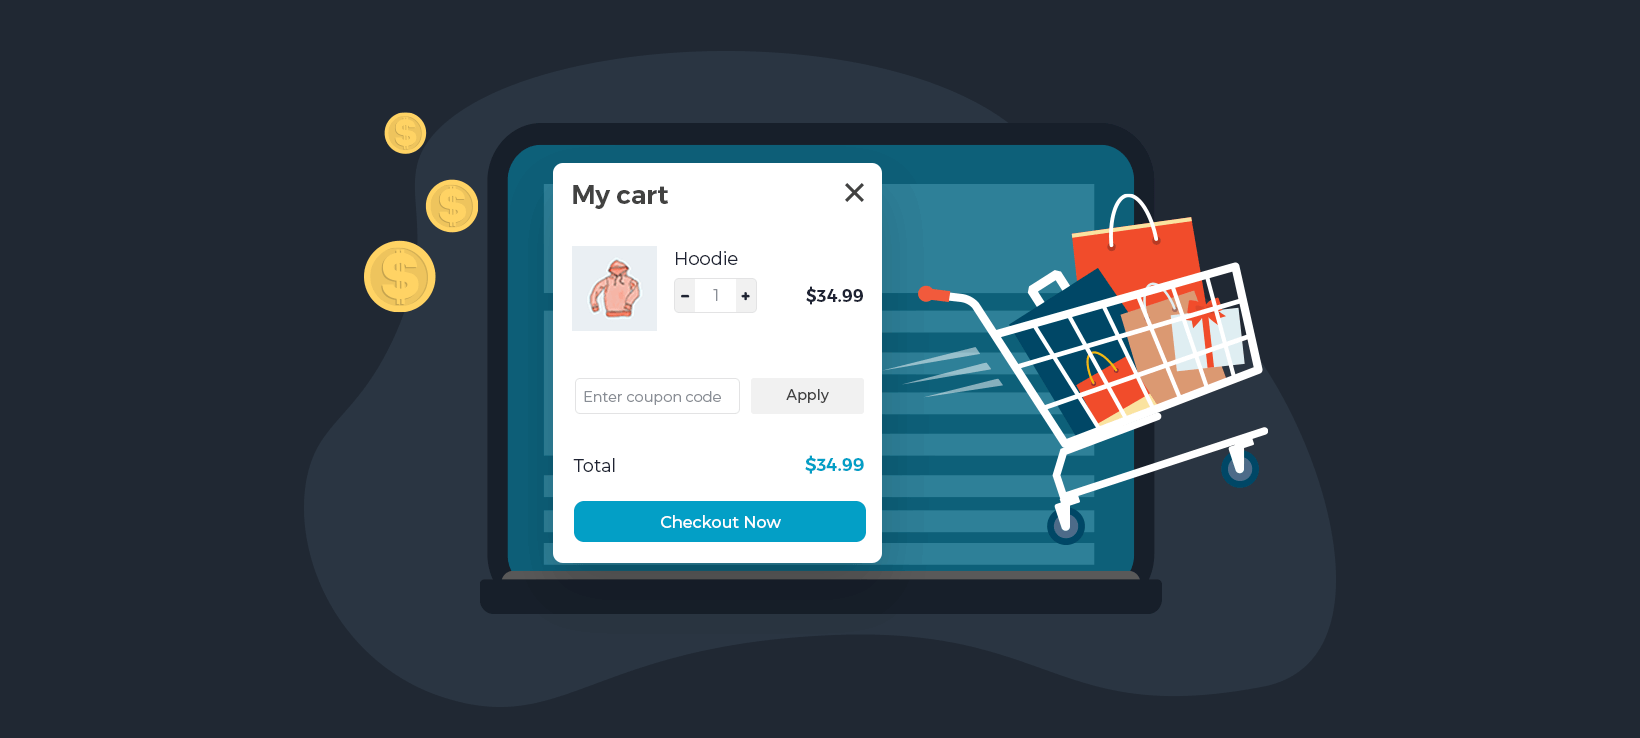
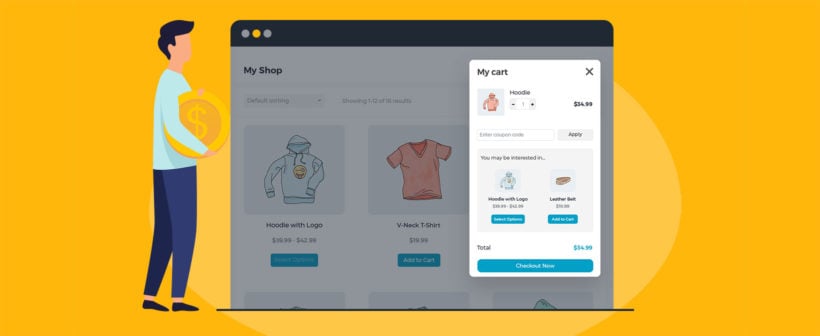
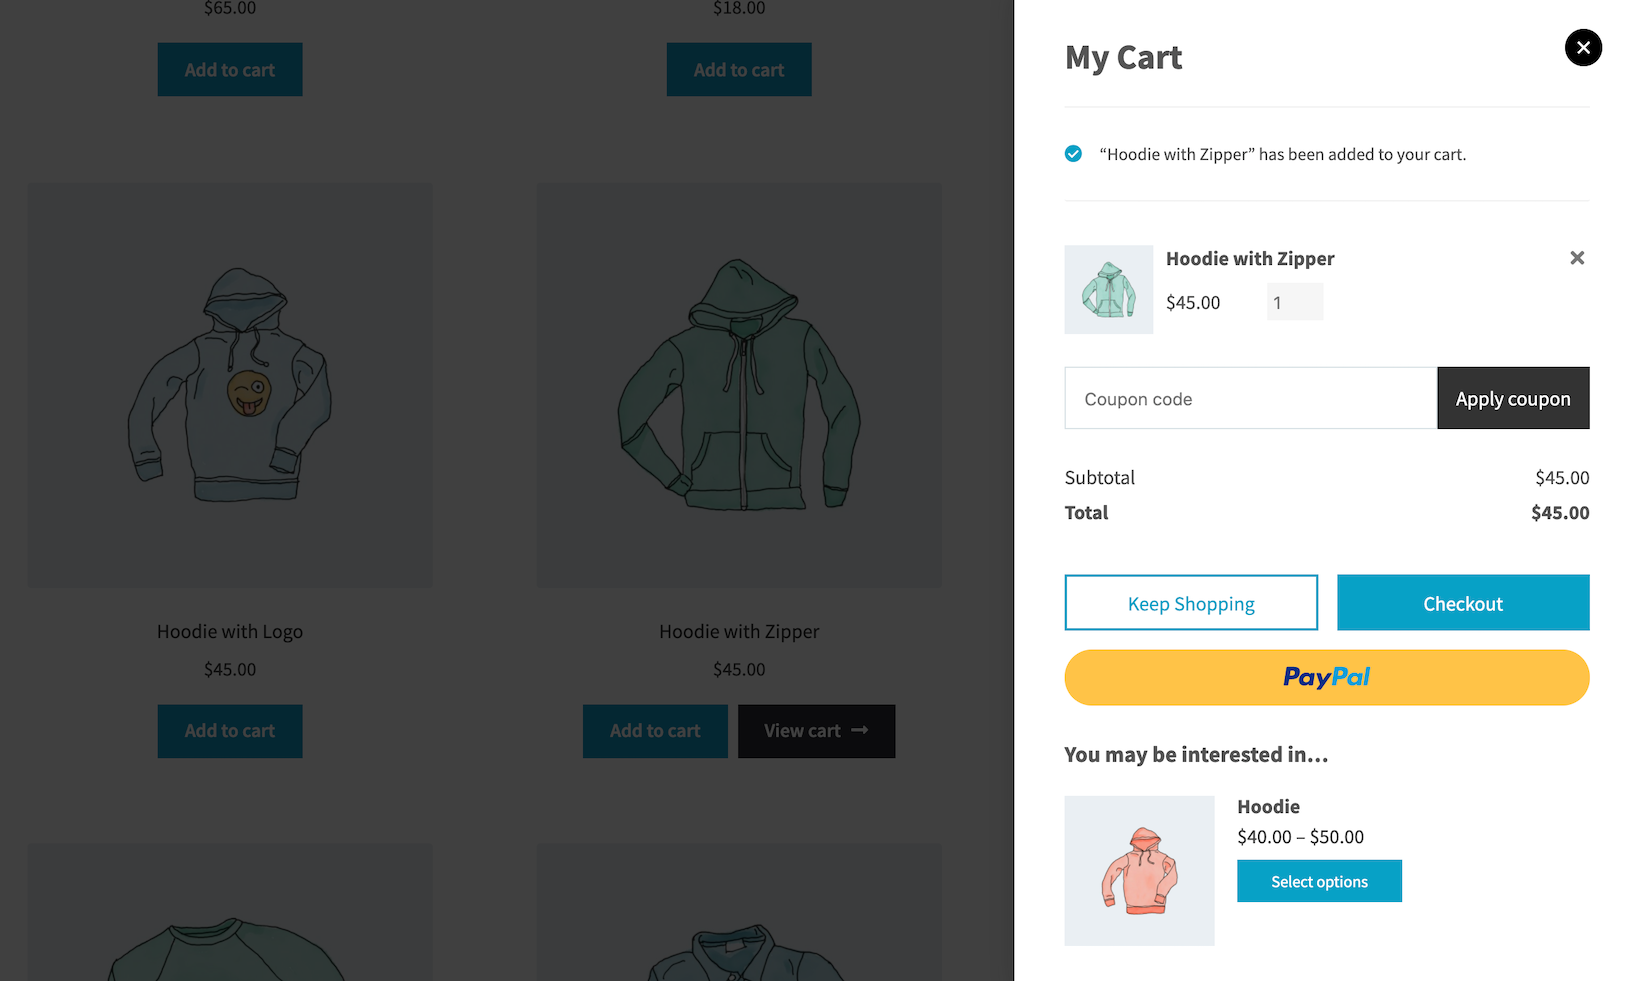
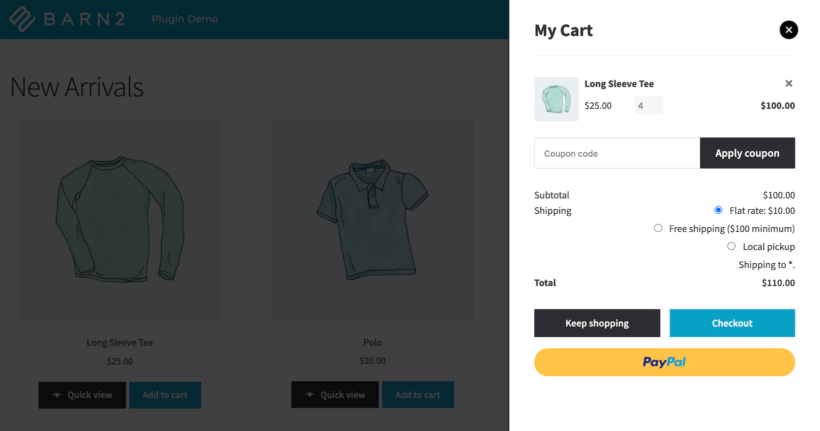
The WooCommerce Fast Cart plugin adds a ‘Buy now’ option to WooCommerce. Basically, it opens the checkout in a pop-up on the same page as soon as you add a product to the cart. Customers can either continue shopping or complete their purchase straight away.
Here’s how it works:
- The customer starts by adding a product to their cart.
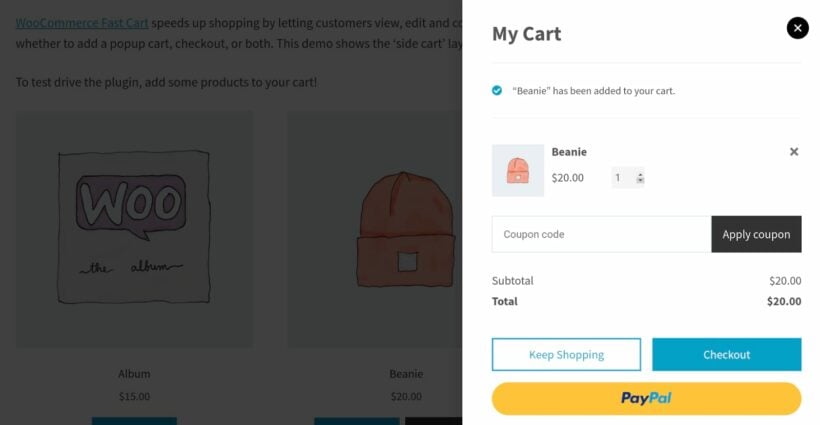
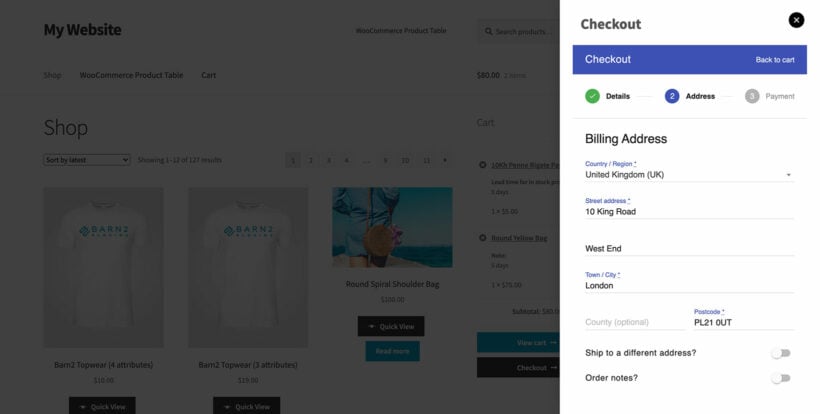
- The checkout automatically opens in a pop-up window. It’ll either be on the right-hand side of the page or in the center.
- Existing customers who are logged into their accounts will see their address and billing information already filled out in the form. So, they simply need to click the Complete button to complete their order and buy now. If you’re using a payment gateway that allows customers to save their credit card details then customers will be able to Buy Now without re-entering payment information.
- Guest users can log in to their accounts and have their information populated automatically. Or, they can enter it straight into the pop-up and complete the WooCommerce Buy Now process.
WooCommerce Buy It Now with PayPal Checkout
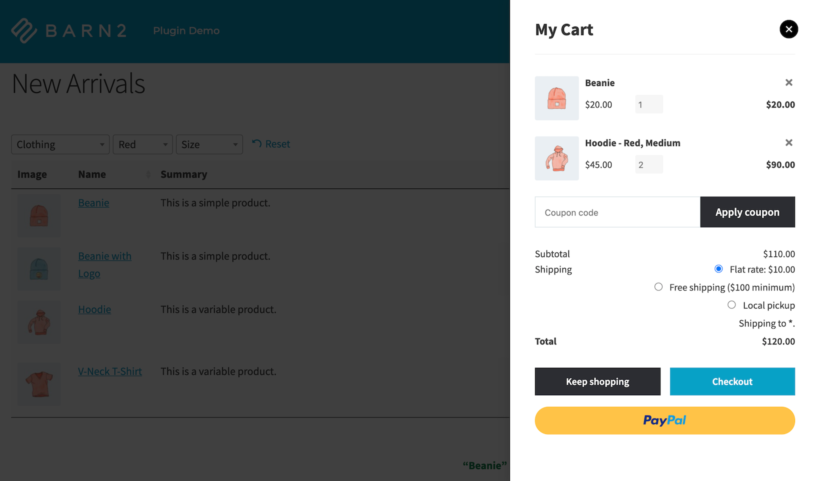
If you prefer, you can show the cart contents in the pop-up instead of the checkout. All you have to do is install the PayPal Checkout plugin and it will display a PayPal Checkout button in the pop-up.
That way, customers can Buy It Now with PayPal instead of using the WooCommerce checkout.
How can WooCommerce Buy Now improve my sales?
Speeding up the purchase process is incredibly important. In fact, according to the Baymard Institute, 18% of US online shoppers have abandoned an order solely due to a “too long or complicated checkout process”.
With the WooCommerce Fast Cart plugin, you can speed up your store's purchase process and deliver a good user experience to shoppers. This makes them more likely to complete their order, without getting lost, fed up or abandoning their cart.
Tutorial: How to add Buy It Now to your store
Next, I'll explain how you can set up the WooCommerce Fast Cart plugin to let customers Buy Now from your online store.
Start by getting the WooCommerce Fast Cart plugin if you haven’t done so already. You’ll receive a license key in the confirmation email.
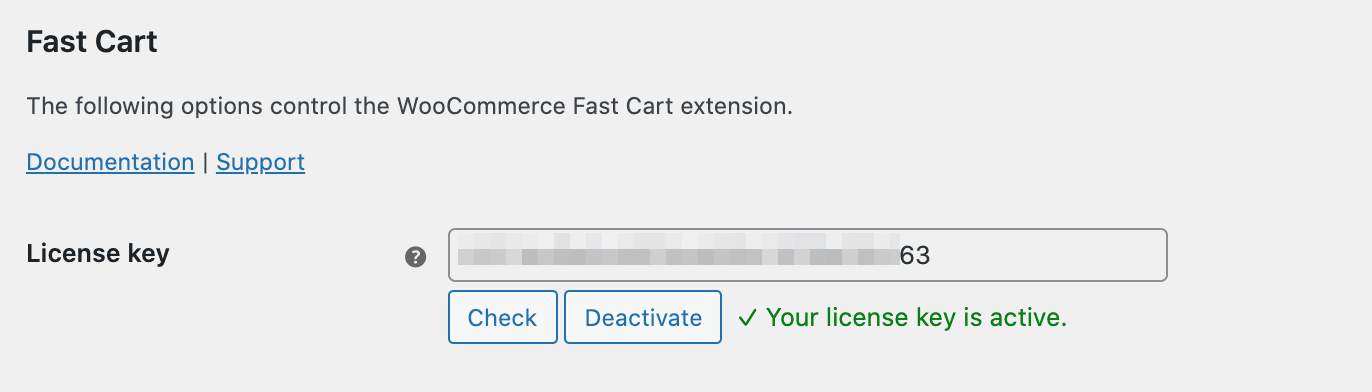
Install the plugin on your WordPress website and activate it. Next, head over to WooCommerce → Extensions from the admin panel to activate the license key and start using the plugin.
Once that’s done, here’s what you need to do to add WooCommerce Buy Now buttons to your store:
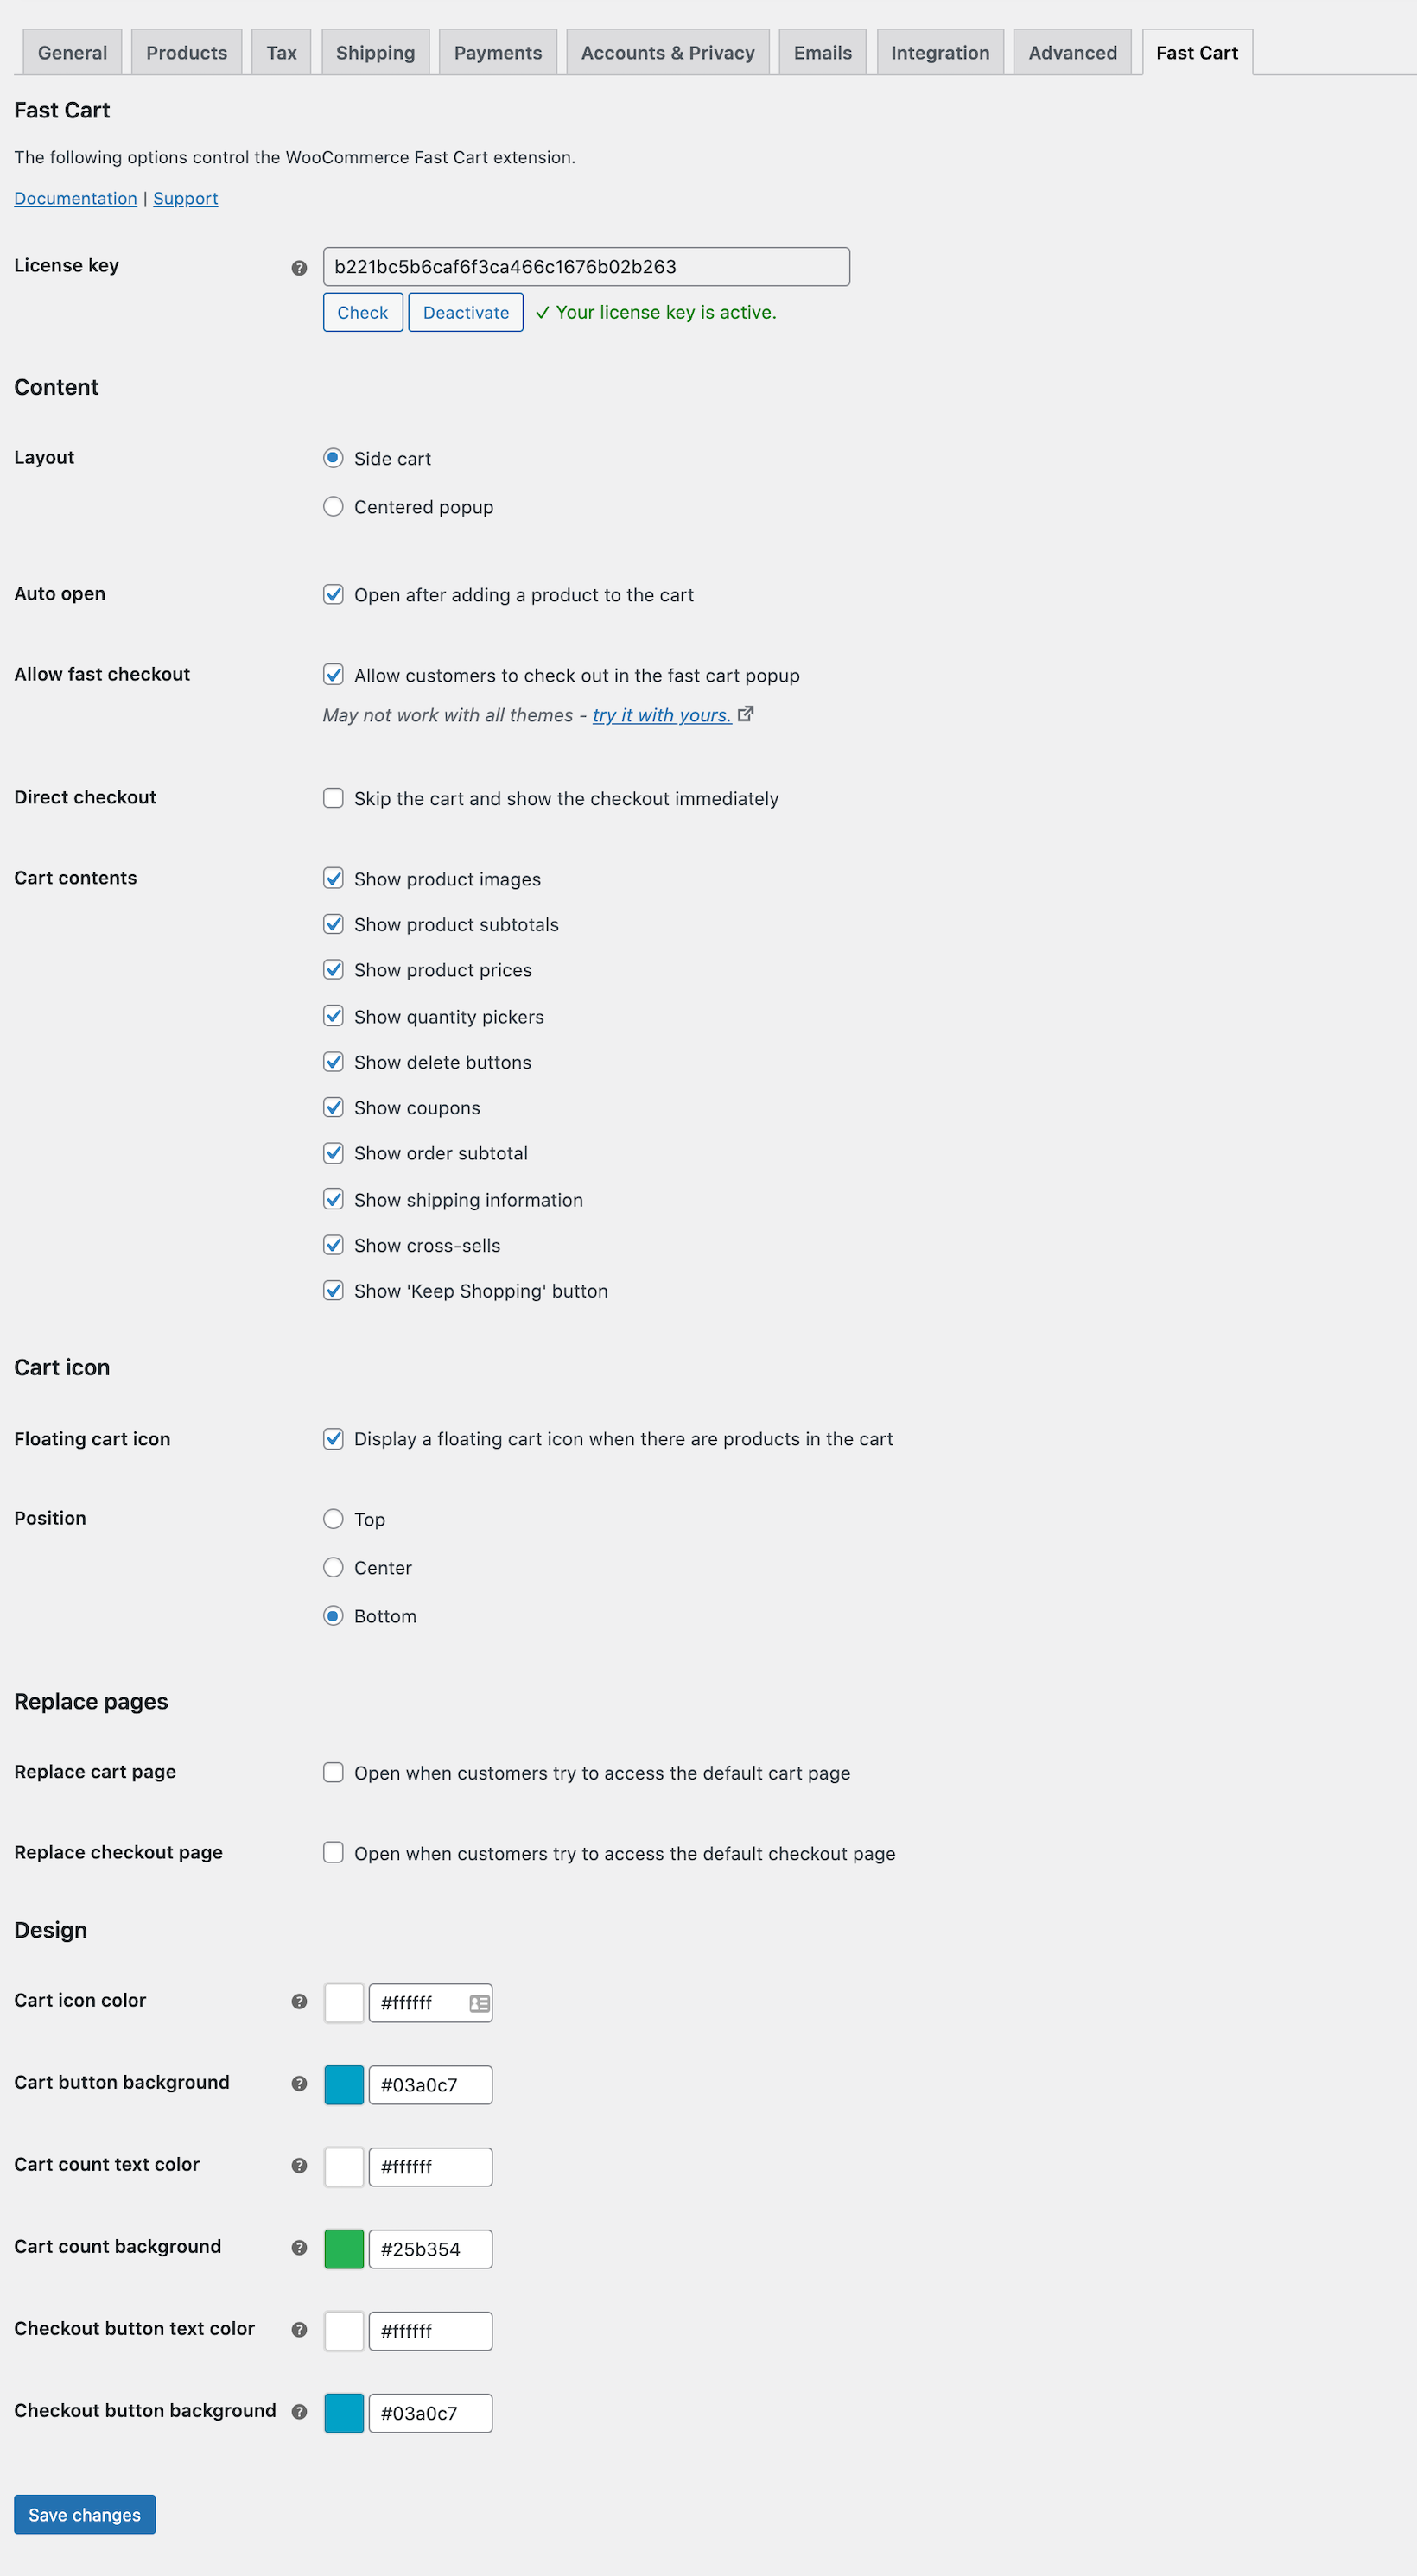
- Enable the floating cart icon by ticking the checkbox next to the Floating cart icon option. You can also set the position of the WooCommerce floating cart icon using the Position option.
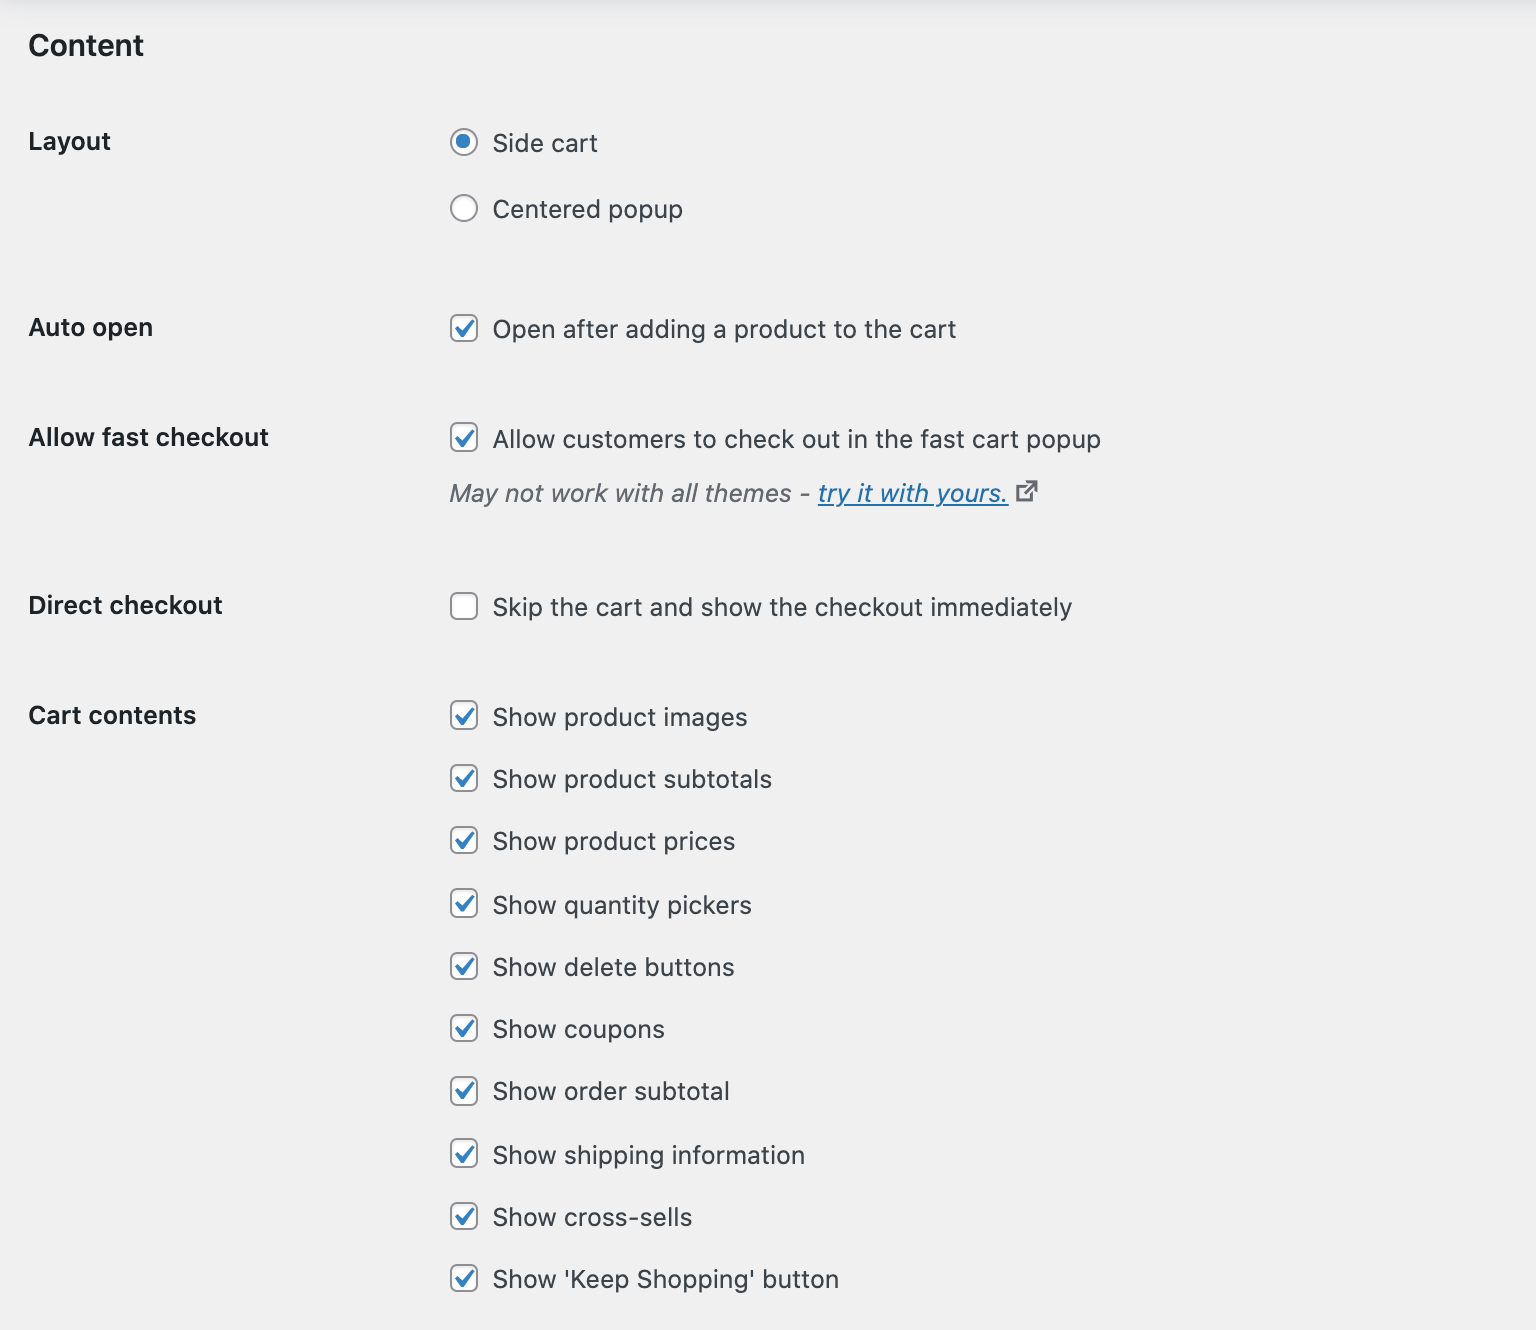
- Next, scroll down to the Auto open section to decide when to open the buy now buttons pop-up. You can set it to auto-open whenever products are added.
- The WooCommerce Fast Cart plugin lets you choose the layout of the checkout pop-up. You can select either Side cart or Centered popup.
- To let customers check out in the fast cart pop-up, tick the Allow fast checkout checkbox. You can also choose to show or hide the Direct checkout option.
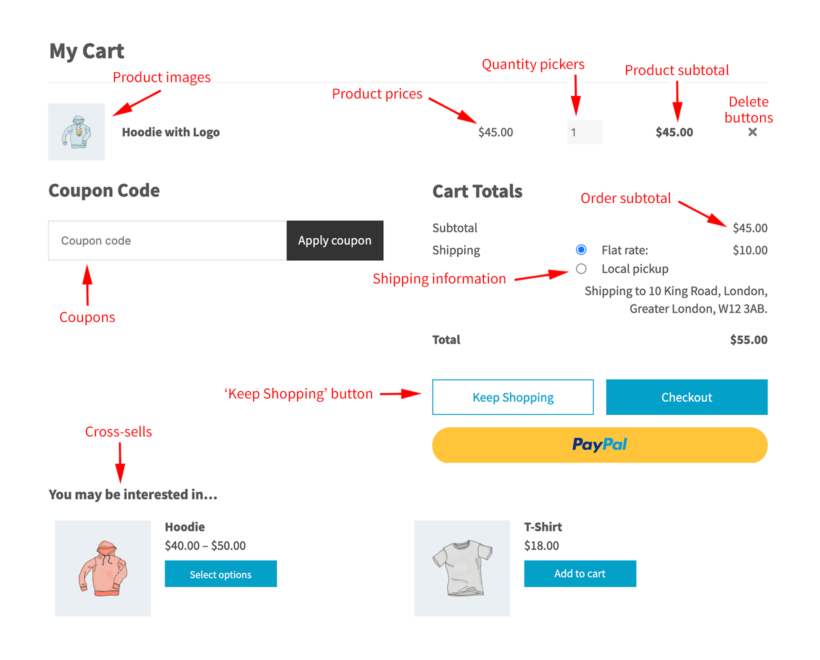
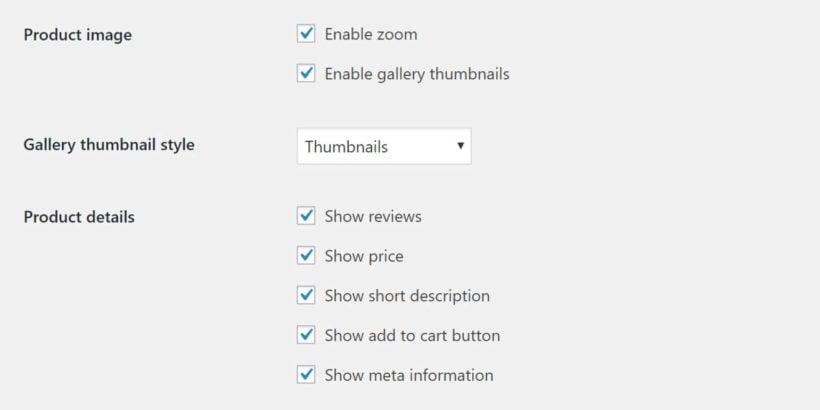
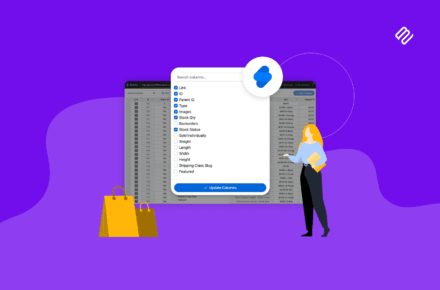
- The WooCommerce Fast Cart plugin also lets you choose what to show in the checkout pop-up. You can choose to include product images, subtotals, prices, quantity pickers, delete buttons, coupons, 'Keep Shopping' button and cross-sells.
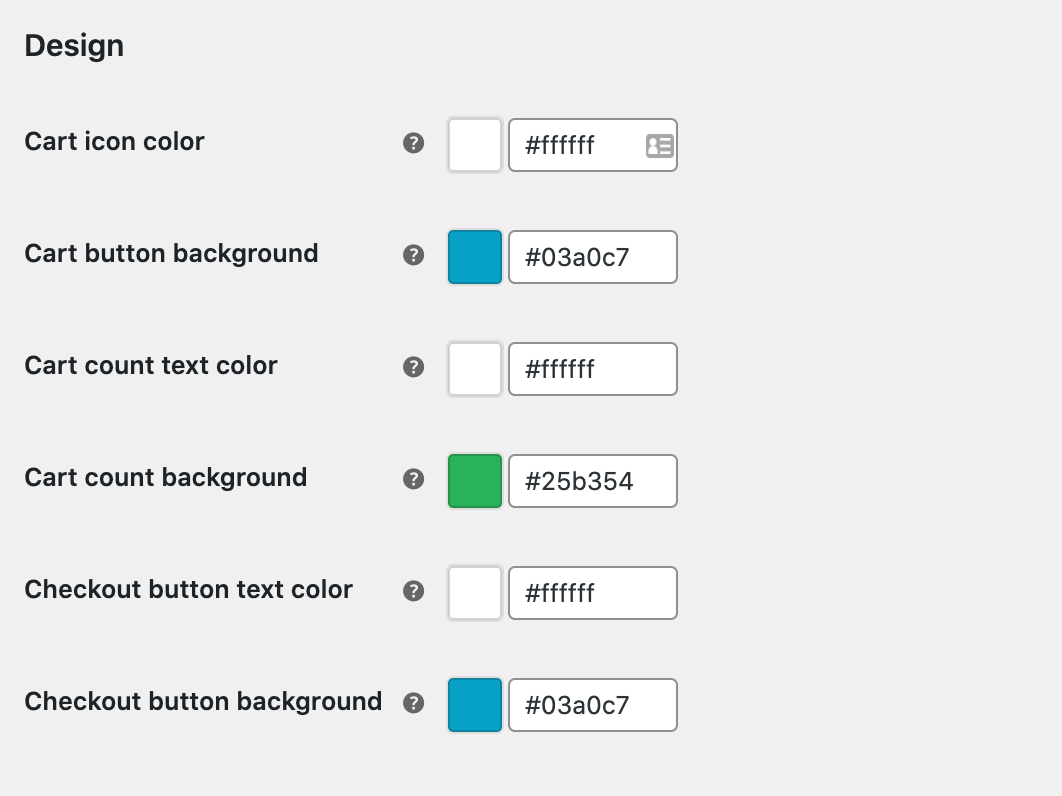
- Finally, you can design and style the checkout pop-up to match your theme and brand colors. And, once you’re done configuring the plugin settings, click the Save changes button to continue.
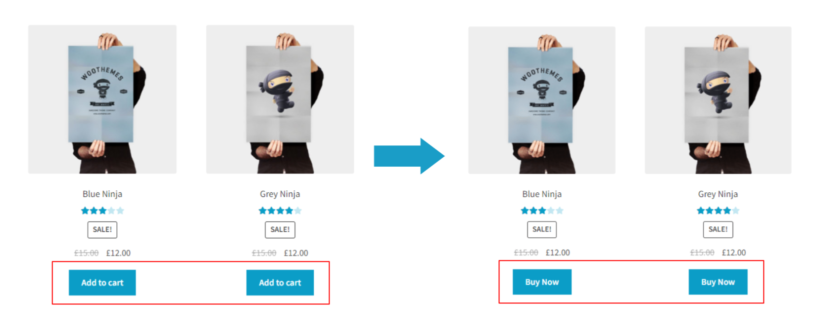
Changing the 'Add to Cart' button text
So far, we've added a mechanism to trigger the checkout process upon clicking the Add to Cart button. But the text on the button is still displayed as 'Add to Cart'. Let's see how you can change this to 'Buy Now', 'Book Now', or any other custom CTA text.
For this, you'll need our WooCommerce Custom Add to Cart Button plugin. You can get this plugin from the WordPress repository for free and install and activate it on your website.
Once you have activated the plugin, here's how you can change the Add to Cart button text.
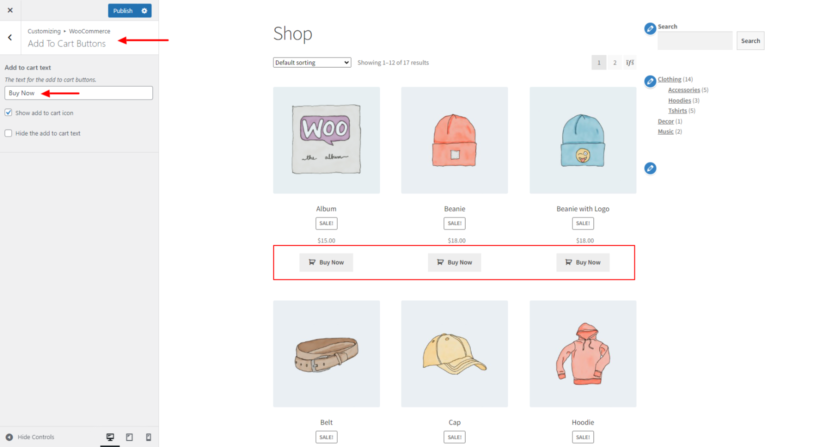
- In the WP admin dashboard, go to Appearance → Customize. This will load the WordPress live customizer.
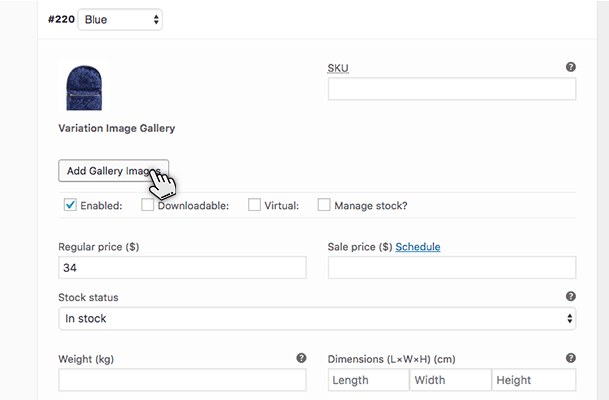
- Go to WooCommerce → Add to Cart buttons and change the Add to Cart button text with your custom text. Here, I'm changing it to Buy Now.
- You can also enable/disable the shopping cart icon in the buttons to make them look more appealing using the checkbox below.
- After making the required changes, hit the Publish button.
Let customers find and add products to the cart more quickly
So far, we’ve talked about how to display a WooCommerce buy now option after customers add products to the cart. However, out of the box, WooCommerce still doesn’t make it easy for customers to find and add products in the first place.
You can speed up the early parts of the purchasing process and grow your sales even further. The best way to do this is by allowing customers to find products, select options, and add to the cart without having to visit a separate page for each product.
I recommend the following WooCommerce plugins for this – you can use them alone, or together for best results:
WooCommerce Product Table
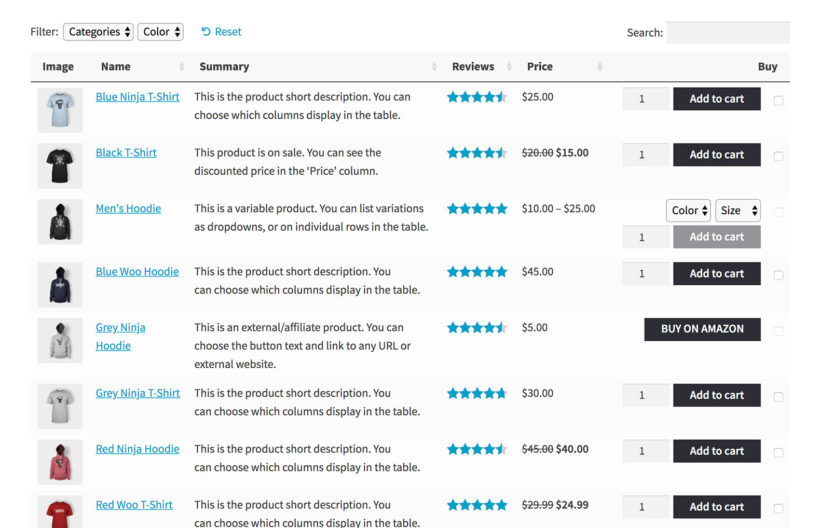
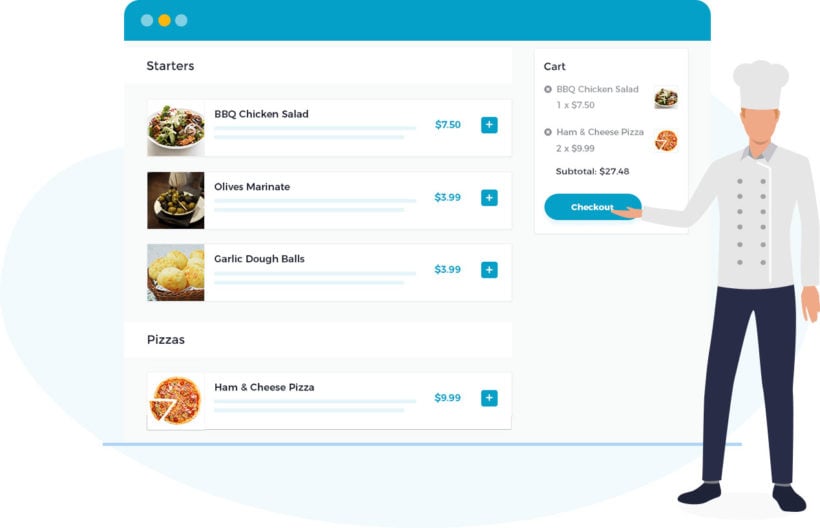
The WooCommerce Product Table plugin is perfect for letting customers ‘Buy It Now’ with multiple products at once.
The ‘Buy It Now’ feature makes it quicker for customers to complete their purchases. However, a downside can be that they only buy one product at a time. This is bad for your average order value.
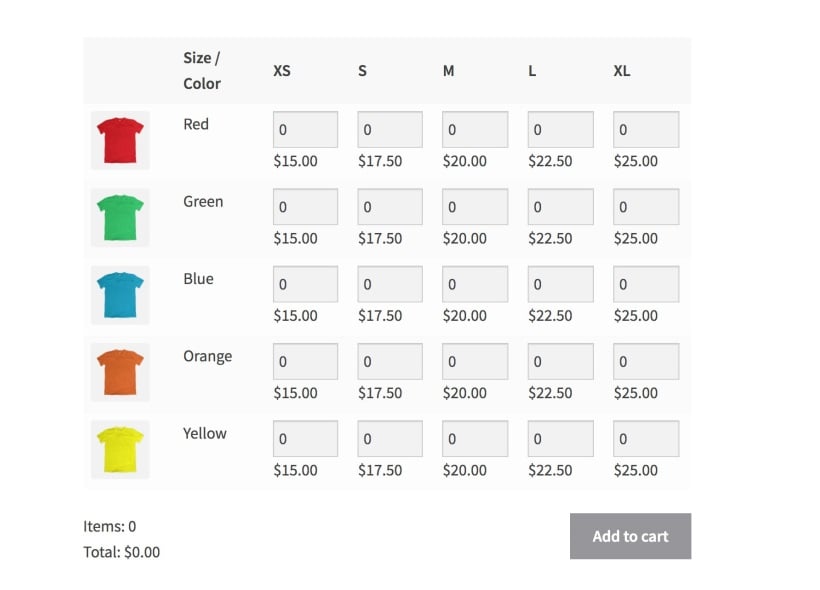
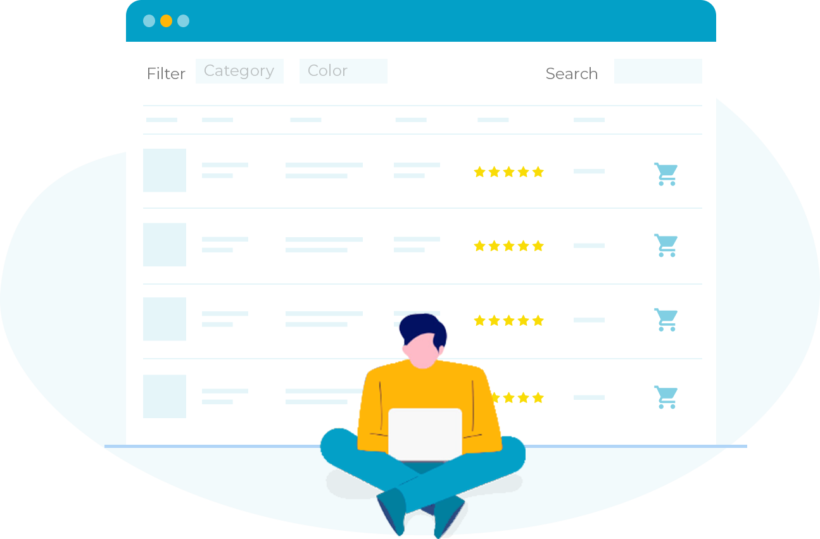
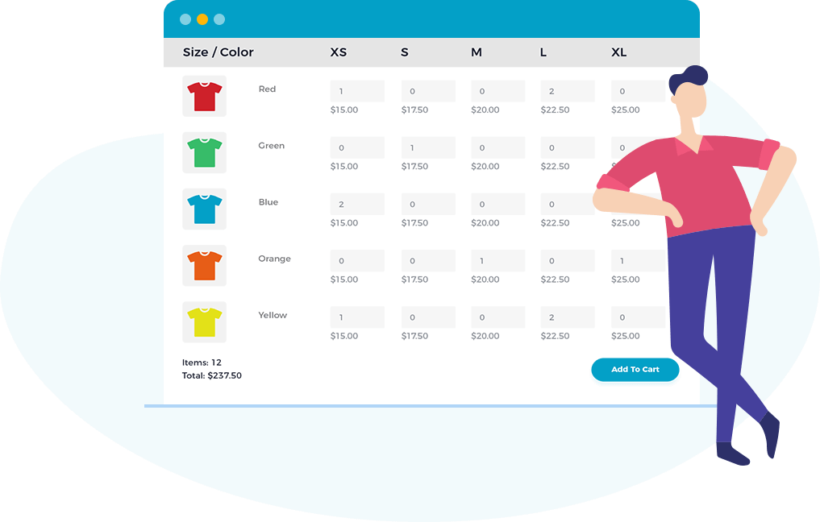
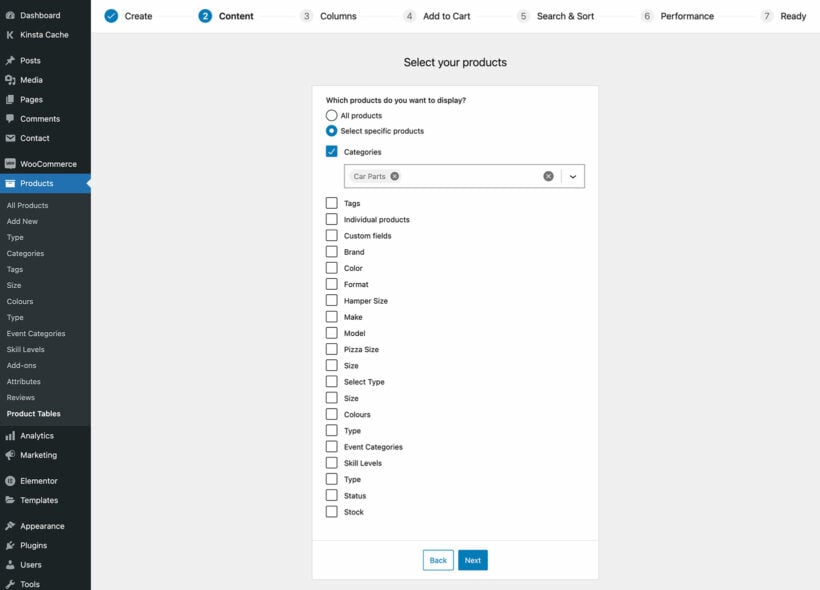
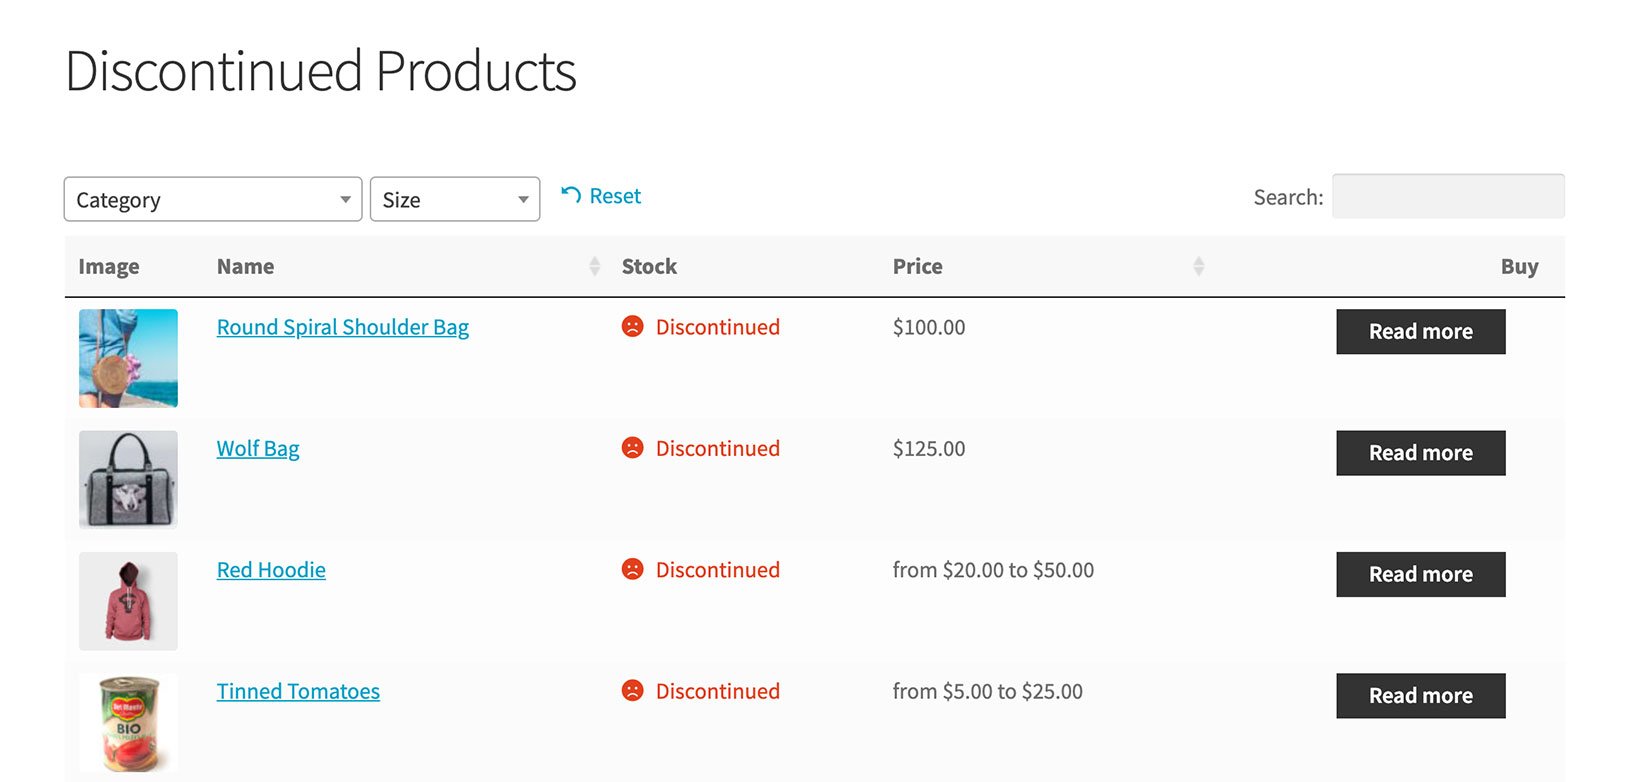
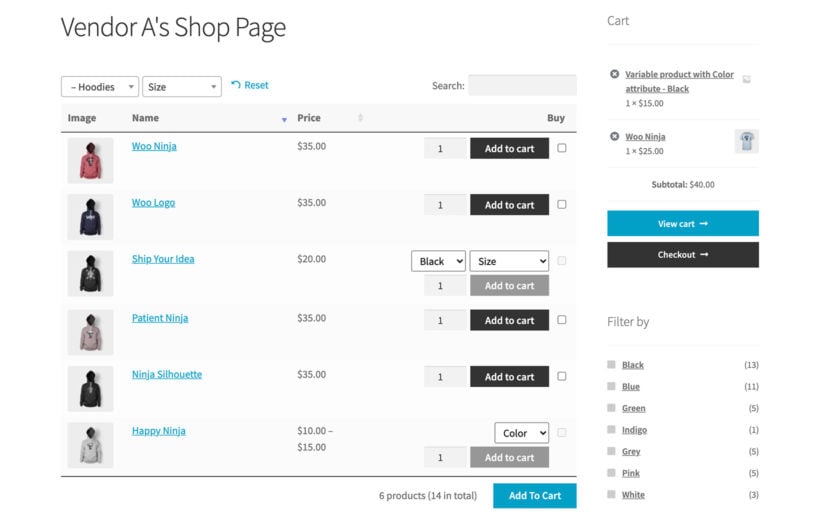
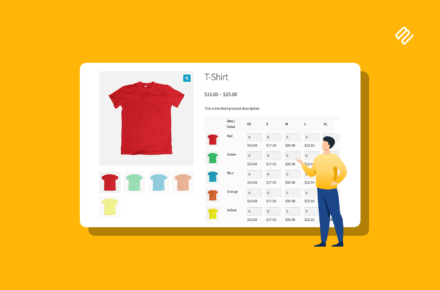
If you sell lots of products, you can easily get around this problem by using the WooCommerce Product Table plugin. The plugin lists products in a one-page order form layout:
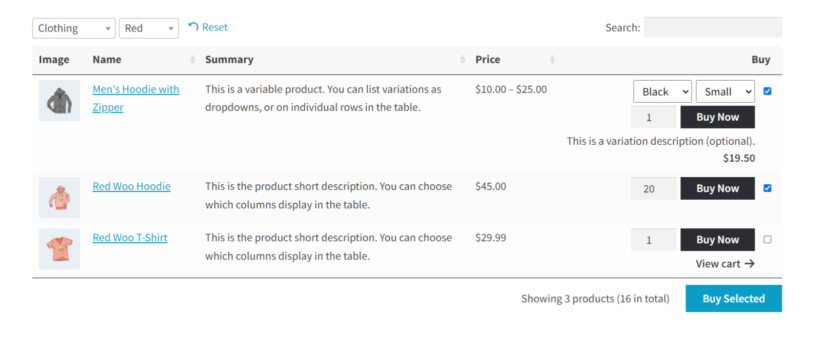
I recommend configuring the WooCommerce Product Table plugin to display multi-select checkboxes so that customers can set quantities, choose variations, and tick multiple products before adding them all to the cart at once.
WooCommerce Fast Cart then takes over and allows customers to Buy It Now.
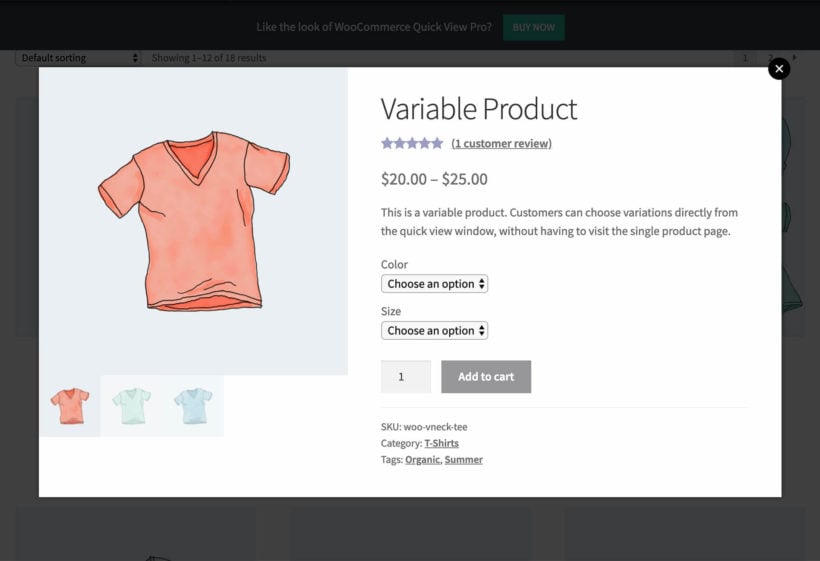
WooCommerce Quick View Pro
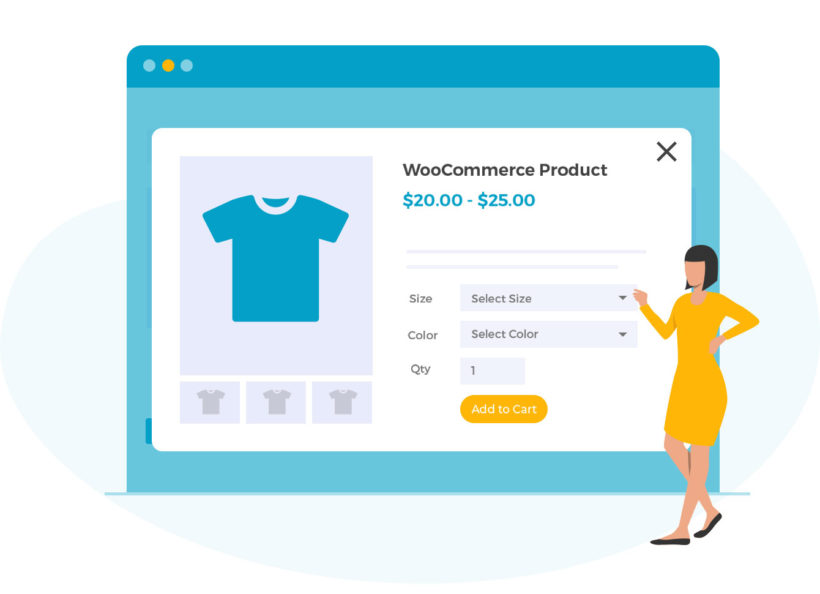
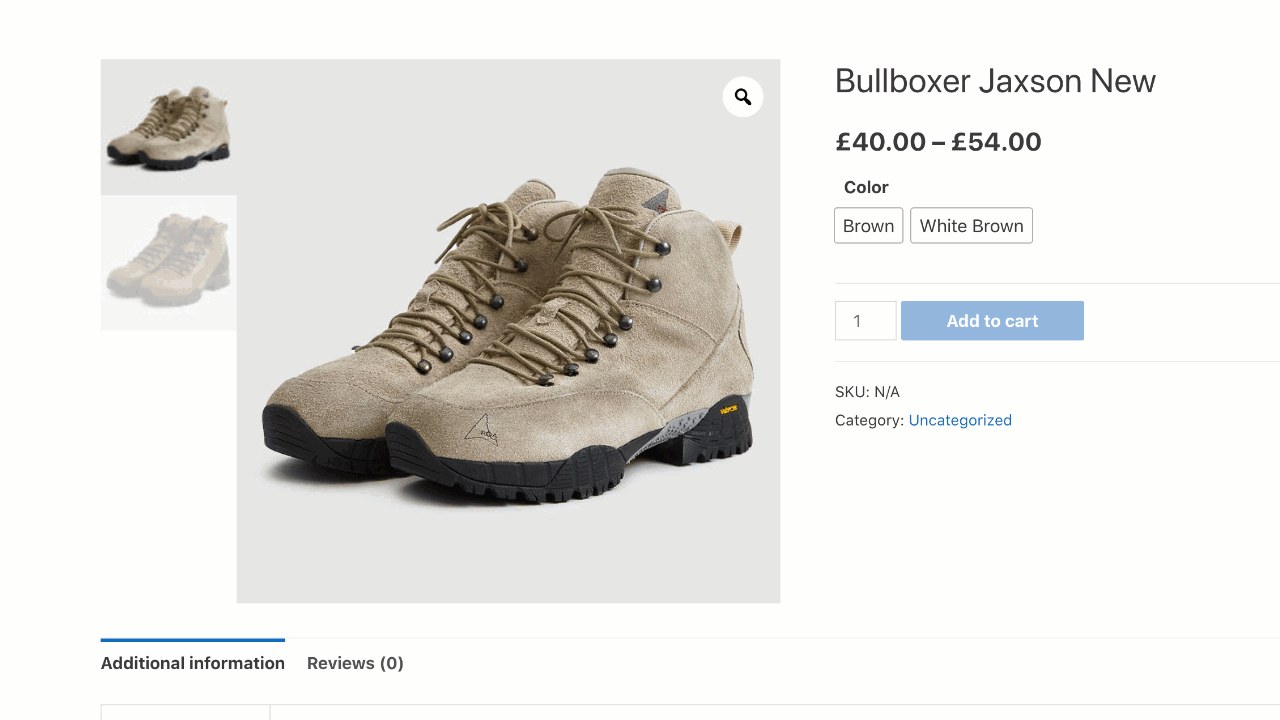
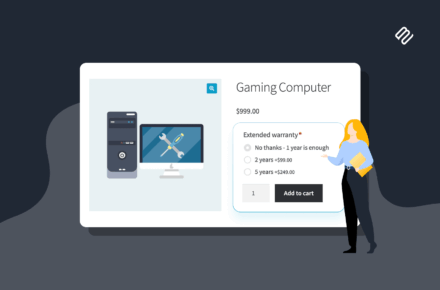
The WooCommerce Quick View Pro plugin provides another way of adding products to the cart without having to leave the page. It displays a quick view lightbox for each product. Customers can view more information about each product and add it to their cart instead of having to visit the single product page.
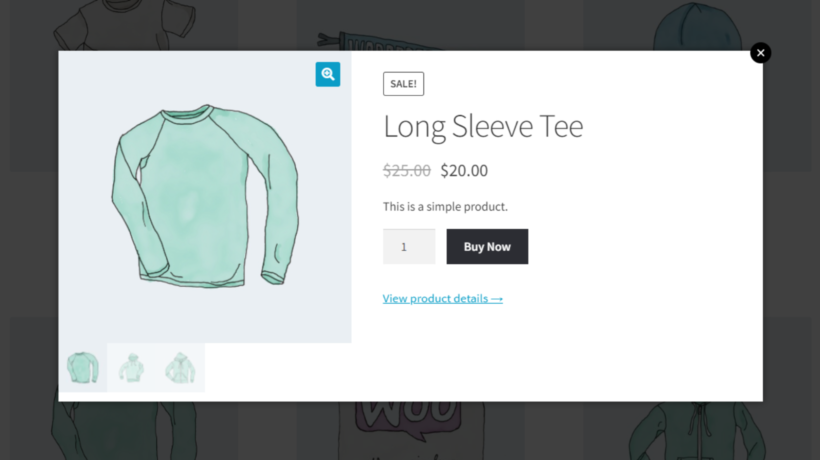
This is a simple and neat way of cutting an extra page out of the buying journey.
You can use whichever plugin you’d like to speed up adding products to the cart. Once the customer adds the products they’d like to purchase to their cart, the WooCommerce Fast Cart plugin takes over and allows customers to Buy It Now.
Where to get the plugins
WooCommerce is fantastic, but doesn't always make things easy for the customer. You can easily fine-tune the customer journey by speeding up each stage of the process:
- Use Product Table and/or Quick View Pro to make it easier for customers to find products and add them to the cart, all from one page.
- Use WooCommerce Fast Cart to add WooCommerce buy now buttons to your online store. It lets customers skip the cart page and fill out the checkout form from a pop-up. They remain on the same page throughout the process.
- Use WooCommerce Custom Add To Cart Button plugin to change the Add to Cart button text with any custom text.
That way, customers can quickly buy multiple products and place their orders in the fewest number of steps.
Ready to add WooCommerce buy now buttons to your store? Get the WooCommerce Fast Cart plugin today.