


'As a website owner or blogger, one of the things you might want to do is create private pages in WordPress. These pages can either act as a private blog, useful resources exclusively for subscribers, or something entirely different.
One thing’s for sure, by using WordPress to create subscriber-only content, you’ll be able to:
- Attract more signups
- Encourage website re-visits and
- Reward the loyal subscribers on your email list
The use cases of a WordPress Private Page
- To run membership sites /exclusive communities and forums: Exclusive content can be made private with access only for community members. It is typically used by affiliate marketers, course creators and even brands that offer premium membership for exclusive offers.
- For internal departmental use: Organisations like schools, universities and companies use private pages to store and maintain internal documents, coursework, sensitive information, private blogs etc.
- For content that is a work-in-progress: A WordPress Private page is perfect for work that needs tweaks. It can be used when multiple people are designing or brainstorming together (like a product launch page), or for content that simply isn't ready yet.
By the end of this article, you’ll walk away knowing how to create private pages for your email subscribers and for specific user roles in WordPress. The best part? We’ll show you how to have it up and running in a matter of minutes using the WordPress plugin, Password Protected Categories.
Creating a WordPress private page for subscribers
How it works
From the user's perspective, here’s how your WordPress subscriber only content will work:
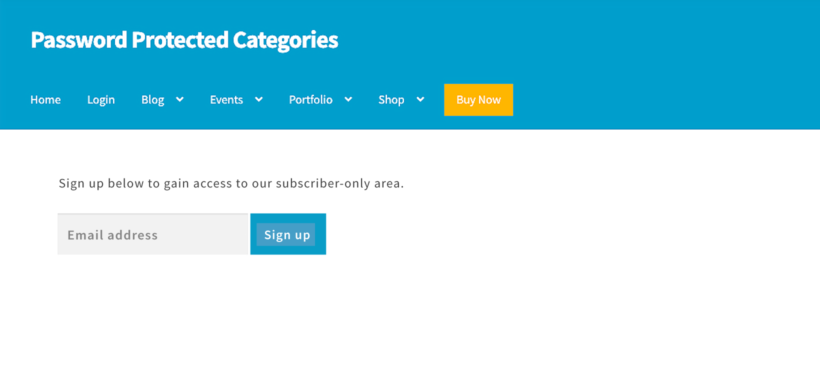
- A site visitor signs up to your email list to gain access to your subscriber-only area.
- Once they’ve signed up, they’ll receive a welcome email which contains a URL and password to gain them access.
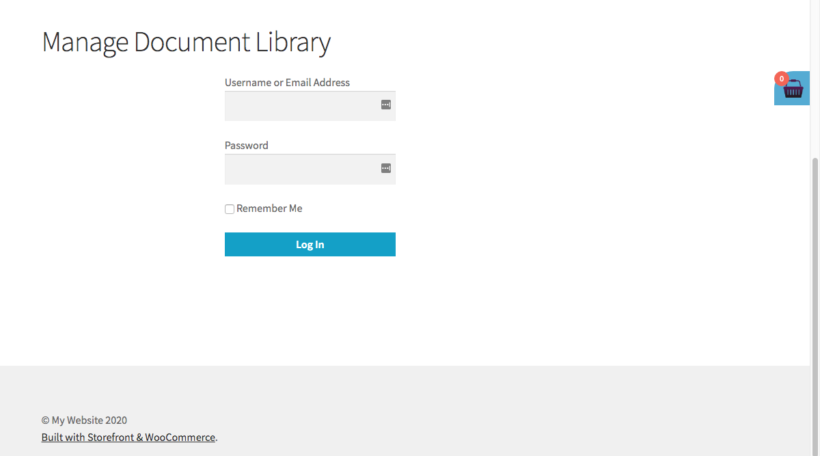
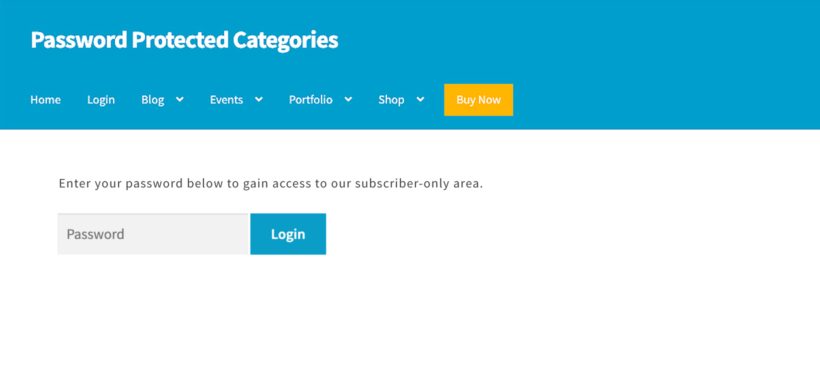
- They click the URL which takes them to a landing page. This page contains a simple form asking them to input a password.
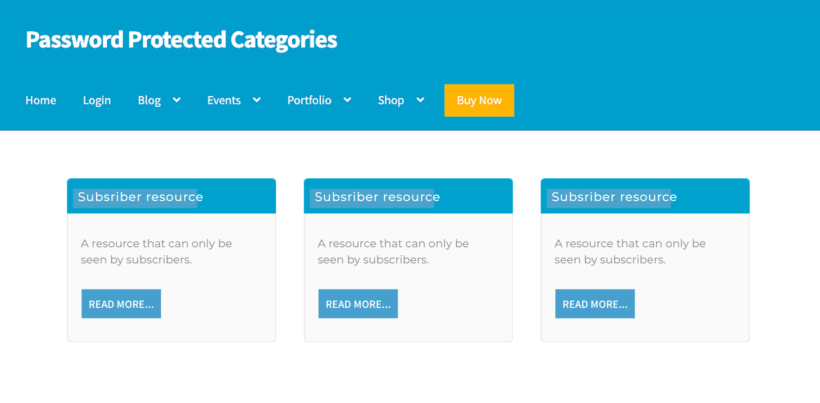
- Once the password is entered and they click ‘Login’, they’ll have access to your subscribers only area.
- This subscribers area will contain resources, private articles and more in the form of either posts or pages within WordPress.
This tutorial contains step-by-step instructions for each of these stages, so continue reading to start creating WordPress subscriber-only content.
How to create WordPress private pages for your email subscribers
So let’s get to it. In this section, we’ll outline how to create your WordPress private pages in just 5 simple steps.
Note: This tutorial presumes you have an existing WordPress site set up.
Step 1: Install Password Protected Categories
To get started, get Password Protected Categories plugin from the Barn2 store: https://barn2.com/wordpress-plugins/password-protected-categories
Then follow these steps:
- Go to Plugins → Add New → Upload Plugin.
- Choose the zip file you downloaded, upload, and then click Activate.
- Once activated, you’ll need to enter your licence key.
Now that we have Password Protected Categories installed, we can move onto creating our private pages.
Step 2: Create your subscriber only categories
At this stage, you’ll want to decide if you’d like to have your private WordPress subscriber only content as pages or posts. If you’d like to have it as pages, you’ll need to install a free plugin to allow them to be categorized, as WordPress doesn't provide page categories by default. This guide will help you set it up.
Next, you’ll want to create the category page that’ll have all the subscriber-only pages or posts inside it. This will act as your private subscriber-only landing page.
- Go to Posts or Pages → Categories.
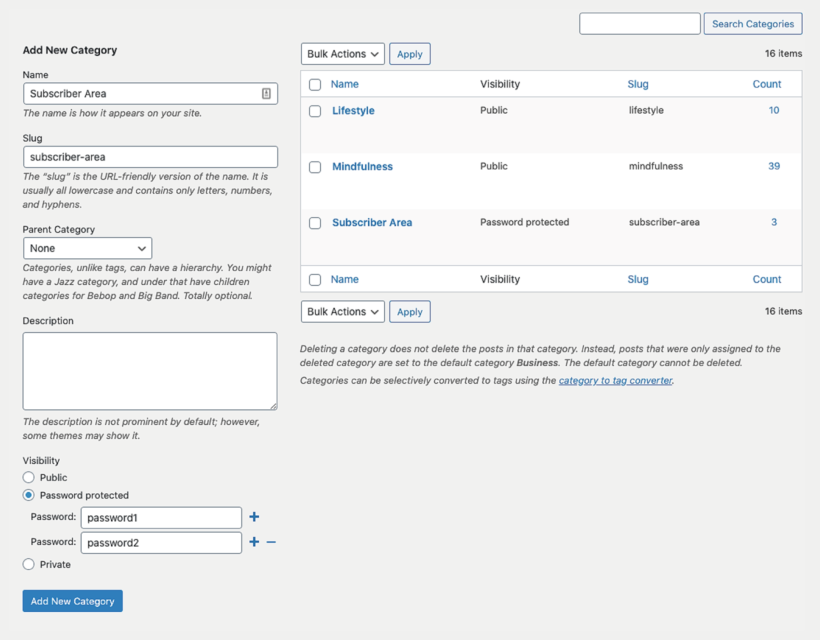
- In the Add New Category section, give your new private subscriber area/category a name, slug and description (optional).
- Scroll down to the Visibility section and click the Password protected checkbox.
- Here you can add one or more passwords for your protected subscriber area. This will protect the category page and all the pages/posts inside it so that subscribers must enter the password to unlock them.
- Click Add New Category and your new password-protected category will appear on the right-hand side of your screen with your other categories.
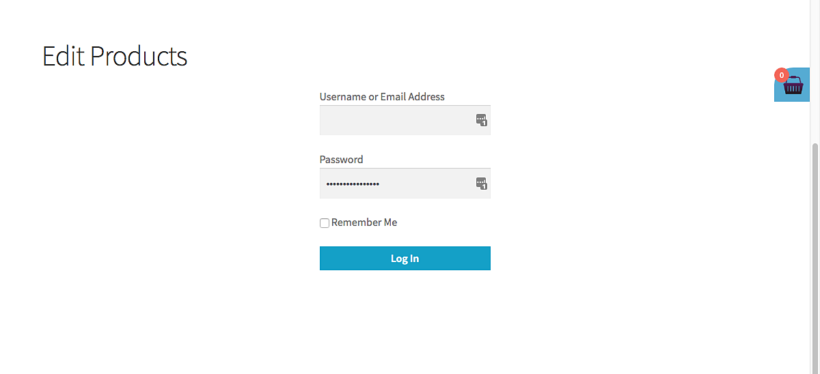
Step 3: Create your subscriber login page
The login page will act as a password protected barrier stopping non-subscribers from accessing the private content. Essentially, it contains a simple form field that requires the visitor to fill in with a password and click ‘login’ to gain access.
This step can be as simple or complicated as you’d like depending on your skill level. You can either:
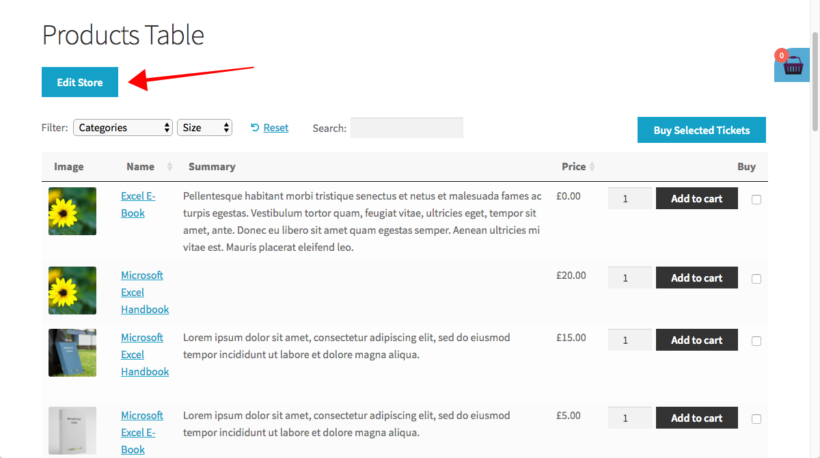
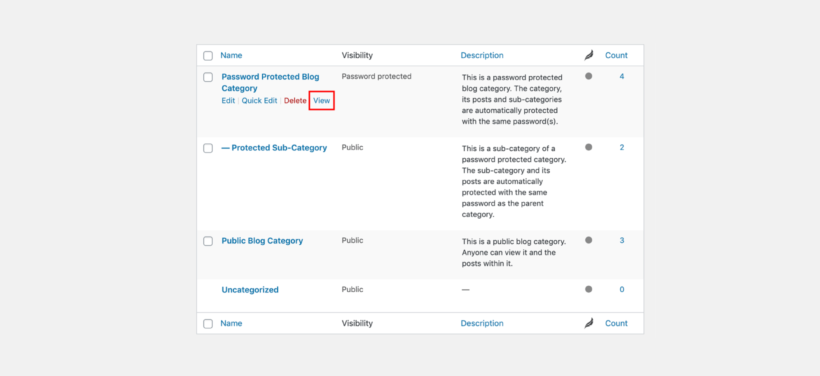
- Link directly to the category page. This can be added to your navigation menu, website footer, or welcome email you send to new subscribers. You can find the link by going to:
- Posts or Pages → Categories.
- Hover over your password-protected category and click View.
- Copy the URL of this page.
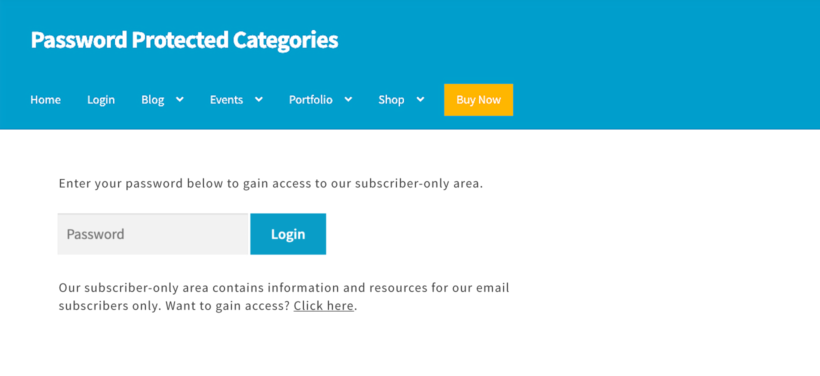
- Create a subscriber area login page. This technique works well if you want to add extra information to your page or if you’re creating separate password-protected categories for different types of subscribers.
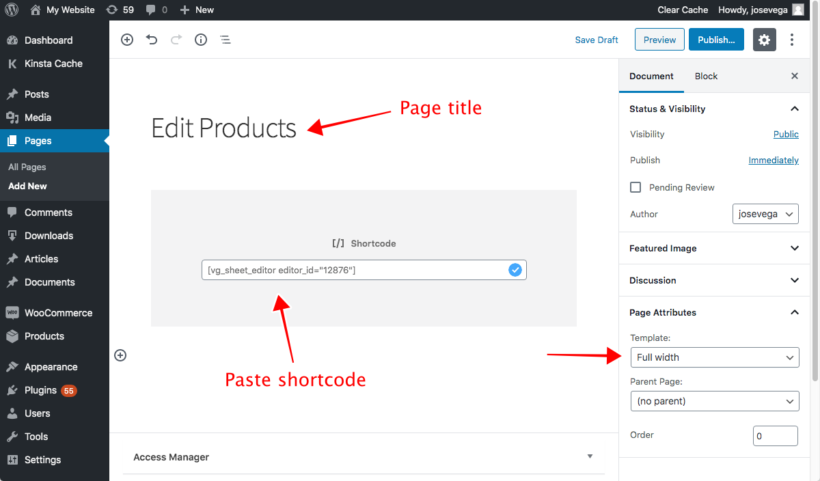
- Go to Pages → Add New.
- Give your page a name.
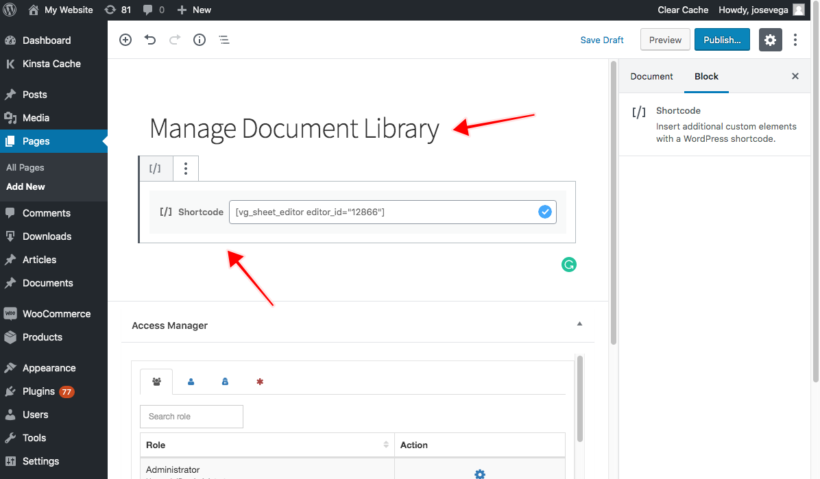
- Paste the shortcode
[category_login]into the page text area. - Then, add whatever extra content you desire to the page, click Publish and you’re done.
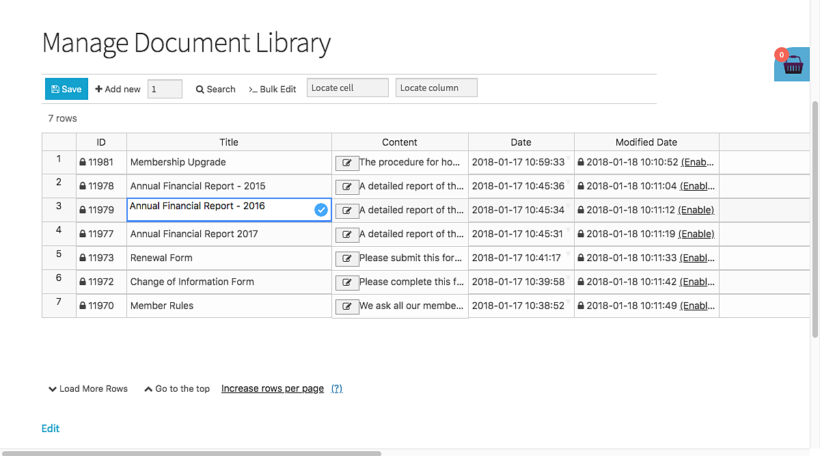
Step 4: Create your WordPress private pages/posts
Now the category that hosts your private pages/posts has been created, it’s time to create the pages/posts themselves. This involves using WordPress to make pages visible to subscribers only. Again, the Password Protected Categories plugin makes this easy.
This part is pretty straightforward and depending on how much content you want to add, will only take a minute:
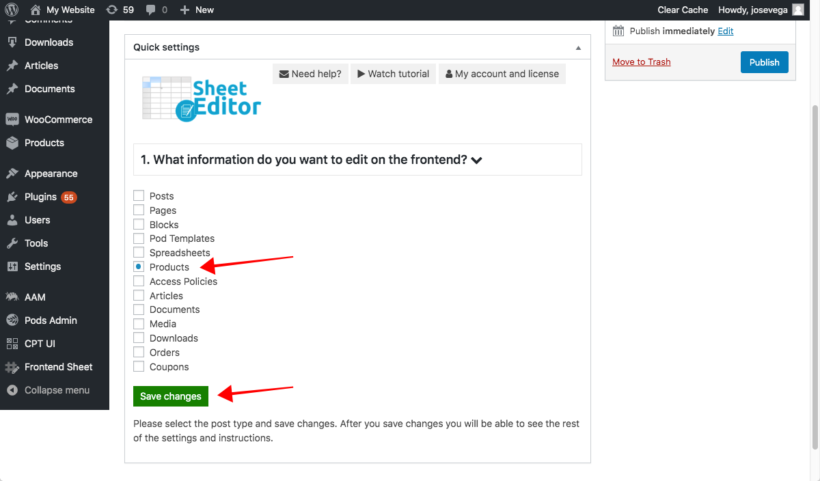
- Go to Pages or Posts → Add New.
- Add your page/post content as you wish. This could be anything from private articles to downloadable resources, videos, pdfs and more.
- In the Document section on the right-hand side of your screen, scroll down to the Categories section.
- Check the new password-protected category you created earlier.
- Once ready, click Publish and your new page or post will be added to your password-protected page.
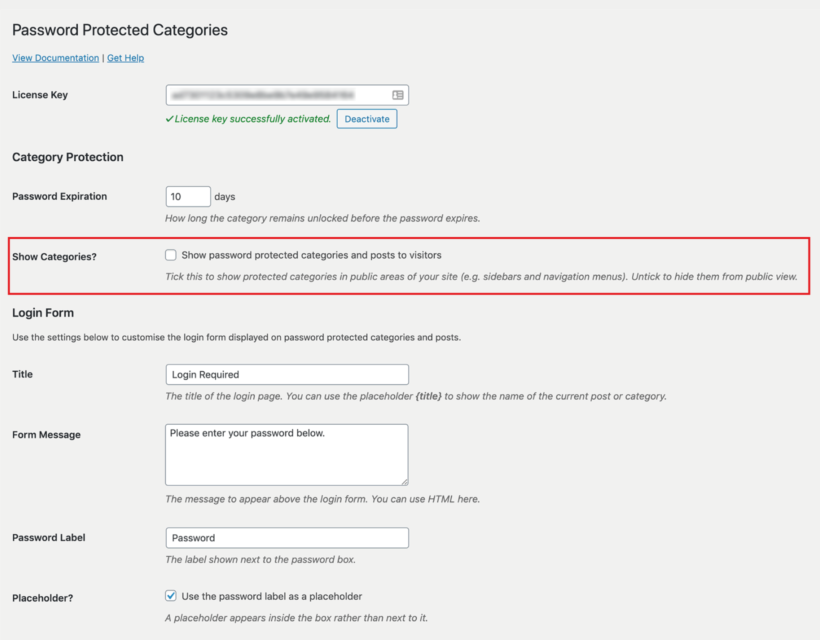
By default, Password Protected Categories hides these posts or pages from the public-facing areas of your site (e.g. widgets and navigation menus). If you’d like them to appear there, you can do so in the Password Protected Categories settings. Just go to Settings → Protected Categories. Scroll down to the Category Protection section and tick the checkbox next to Show protected categories? That way, people will see the login page if they try to access any WordPress subscriber only content.
Step 5: Tell your subscribers
Now that you’ve created your private pages for subscribers in WordPress, it’s time to tell them about it. You’ll want to tell existing subscribers and have a way to incentivise new blog visitors to sign up too. Here’s how to do both.
Tell your existing subscribers
To tell your existing email subscribers, you’ll simply need to send them an email with a link to your newly created protected area. Within this email, you’ll want to add the page link and password so your subscribers can gain access to the hidden content.
Incentivise new blog visitors to sign up
To encourage new blog visitors to sign up and gain access to the WordPress subscriber only content, you’ll want to add an email signup form to your website.
We recommend MailChimp. You can use this to send notifications of your new private blog articles and resources to your subscribers. Find out how with our tutorial below, which includes instructions on how to:
- Set up MailChimp and add it to your WordPress site.
- Send your new private pages/posts to email subscribers.
Now that you have MailChimp up and running, you’ll need to create a welcome email. This will be sent to all new subscribers and will contain both the link to your subscriber-only area and the password.
To do this, open up your MailChimp dashboard and do the following:
- In your MailChimp account dashboard, click the Automate drop-down menu and click Email.
- Then, click the Subscriber Activity tab and click Welcome new subscribers.
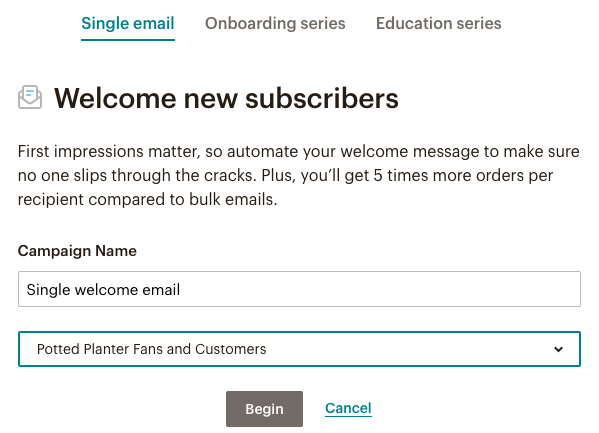
- In the Single email tab, enter a campaign name (this is just the name of your welcome email) and click the drop-down menu to choose your audience (previously called ‘list’ in MailChimp). If you need help with setting up your audience, read our tutorial here.
- Once ready, click Begin.
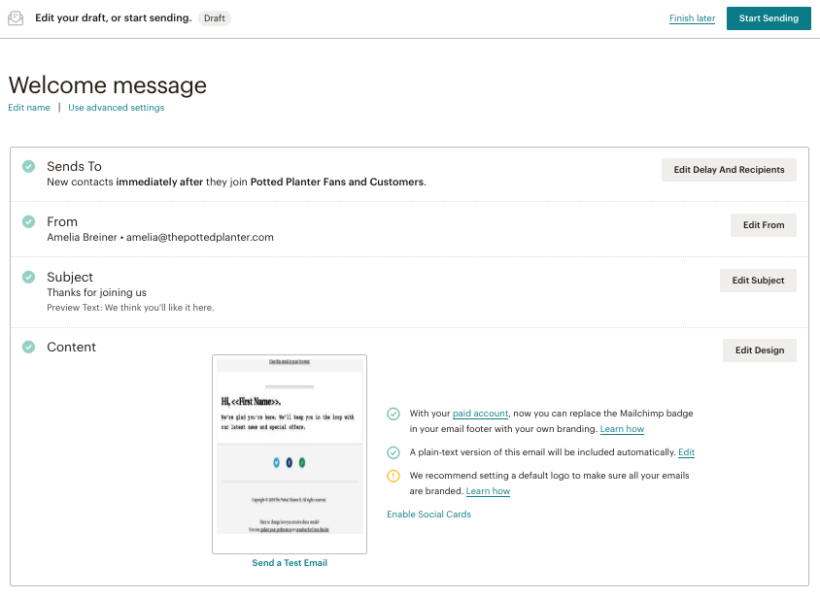
- Next, you’ll be able to add your welcome email content. Make sure to add the URL of your private subscriber area and the password.
- Once happy, click Start Sending and your new email subscribers will automatically be sent this new email once they sign up.
Creating WordPress private pages based on
user roles
You won’t need any plugins for this, you can use default WordPress to make pages accessible only to the admin and editor user roles. Here’s how:
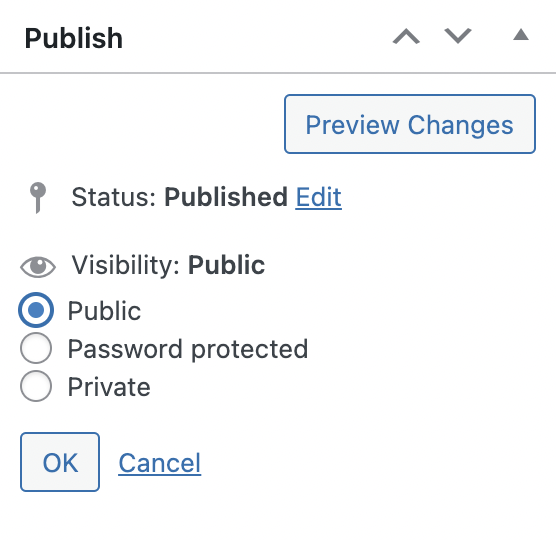
- Go to the Page settings on your WordPress Admin dashboard.
- Navigate to “Visibility” in the Publish section located on the top right corner of the page and click on “Edit”.
- A dropdown list will open with “Public” selected by default. Choose “Private” and click on “OK”.
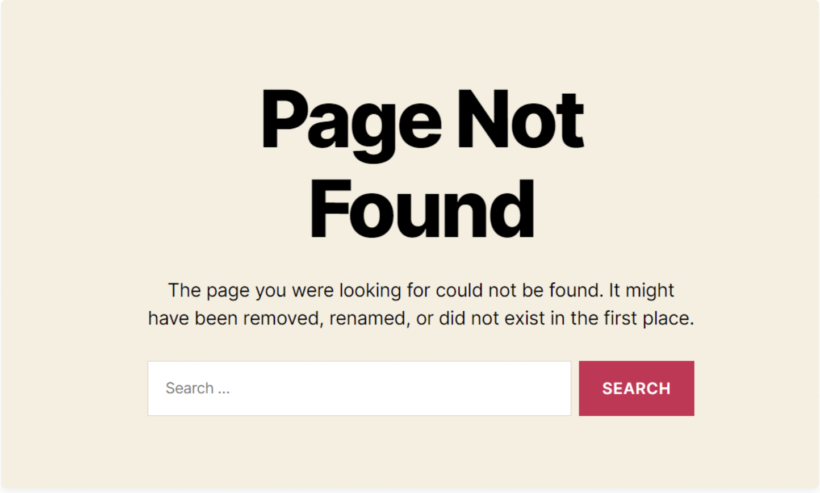
- This page is now accessible only to those with the admin and editor user roles. Site visitors and those with other user roles, will be shown a simple “Page Not Found” message since they do not have the right permissions.
That’s it, you can now set up a private subscriber-only area and make pages private to admin and editor user roles. With a private subscriber-only area or private blog up and running, you’ll be able to encourage more email signups, automate sending out private content (including new product offers) and add new pages/posts within a matter of minutes.
Make this setup quick and risk-free with Password Protected Categories.