


As a business owner or website administrator, there are plenty of reasons why you might want to hide WordPress pages from public view. For example, if you’re running an online membership site or have a small business that sells premium content, then hiding certain pages, posts, categories, or your entire site from public view is essential.
The only problem is that WordPress comes with very limited options for hiding pages, posts, and categories. Not to mention, the options that are available to you aren’t particularly user-friendly.
The good news is that by the time you’re done reading this article, you’ll walk away knowing exactly how to:
- Hide WordPress pages, posts, and categories - either with simple password protection, or restricted to specific users or roles.
- Make your entire WordPress website or WooCommerce store private.
And the best part? At the end, we’ll show you how to do all this in under 15 minutes using a great plugin, Password Protected Categories!
What’s wrong with the hidden content features in WordPress itself?
If you’ve been using WordPress for some time now, you probably already know the content management system (CMS) comes with hidden content features out of the box. However, these built-in options are pretty clumsy and not at all user-friendly, to say the least.
More specifically, WordPress’ built-in hidden content features will leave you password protecting individual pages and posts.
There are two main reasons why:
- Manually password-protect new postsYou have to remember to password-protect each individual new post or page on your website. As you can probably imagine, this leaves plenty of room for human error. In addition, it’s more time-consuming for you, especially if you have to password protect dozens of posts or pages.
- Poor user experienceIf you password-protect individual pages or posts then your site’s users will need to enter a password for each page or post they’d like to access. This delivers terrible user experience and makes your site come off as unprofessional.
Fortunately, there’s a better way to hide WordPress pages, posts, and categories that doesn't involve messing around with PHP files.
The solution: Password Protected Categories
The Password Protected Categories plugin makes it incredibly easy for WordPress site owners to hide just about any type of content on your WordPress site. This includes posts, pages, categories, and custom post types.
If you’re running an online business or membership site, or if you sell online courses, it might be easier for you to hide WordPress categories instead of password-protecting individual posts and pages.
Password Protected Categories key features
Here’s why protecting entire categories is better than hiding individual posts and pages:
Protect entire categories at once
- Instantly hide the entire WordPress category page and all its contents. This includes all of the content sorted under that category and its sub-categories. So, when you create a new page or post, all you’ll have to do is add it to the protected category. Put simply, you won’t have to worry about remembering to protect it as it will automatically be hidden once it’s sorted under the protected category. And, it doesn't affect permalinks or SEO.
- There are 3 types of protection available to you with Password Protected Categories. You can choose to password-protect pages and posts, or make them private to specific users or roles.
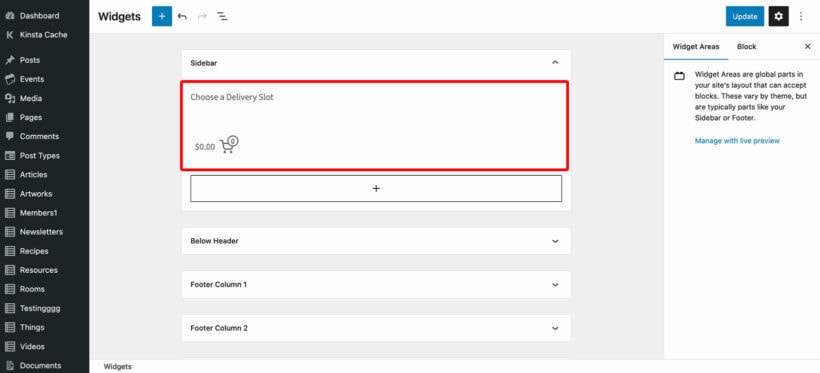
- Password-protect. You can add one (or more) passwords to a category and instantly protect all of the content and sub-categories sorted under it. Visitors can log in from a single page or the sidebar. The Password Protected Categories plugin will automatically direct them to the correct category based on their password.
- User role protection. You can create private categories that will only be visible to logged-in users with a specific role.
- Individual user accounts. For even more fine-grained control, you can choose exactly which users on your site can access each private area.
Easier for you and your visitors
- There’s no need to create individual user accounts if you use password protection. All you have to do is give a valid password to everyone who you’d like to grant access to. This makes it easy to keep things organized on the back-end. Alternatively, if your users already have accounts then you can enable the user or role protection which works with their existing accounts.
- The Password Protected Categories plugin supports multiple passwords. This means you can password-protect a page, post, or category using multiple passwords and give different users different passwords. The key benefit here is that it makes it easier to grant and revoke access to hidden content.
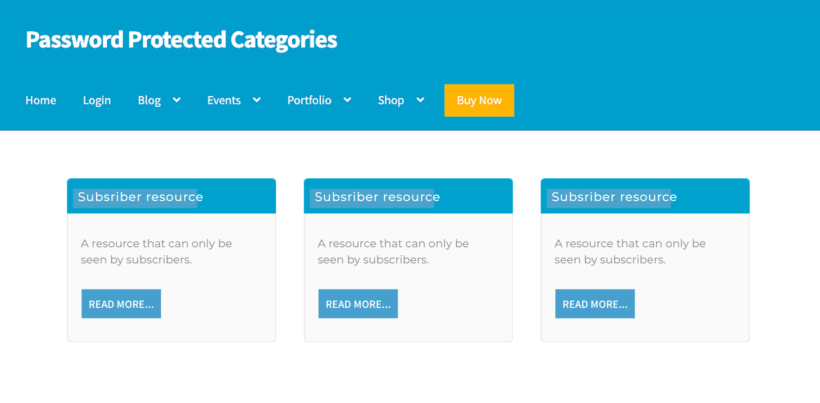
- Once someone unlocks a hidden WordPress category, they can navigate to all the pages, posts, and sub-categories inside it without having to re-enter passwords. This delivers a good user experience to your site’s visitors.
- Password protecting WordPress categories or making them private doesn’t affect your public-facing site in any way. This makes it easy for business owners to have a private area on their site in addition to a public-facing site.
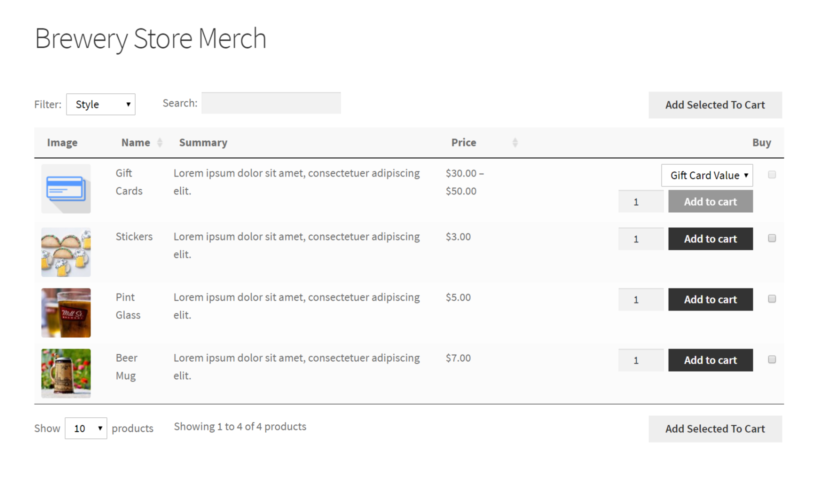
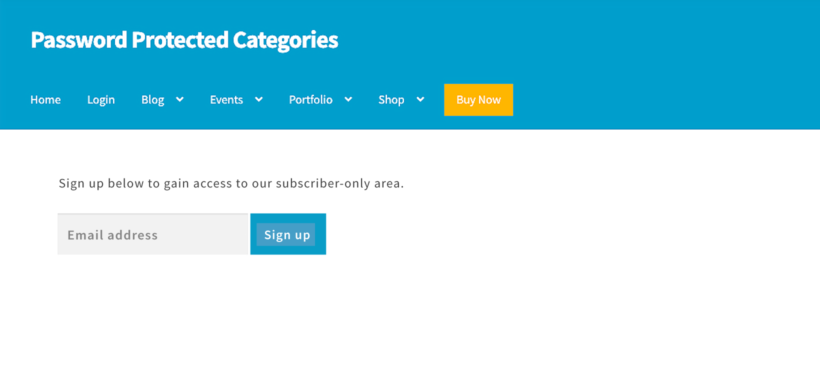
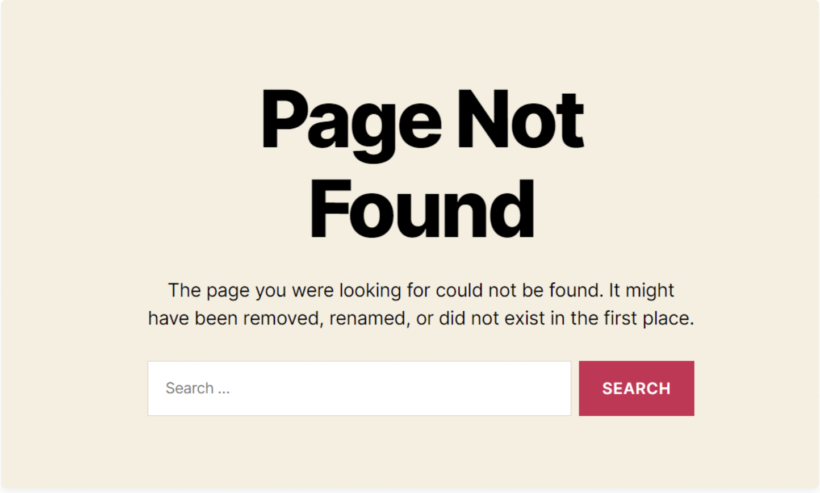
- You can choose whether you’d like to show protected pages or posts on public parts of your site so that people must enter a password to access them. This is a great way to encourage prospective members or subscribers to act on your conversion goal. Similarly, you can choose to hide WordPress pages from public by making them password-protected or private. Password protected categories are hidden from search engines like Google.
How to hide parts of WordPress (in 3 easy steps)
Here, we’ll show you how to hide WordPress posts, pages, and categories in three easy steps:
- Installing the Password Protected Categories plugin
- Configuring plugin settings
- Hiding WordPress pages, posts, or categories
Feel free to follow along or use the jump links to skip ahead to a specific step.
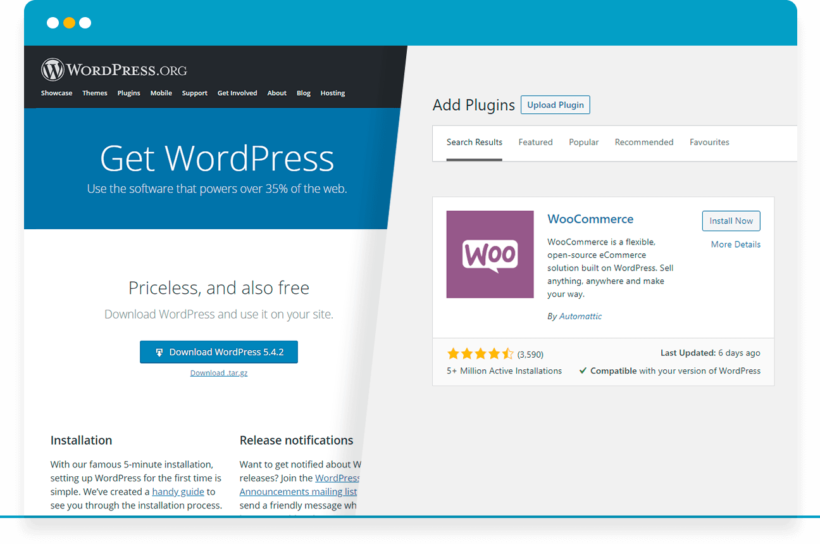
Step #1: Install the Password Protected Categories plugin
If you haven’t done so already, get the Password Protected Categories plugin. You’ll receive the plugin files along with a license key via email.
Log into your WordPress site and install and activate the plugin by heading over to Plugins → Add New from the WP admin. Once that’s done, navigate to Settings → Protected Categories to enter your license key.
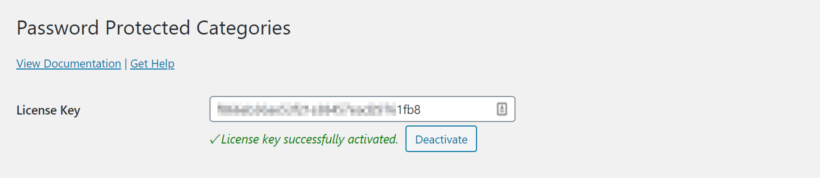
Click the Save Changes button at the bottom of the screen to proceed.
Step #2: Configure the plugin settings
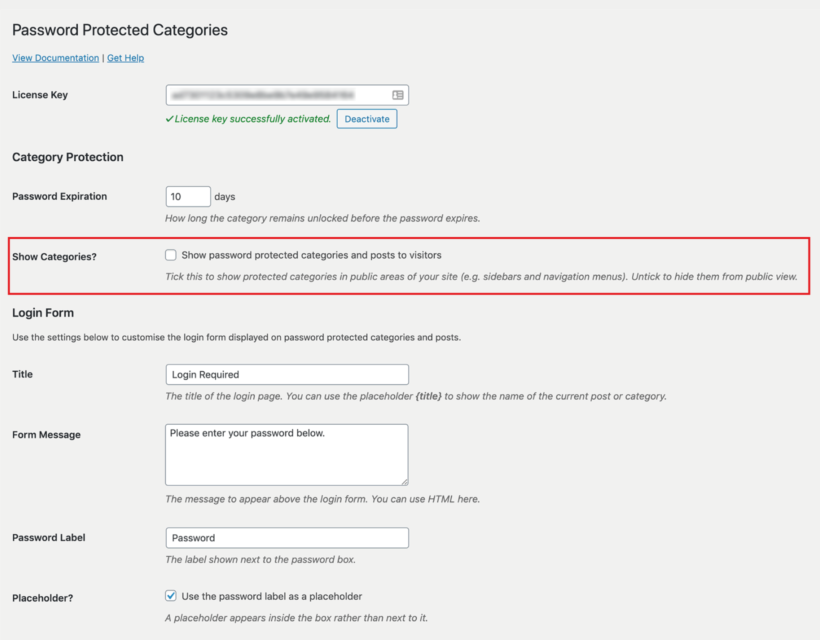
From the same screen (i.e. go to Settings → Protected Categories from the WP admin panel), you can configure the plugin’s Category Protection and Login Form settings.
Category Protection

The Password Protected Categories plugin lets you decide how quickly you’d like to hide WordPress categories after they’ve been unlocked. In other words, you can decide how long the category remains unlocked before the password automatically expires. By default, this is set to 10 days.
In addition, you can tick the checkbox next to the Show Categories? option to show password-protected categories, posts, and pages to visitors. If you enable this option, the protected categories will appear in public areas of your WordPress site. This also includes sidebars and navigation menus.
Private, user and role restricted categories
Choose what will happen if someone tries to access hidden content while they're logged out.
Login Form
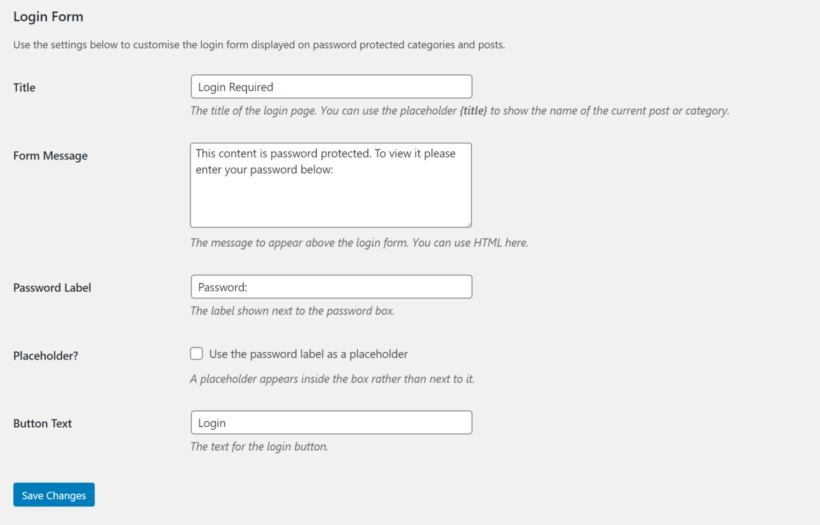
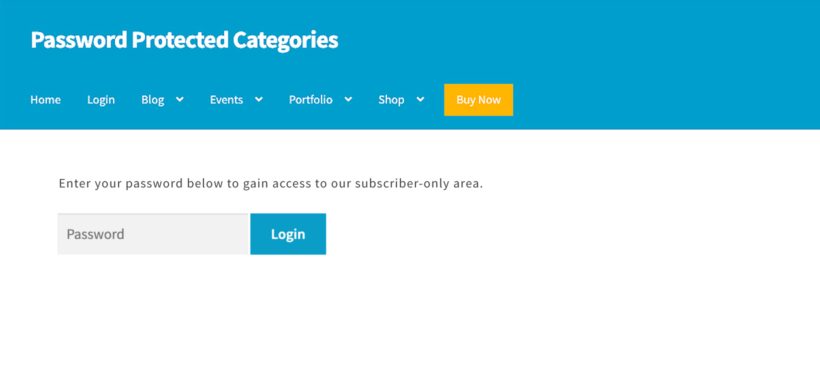
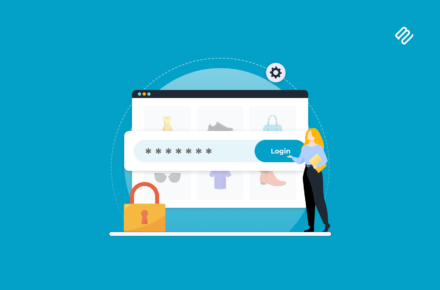
When a visitor tries to access a password protected page, post, or category on your WordPress site, they’ll be prompted to fill out a WP login form. The Login Form settings let you configure the look and feel of the WP login form that’s displayed on password-protected categories and posts.
You can set the:
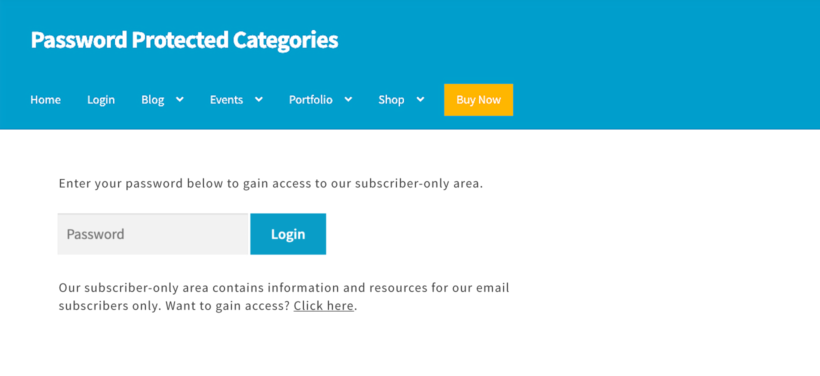
- Title of the login form
- Form message
- Password label
- Placeholder (i.e. if you want to use the password label as placeholder text)
- Button text
Depending on the WordPress theme or child theme you’re using, the login form (or login page) will look something like this on the front-end:
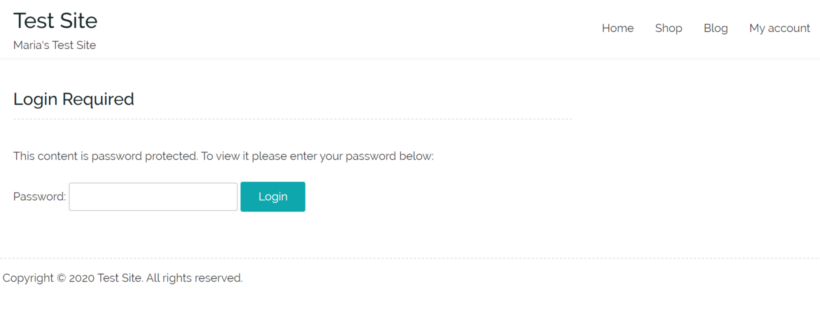
Click the Save Changes button at the bottom of the screen to proceed.
Step #3: Hide WordPress pages, posts, or categories
Once you’ve configured the plugin settings, you can hide WordPress pages, posts, and categories.
Here’s what you need to do to make categories hidden, password-protected or private:
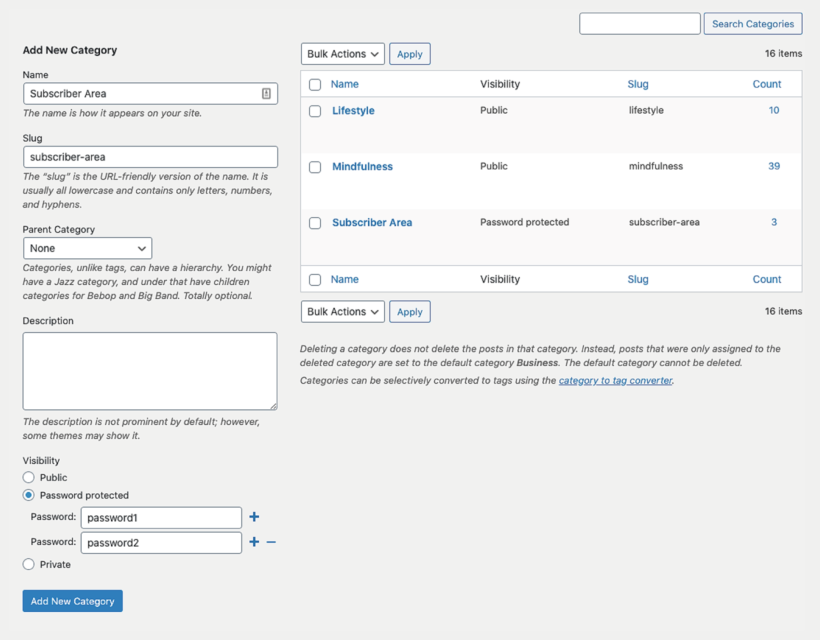
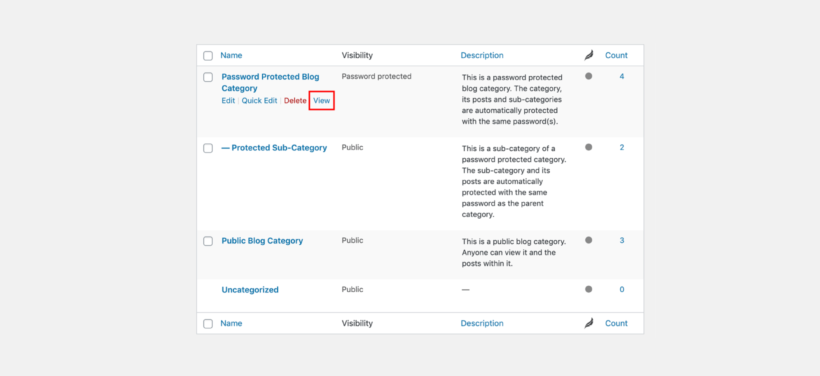
Head over to Posts → Categories from the WP admin panel. Create a new category and give it a name, slug, and description.
You can also create a hidden sub-category. Simply use the Parent Category option to choose the correct parent category. If your parent category isn’t protected then only the content you add to the sub-category will be protected.
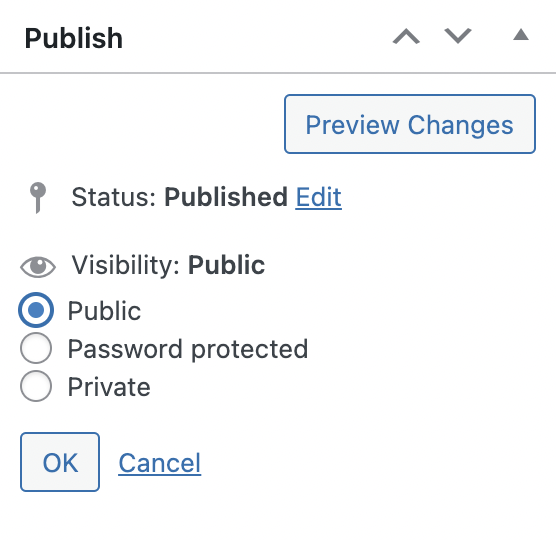
Use the Visibility settings to either password-protect the WordPress category or hide it based on users or roles.
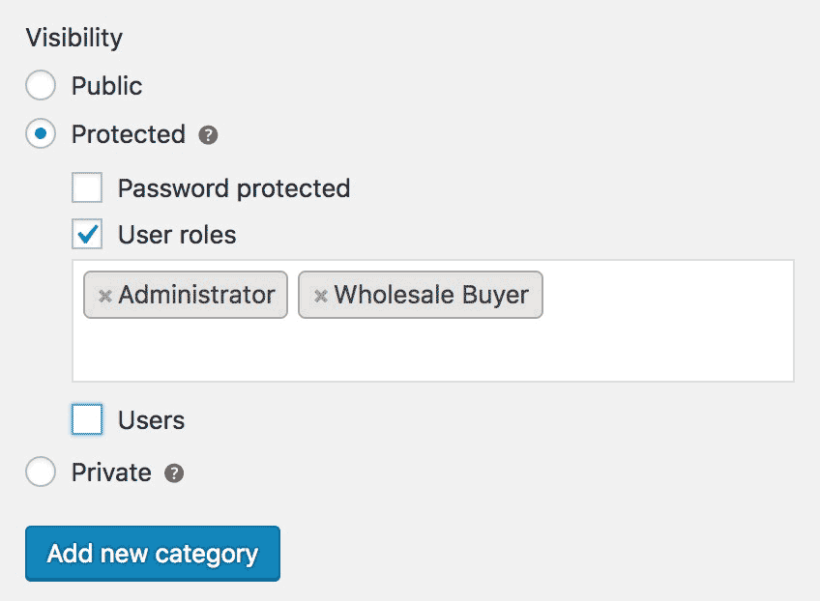
If you choose to password-protect the WordPress category, you’ll have the option to set one (or more passwords).
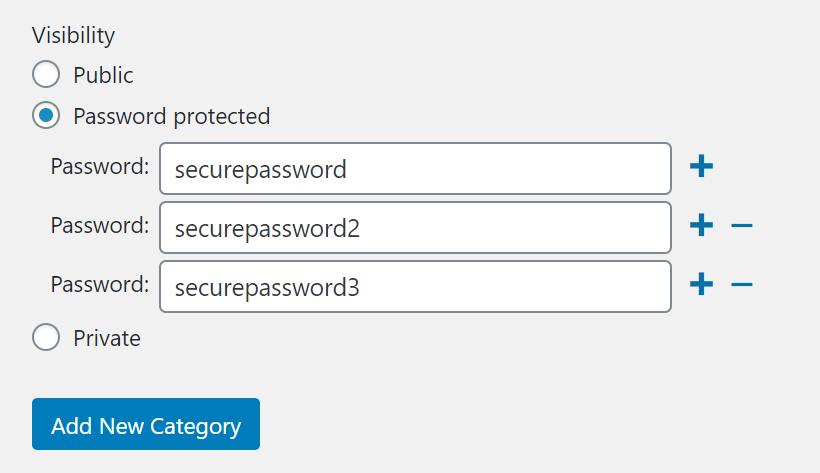
You can also restrict the hidden category to specific users or roles.
Feel free to mix and match the different types of protection, as they are designed to work alongside each other. For example, you can password protect a category and give the password to people who don't have an account; and you can also unlock it for specific logged in roles.
Click the Add New Category button to continue.
Tip: Out of the box, WordPress only lets you categorize posts. If you’d like to categorize your WordPress pages, you’ll need to install a free plugin to hide WordPress pages like your homepage.
Bonus tips
By now you already know how you hide WordPress posts, pages, and categories on your site. Here, we’ll share some bonus tips that will let you hide WordPress content in advanced ways.
How to make your entire site private
You can use the Password Protected Categories plugin to hide WordPress by making your entire site private. The easiest way to do this is by putting all of your site’s content – posts, pages, and custom post types – under one or more protected categories.
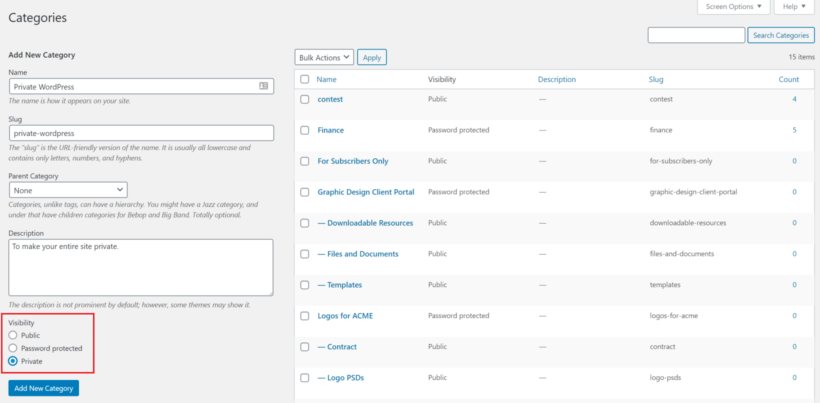
For example, you can create a category called Private WordPress and sort all of your content under it. Then, you would simply use the Visibility options of the Private WordPress category to hide it from public view.
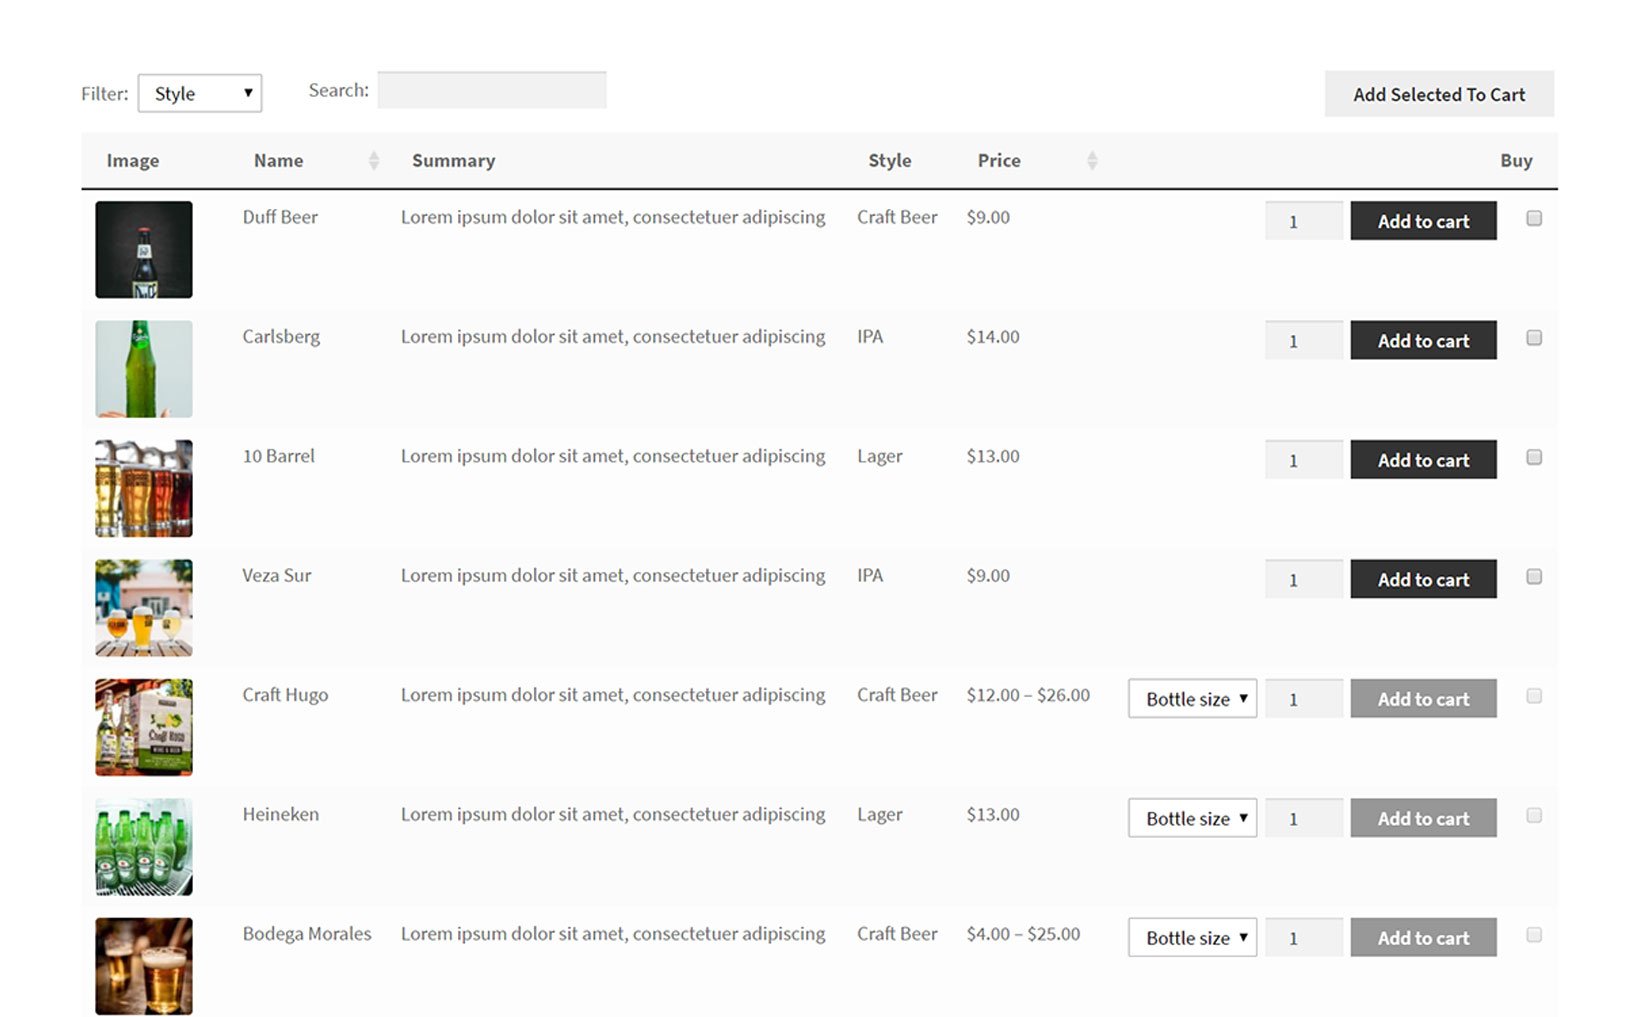
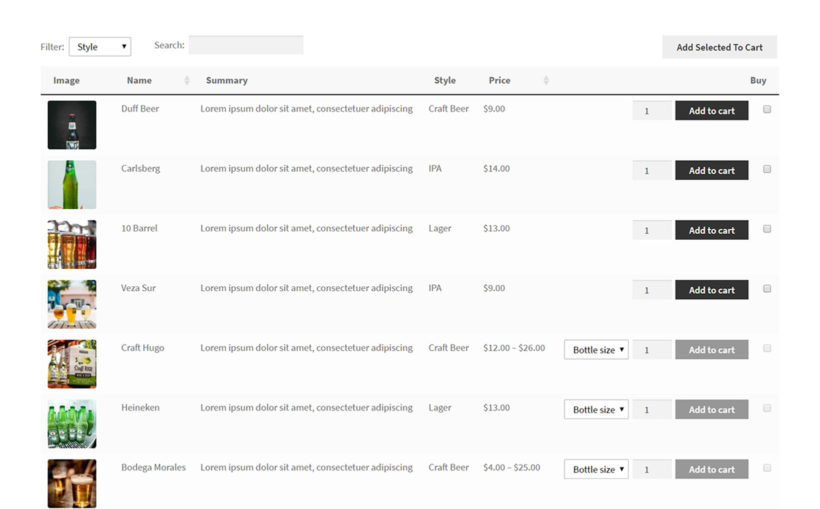
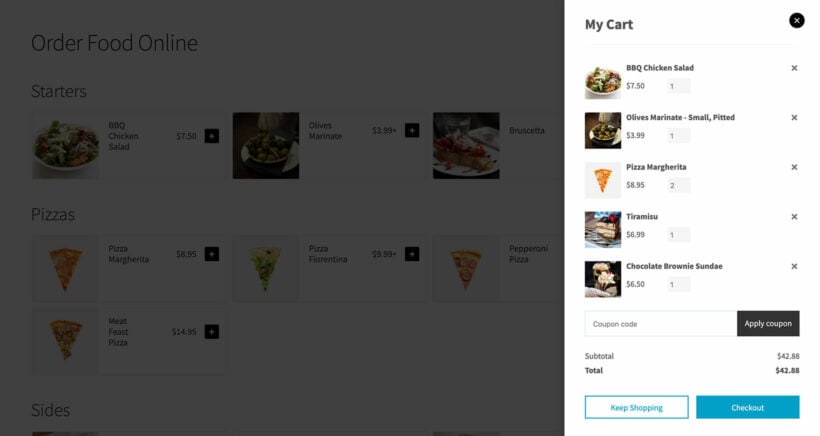
How to hide WooCommerce
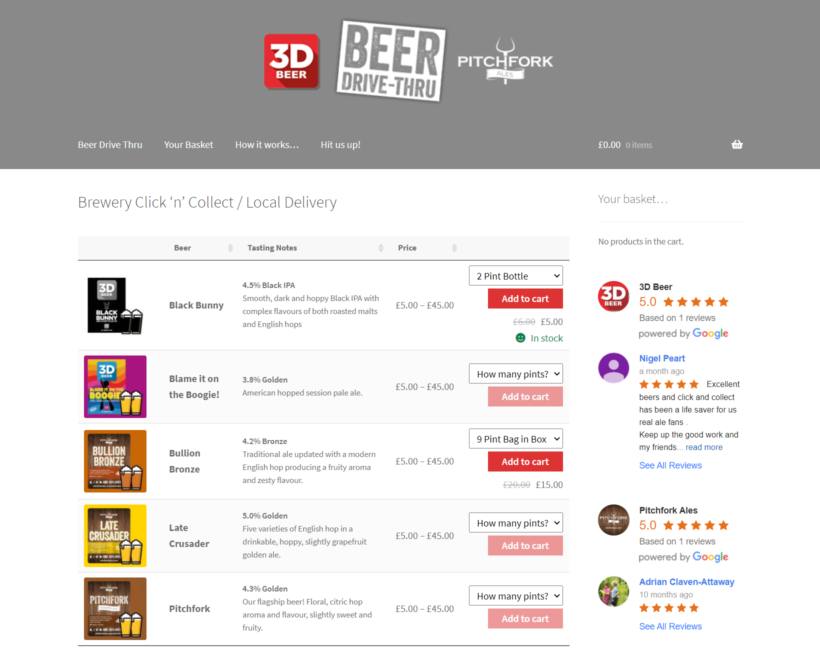
If you’re running a WooCommerce store and are looking for a way to hide WordPress content or product categories, you can use the WooCommerce Protected Categories plugin instead.
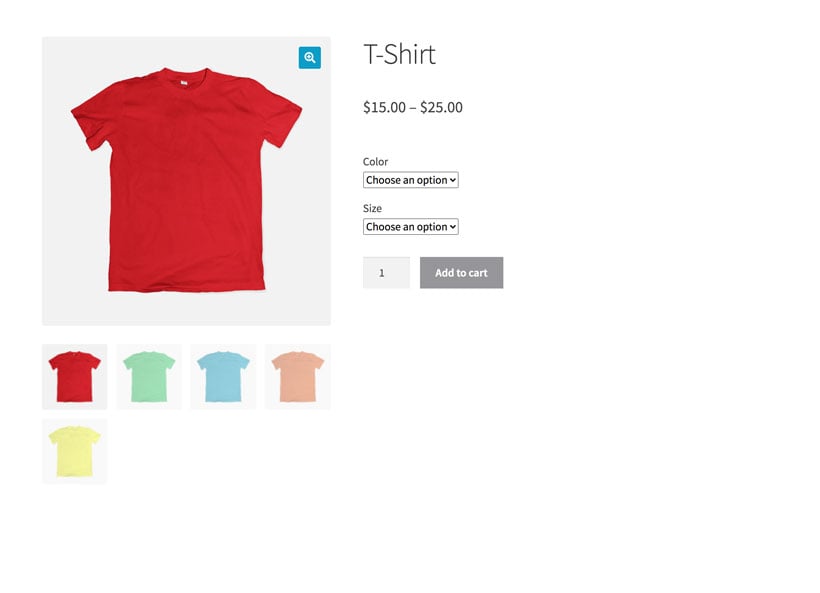
The WooCommerce Protected Categories plugin is built specifically for WooCommerce stores. In addition to this, it comes with extra features to hide product categories based on individual users or roles.
Similar to Password Protected Categories, you can also protect all of the products sorted under a specific category, including sub-categories, automatically. In other words, the products and sub-categories automatically inherit the same protection. They'll also automatically be hidden from search engines like Google.
Be sure to check out our article on hiding WooCommerce products for more information.
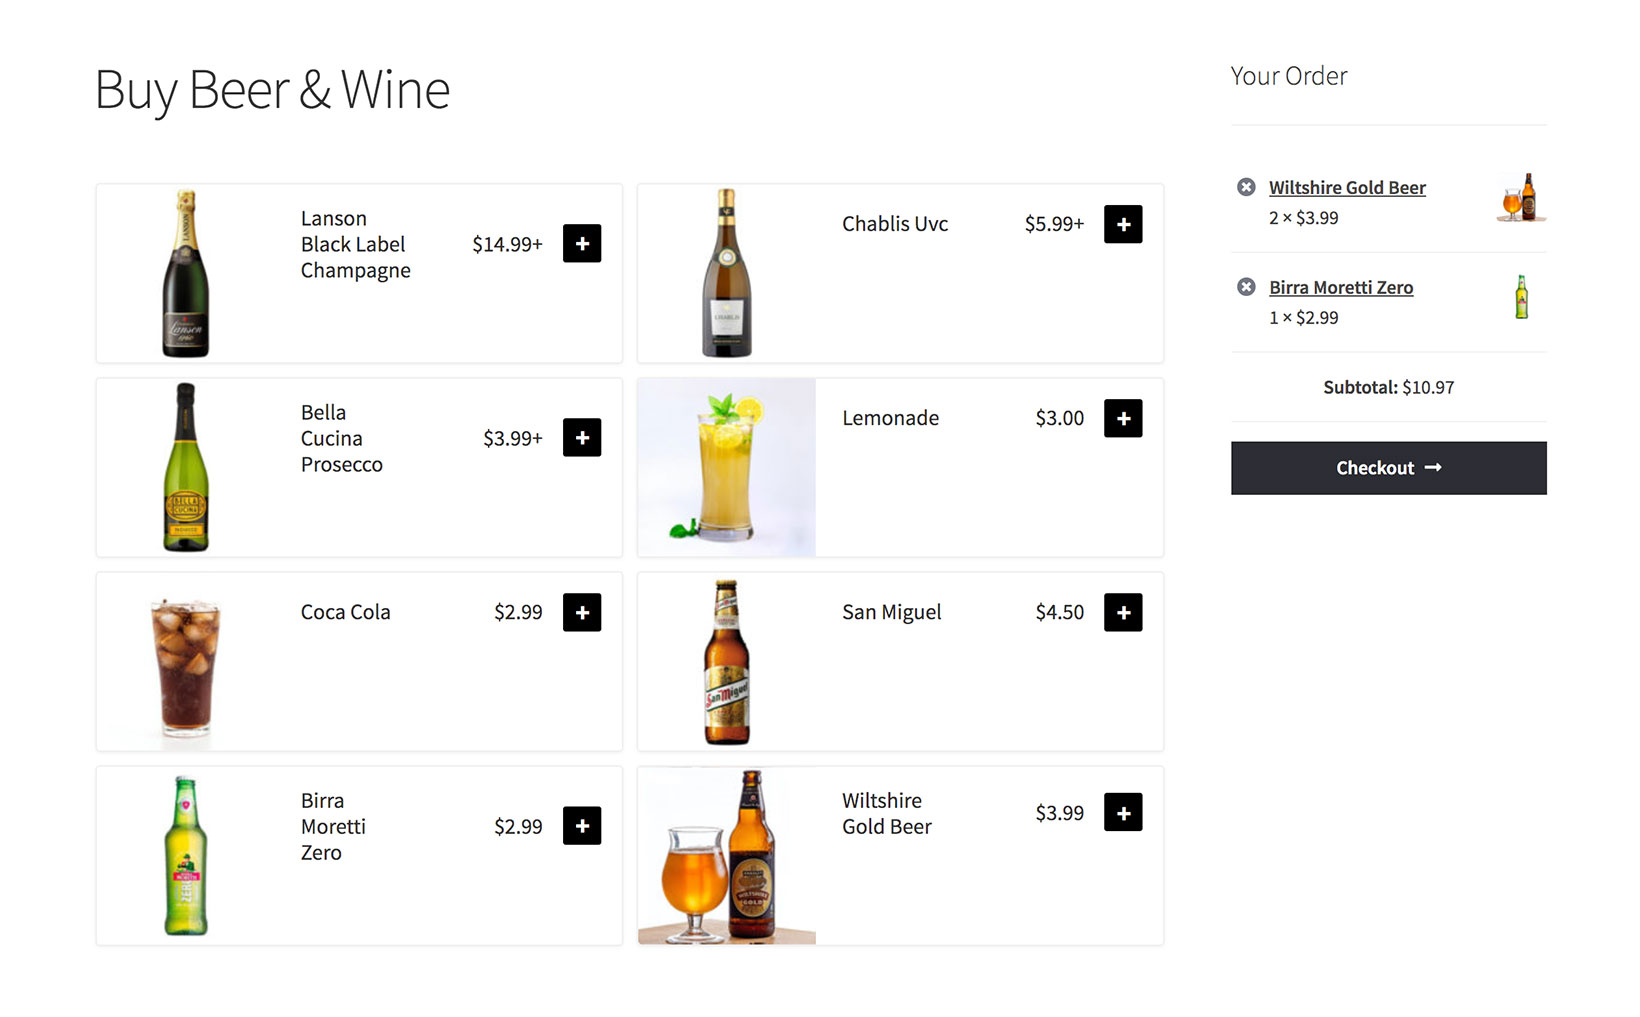
It is perfect for online store owners that need a way to sell to both wholesale and retail customers. Store owners can also use this to offer discounted rates to customers who create an account on their site.
Where to get the plugin
To get started, all you have to do is install Password Protected Categories – the easy plug and play solution that’s helping people all over the world hide WordPress posts, pages, and categories in a few simple steps.
To recap:
- No technical knowledge required – get up and running within minutes and no need to mess around with PHP files.
- Just follow the simple steps in our tutorial above to hide WordPress posts, pages, and categories on your site.
- Full support is available if you need any help getting started or advice.
- 30-day money-back guarantee – love it or get a full refund, zero risk!
Get Password Protected Categories and start hiding WordPress today!