

Everyone wishes to live in a picturesque atmosphere, but in modern times, we are encircled by man-made constructions that has increase the solitariness from the natural world. Without a doubt, gardening is a pleasurable hobby, and there are a number of other advantages to take into account.
With the increasing era of technology and the business model for plant nurseries and center can help people's growing interest in gardening. Therefore, if you have a deep love for nature and a passion for gardening, you can consider beginning an online plant business to assist people achieve their goals. The good news is that you can set up a garden center online shop using WordPress and WooCommerce in a few simple steps.
In this complete, guide, we’ll show you step-by-step how to set up a garden center in WordPress. This will enable you to continue running your business even if you can't serve as many customers in person, which can make a big difference to your sales.
You’ll learn how to set up a garden center store in WordPress using the WooCommerce Product Table plugin.
Why garden centers need to start selling online
During the Coronavirus outbreak, businesses of all sizes were looking for ways to stay operational. However, with social distancing policies and lockdown restrictions, it sometimes proved to be difficult to sell to customers from a brick-and-mortar store.
Fortunately, as a garden center owner or florist, you can set up an online store so you don’t miss out on sales. It’s also a great way to reach more customers and potentially increase sales. As well as selling to local customers who would normally visit you in person, you can extend your reach to a national or even international audience.
You can add products to your garden center store and allow customers to browse and purchase them from home. You can choose to ship products to customers or offer in-store (or curbside) pickup options.
Setting up a garden center in WordPress
The first thing you need to do is set up an easy-to-use website for your garden center. The easiest way to do this is by using WordPress and WooCommerce. Since WordPress is open-source, you’ll have complete ownership over your garden center online store.
If you already have a non-ecommerce website for your garden center, don't worry. Simply link this to your WordPress WooCommerce online store and vice versa.
Here's what you need to do:
- WordPress. Start by installing and setting up the WordPress.org CMS on your hosting server.
- WooCommerce. Install the WooCommerce plugin on your WordPress website to enable e-commerce functionality.
- WordPress theme. You’ll need a gardening WordPress theme or a drag-and-drop page builder plugin to create an attractive website. There are plenty of free WordPress themes to choose from. This will help you deliver good user experience to customers.
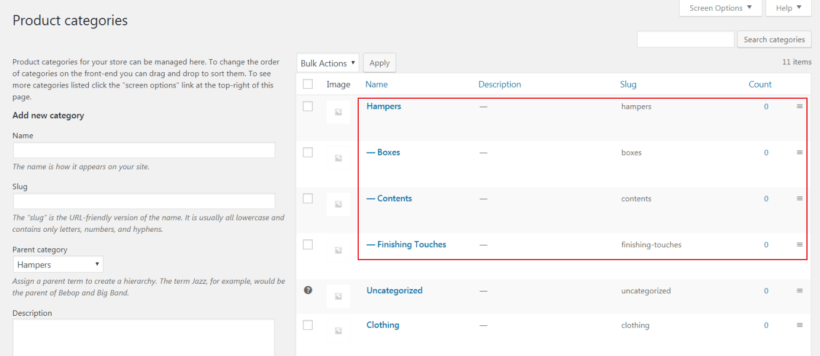
- Product categories. Your garden center online store will likely have multiple product categories if you sell a variety of different types of products. This makes it easier for customers to quickly find the products they’re looking for.
- Navigation menu. You can set up your menu by going to Appearance → Menus from the WordPress admin panel. Depending on the types of products you sell, you can list product categories in your navigation menu or simply link to the main shop page.
Once you've set that up, you can set up a garden center online store in WooCommerce.
WooCommerce Product Table: the perfect plugin for setting up a garden center store
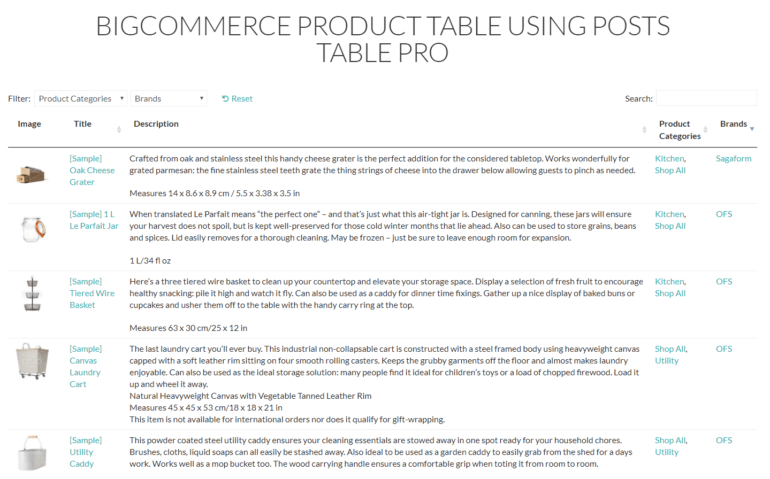
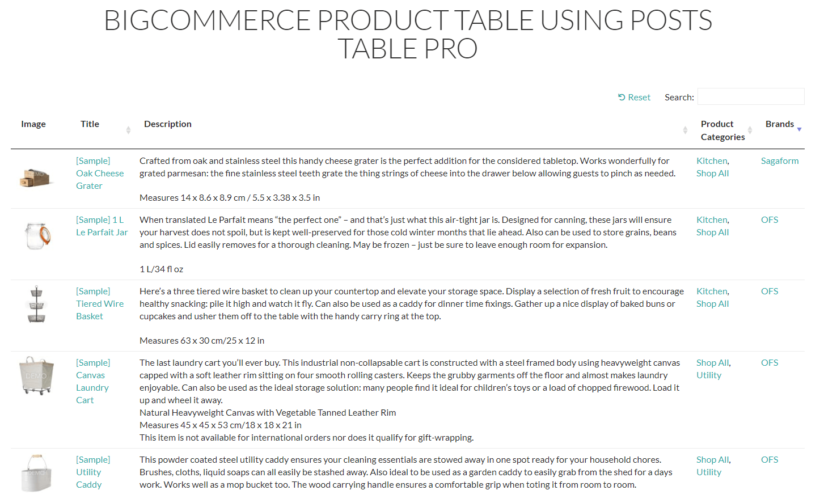
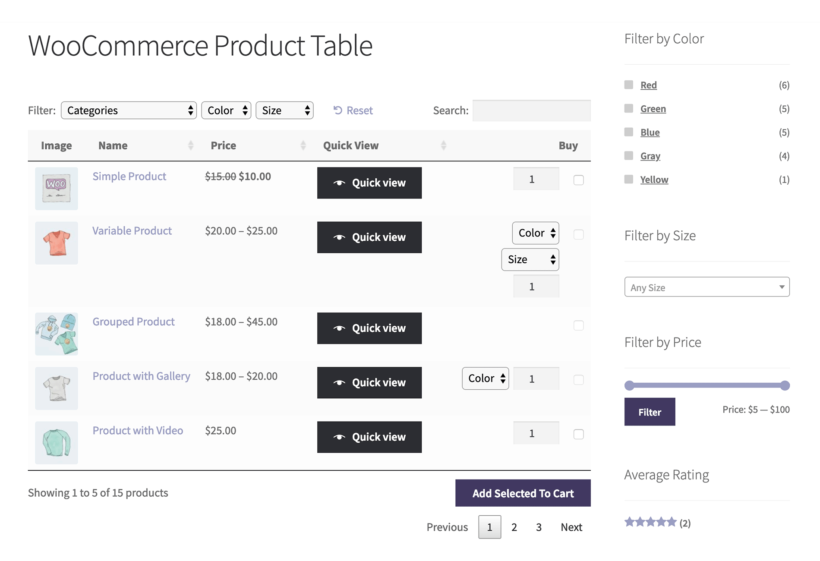
The WooCommerce Product Table plugin is perfect for setting up a garden center store in WordPress. It lets you display products in a front-end table layout with search, sort, and filter options. This way, customers can quickly find the products they’re looking for and add them to their shopping cart.
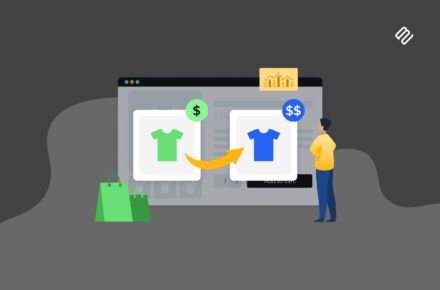
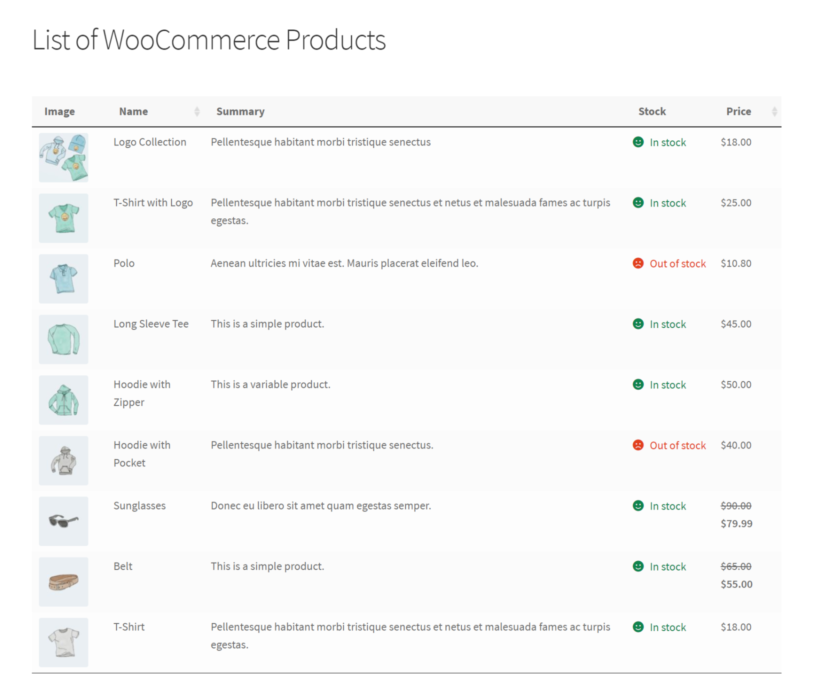
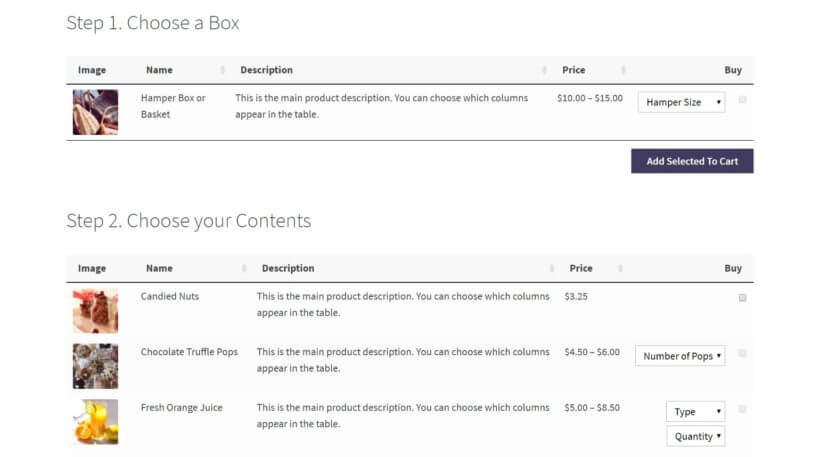
As compared to the default store layout you get with WooCommerce out of the box, the WooCommerce Product Table plugin lets you showcase your garden center products in an order form layout. You can choose which columns to display in your product table.
This way, customers don’t have to visit the single product page to learn more about each item, select variations, or add it to their shopping cart. Instead, customers can view product details, set the quantity selector, tick the checkboxes next to the products they’d like to purchase and add them to cart in one go.
How to set up a garden center in WooCommerce
Once you’ve set up your WordPress website, follow the steps below to set up a garden center in WordPress using the WooCommerce Product Table plugin.
Step 1: Add garden center products to your online store
Start by adding products to your garden center e-commerce store as individual WooCommerce products. If you sell a variety of different products – plants, flowers, seeds, soil, planters, lawn care products – then we recommend creating categories to keep them organized. This also makes it easier for customers to quickly find the garden products they’d like to purchase.
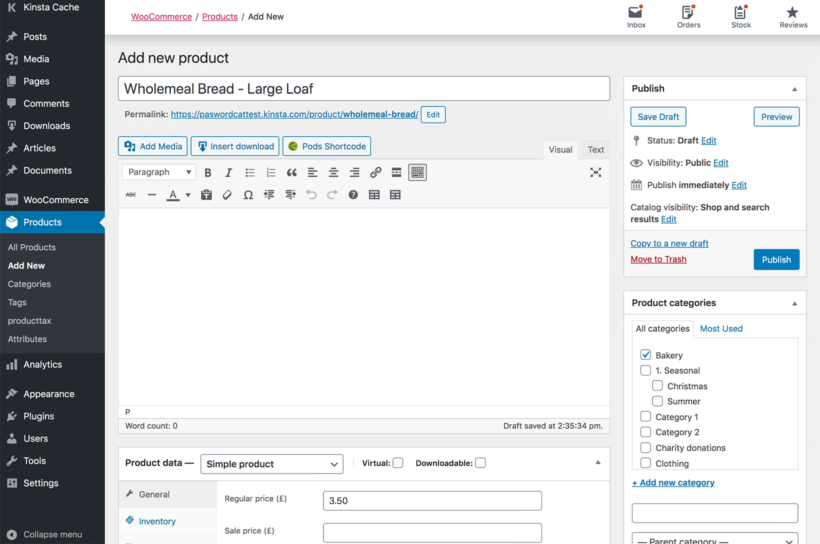
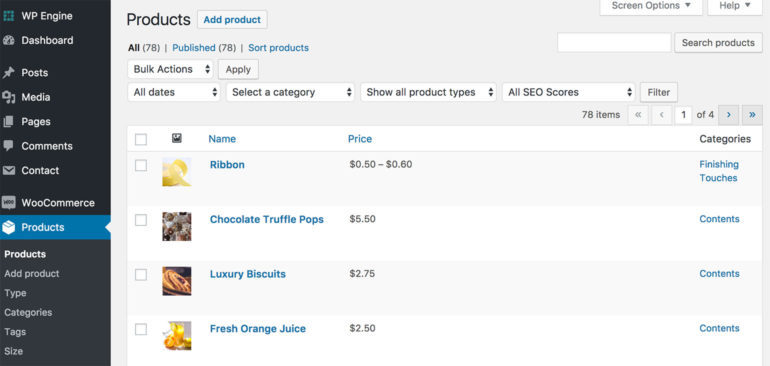
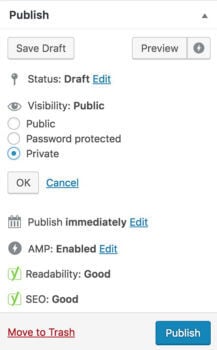
Head over to Products → Add New from the WordPress admin panel to add each item as a WooCommerce product. Enter a title, brief description, product image, and price for each item. Finally, select the appropriate category for the product. Click the Publish button to continue.
Step 2: Configure the WooCommerce Product Table plugin settings
Once you've bought and installed WooCommerce Product Table, go to Products → Product Tables in the WordPress admin. From here, you can set up the order forms for your garden centre products.
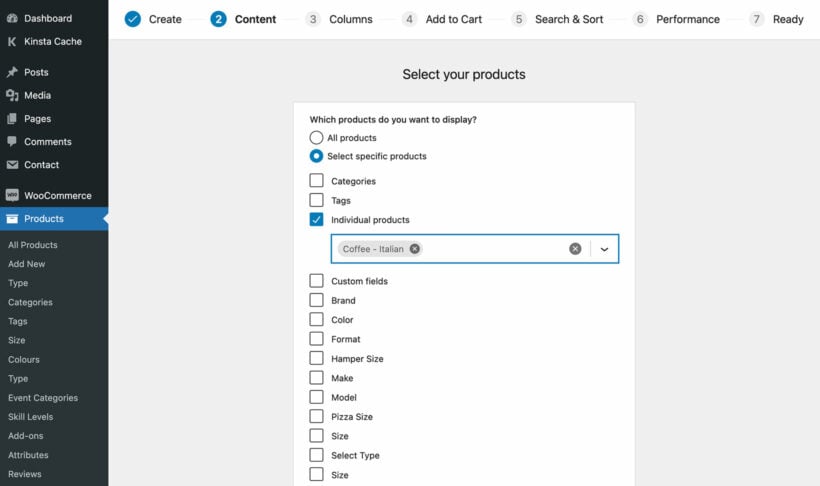
2a. Choose where to display the product tables
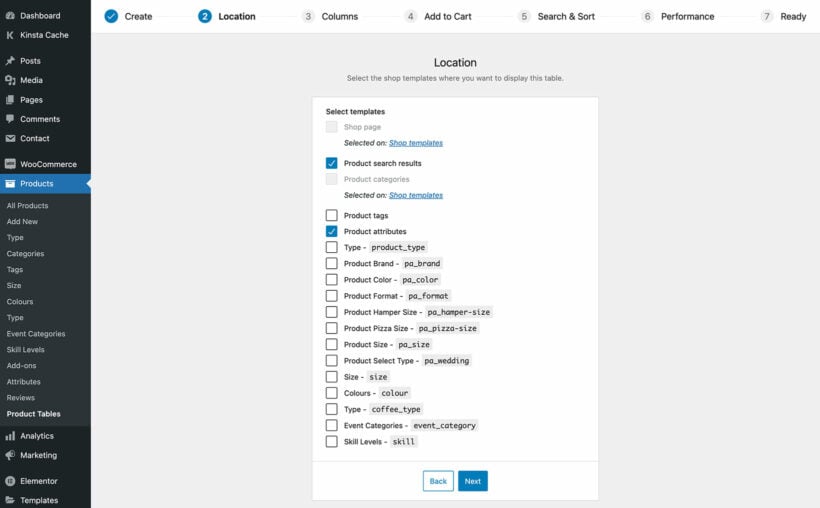
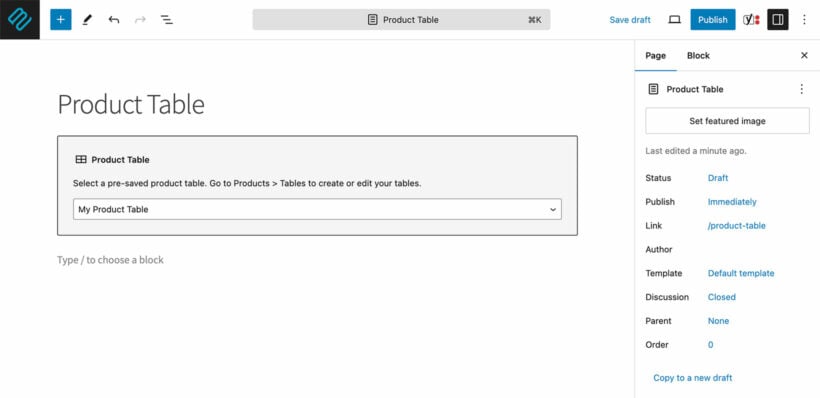
On the first page, select the 'Display on a shop page' option. This means that you will be enabling the product table layout on your main garden centre shop pages:

Once you've done that, the next page will let you choose exactly which of your WooCommerce store pages will use the table layout. You should probably enable them all:
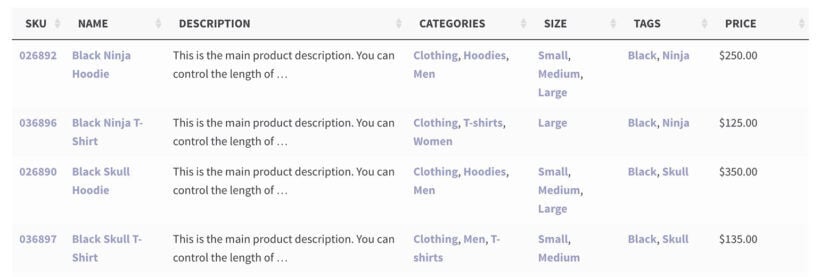
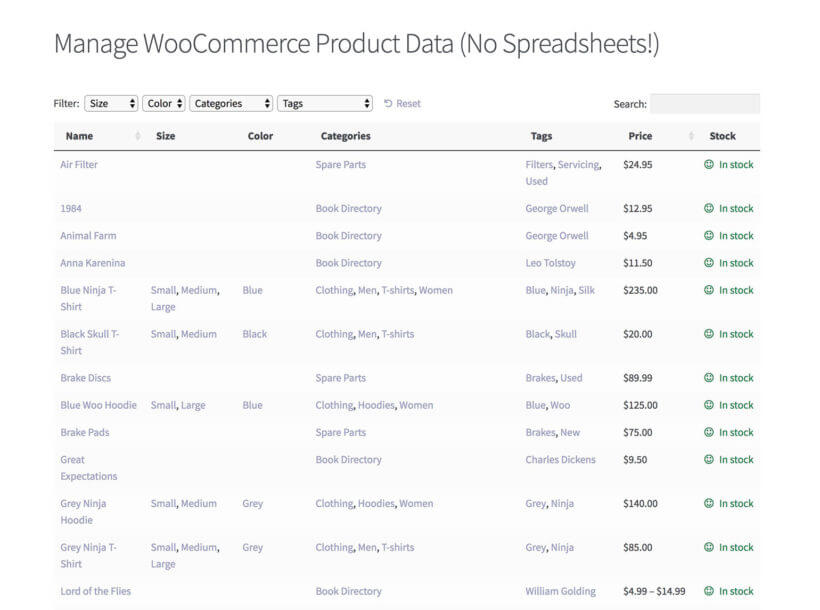
2b. Choose which product data to display on the garden center shop page
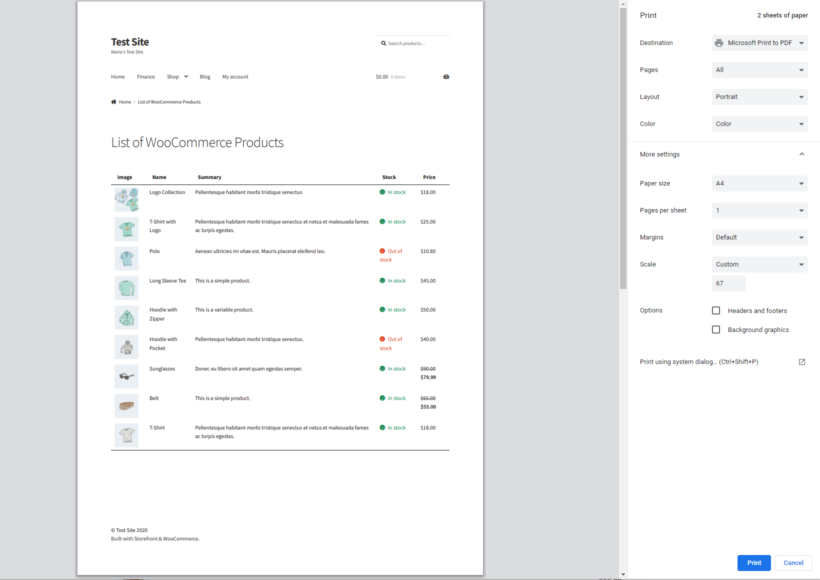
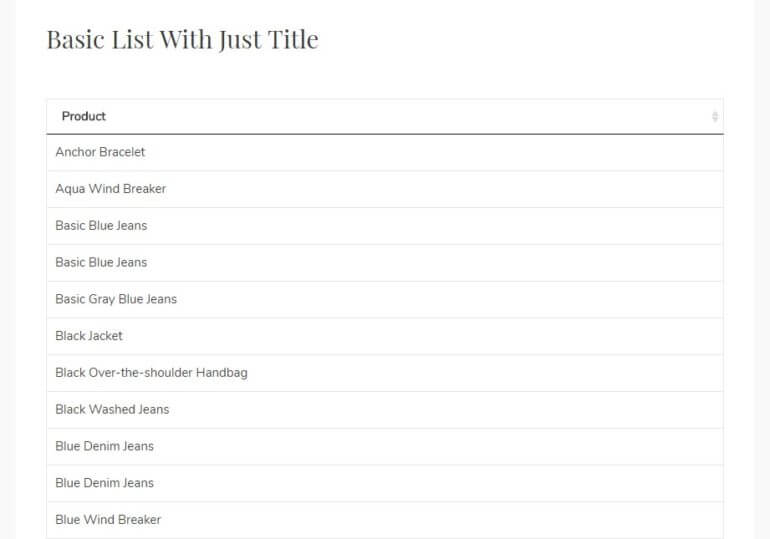
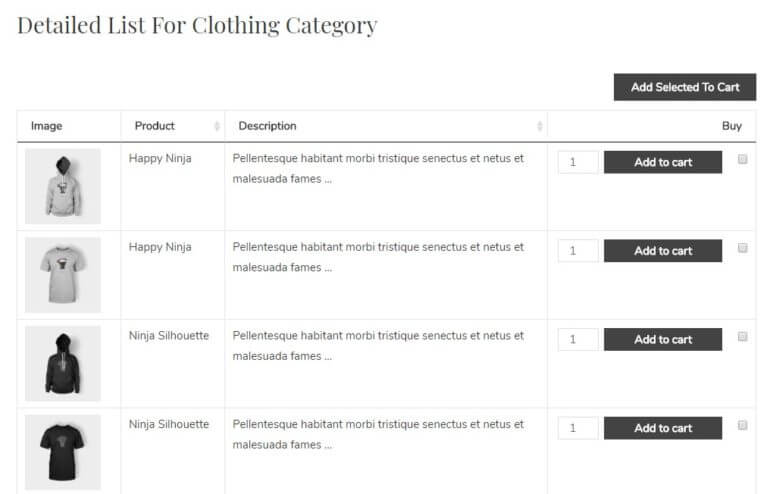
The 'Columns' page lets you choose which columns of product data appear on your main garden center shop pages. For example, you might consider displaying the product image, name, short description, price, and add to cart options. You can also display reviews and stock.

2c. Customize the add to cart column
If you included a 'Buy' column then the 'Add to cart' page lets you customize this. Think about these optiojns carefully because they can encourage customers to buy more from your garden center website!

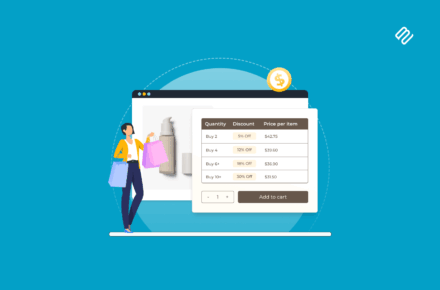
Set the 'Add to cart method' to Button and checkbox using the dropdown menu. Also make sure the Quantities checkbox is ticked.
I recommend because people often buy multiple garden center products at once. For example, a customer might purchase a few planters, soil, and seeds. They can then use the checkboxes to select the products they’d like to purchase and add them all to their cart in one go. In addition to this, they can use the quantity selector to buy more of each item.
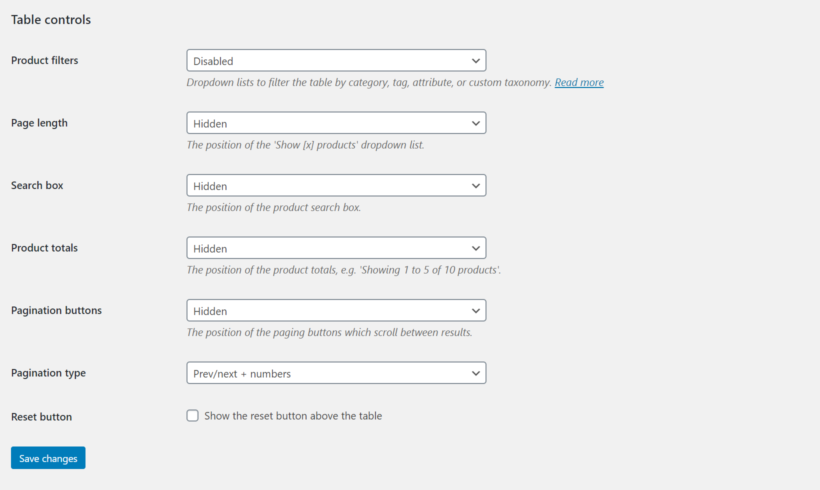
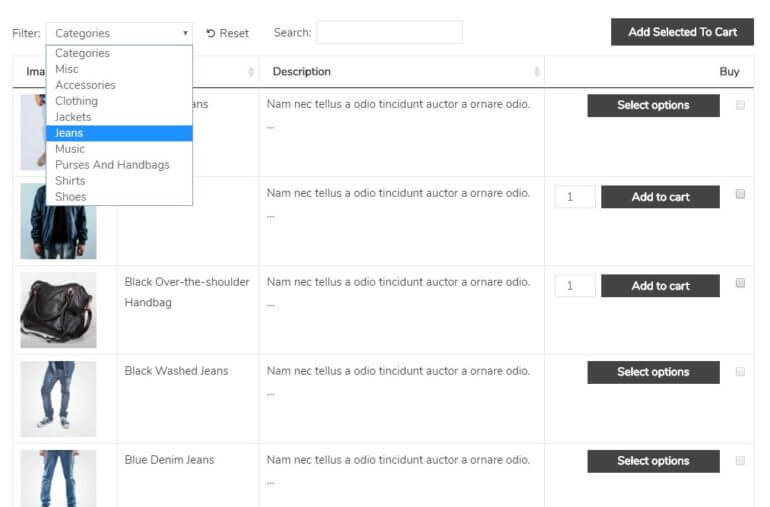
2d. Let customers find the garden center products more easily
Most garden centers have many different product categories such as plants, flowers, planters, soils, seeds, lawn care products, and gardening tools. You can let customers filter the items in the table by categories. To do this, add 'Categories to the list of filters on the 'Search & Sort' page. If you're using tags to further differentiate your products, then you can add a tag filter too.

Step #3: Display products on the front-end
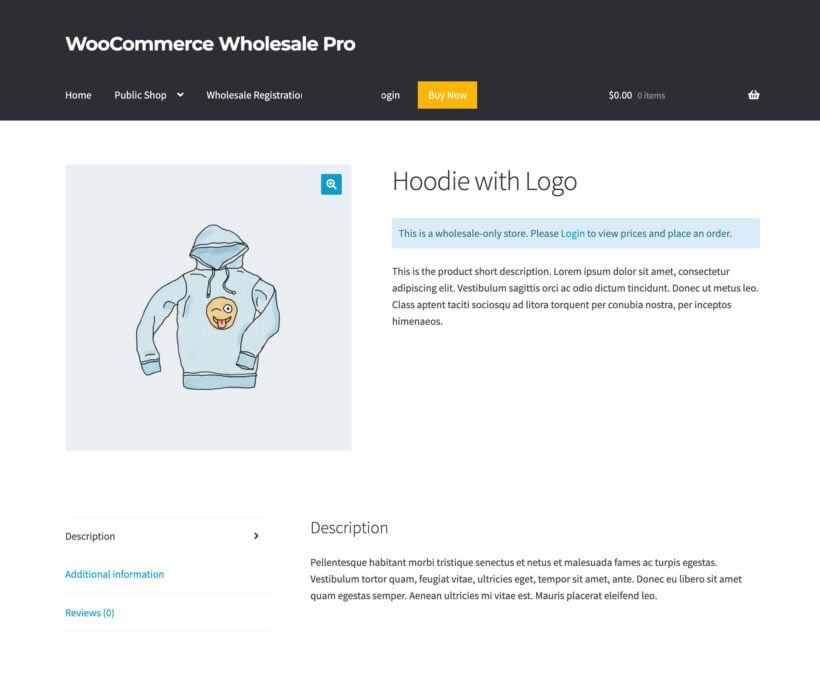
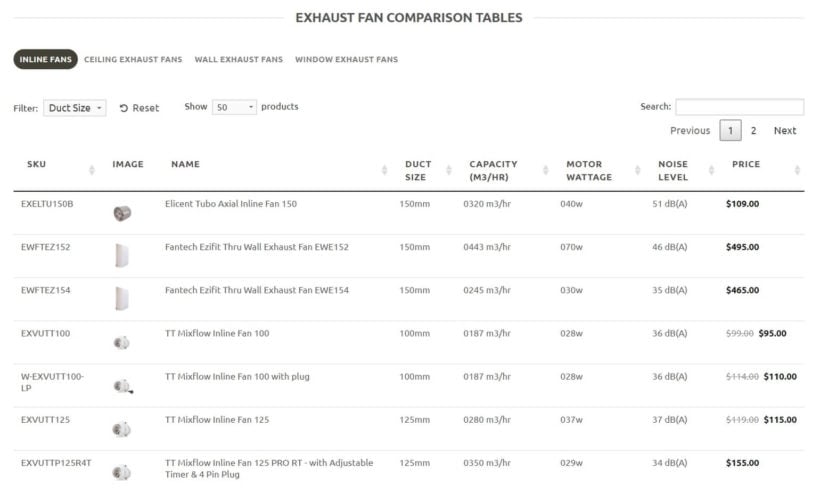
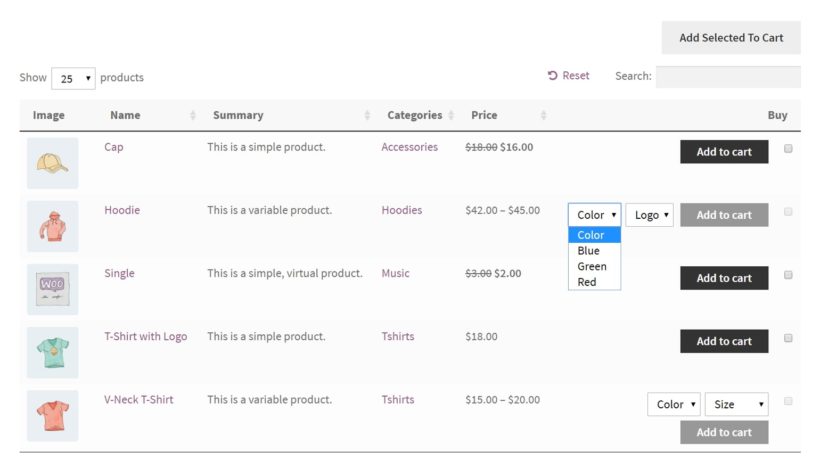
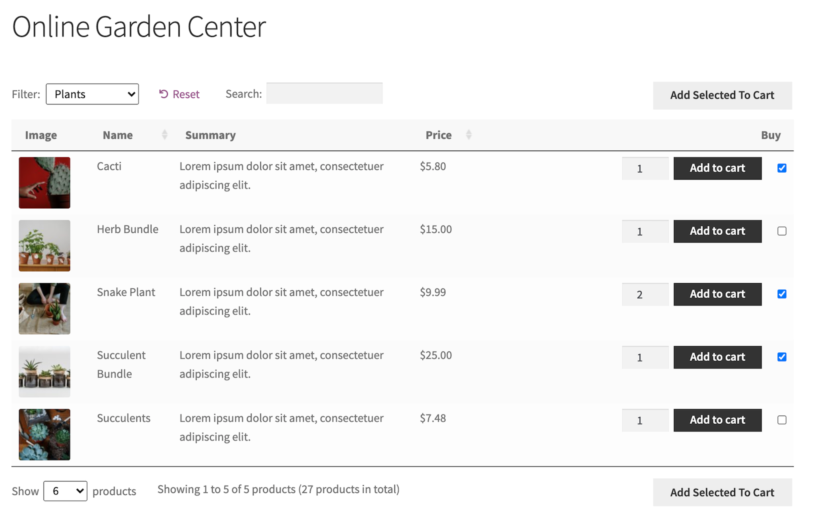
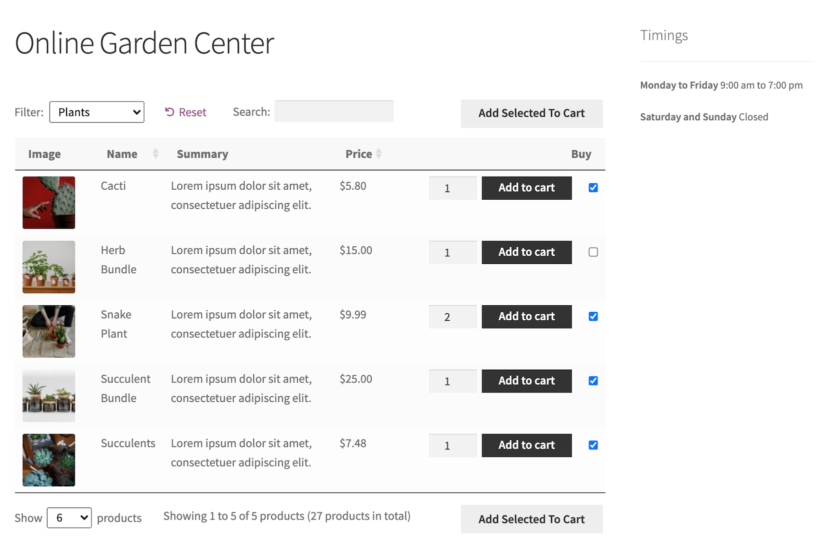
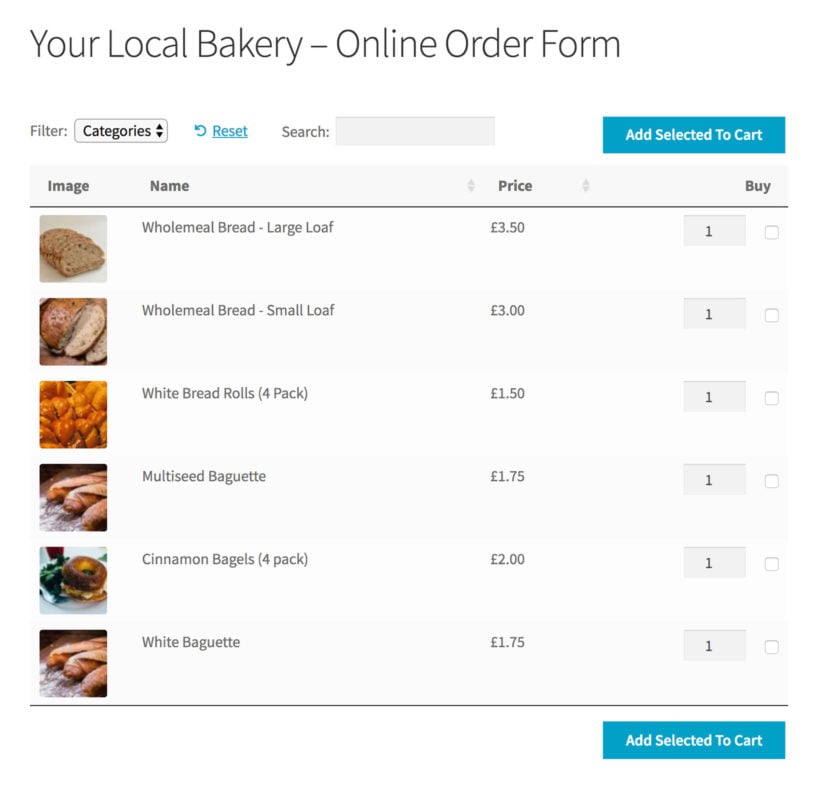
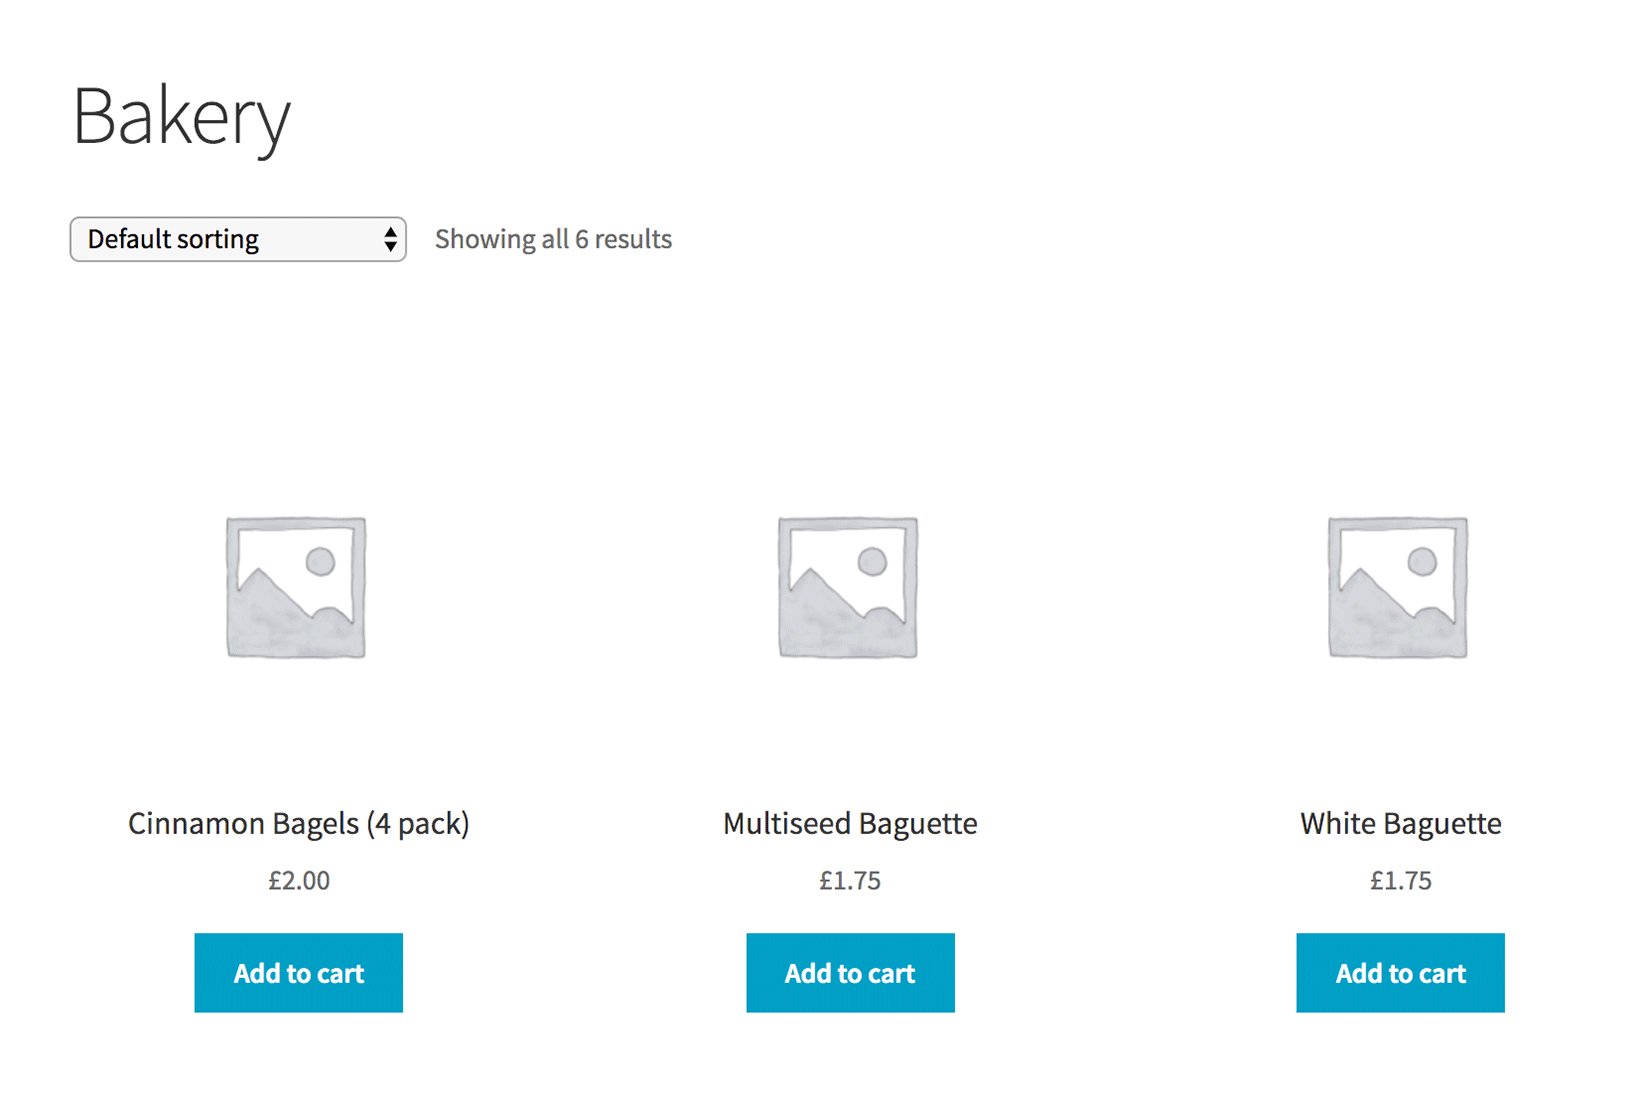
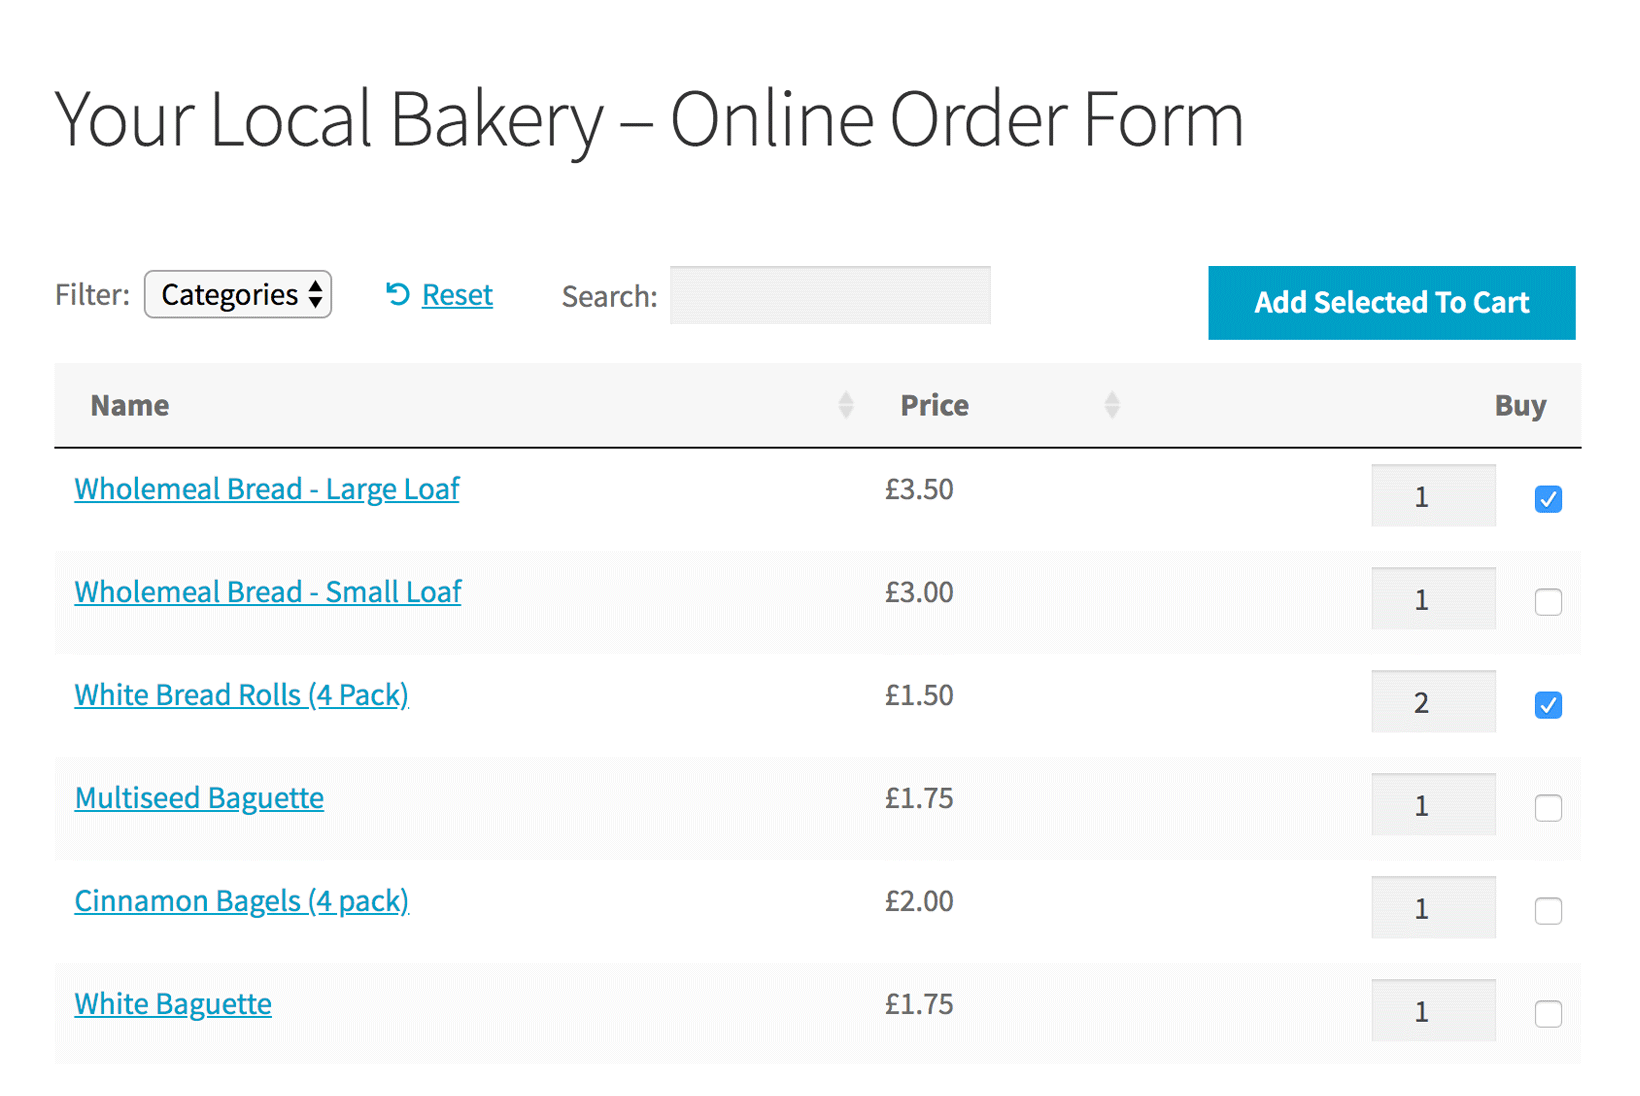
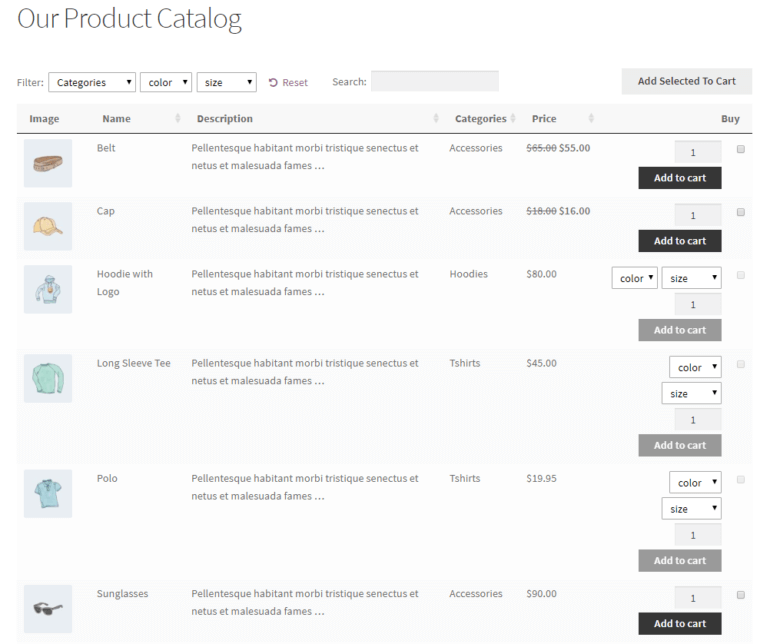
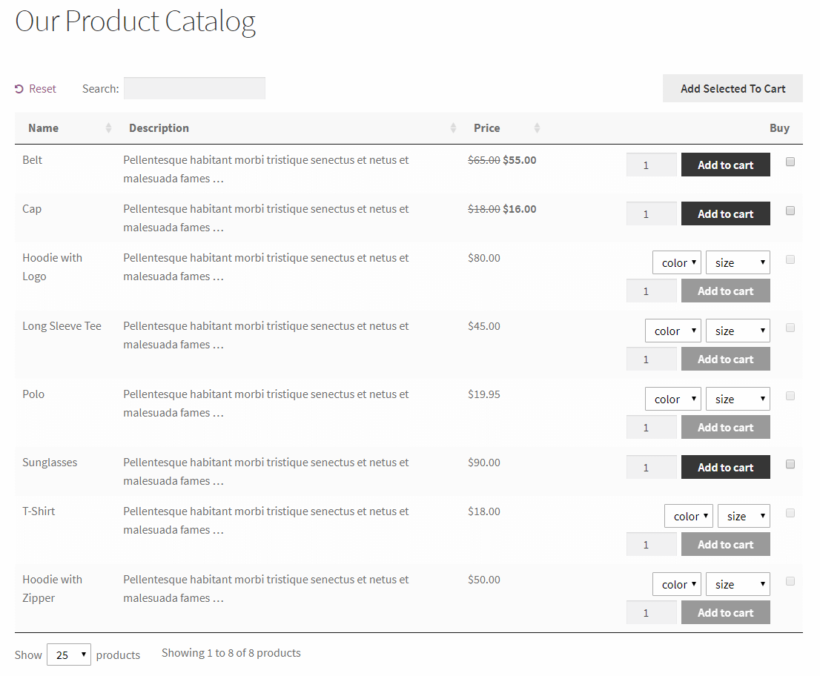
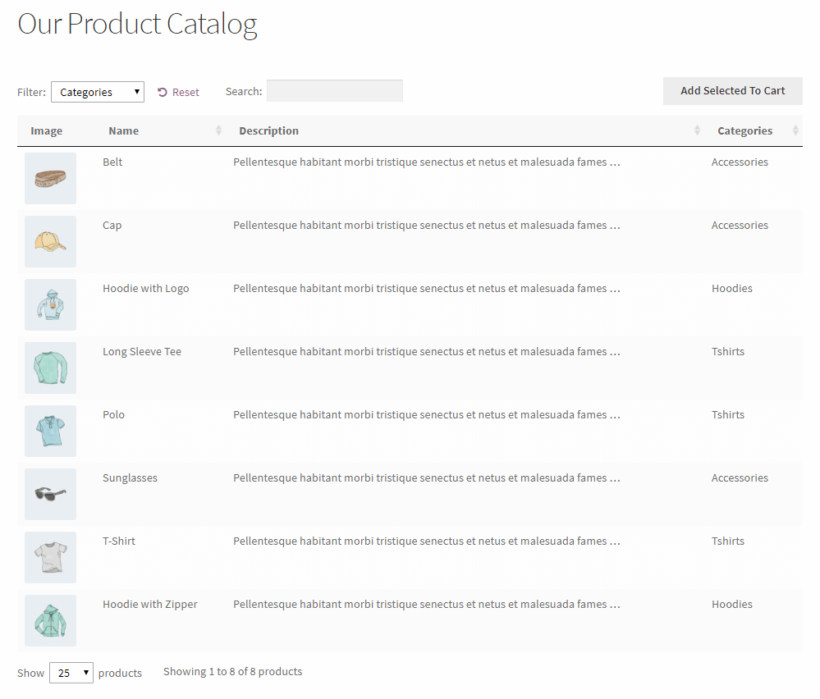
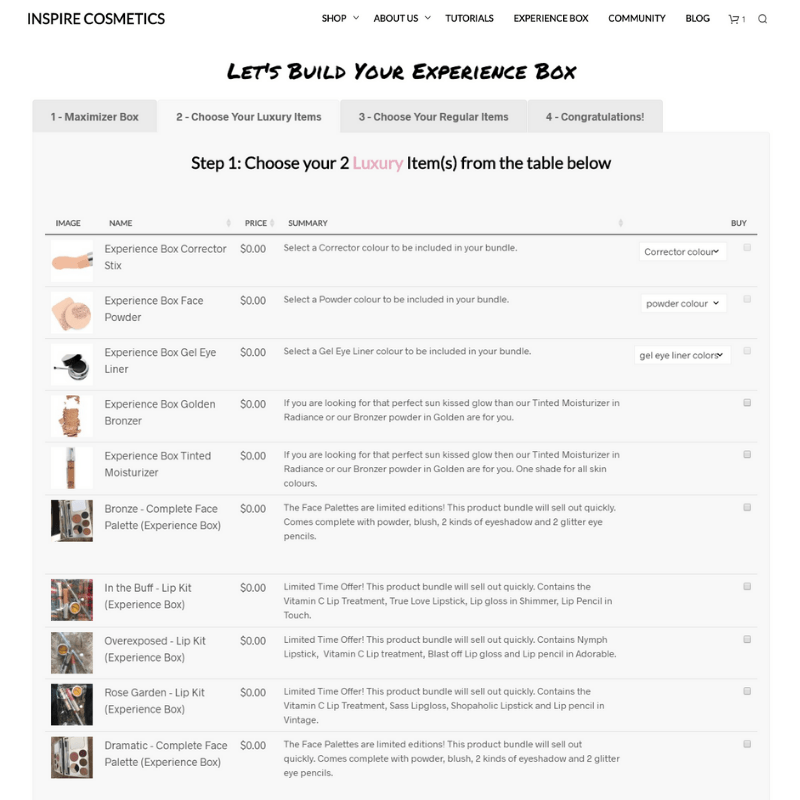
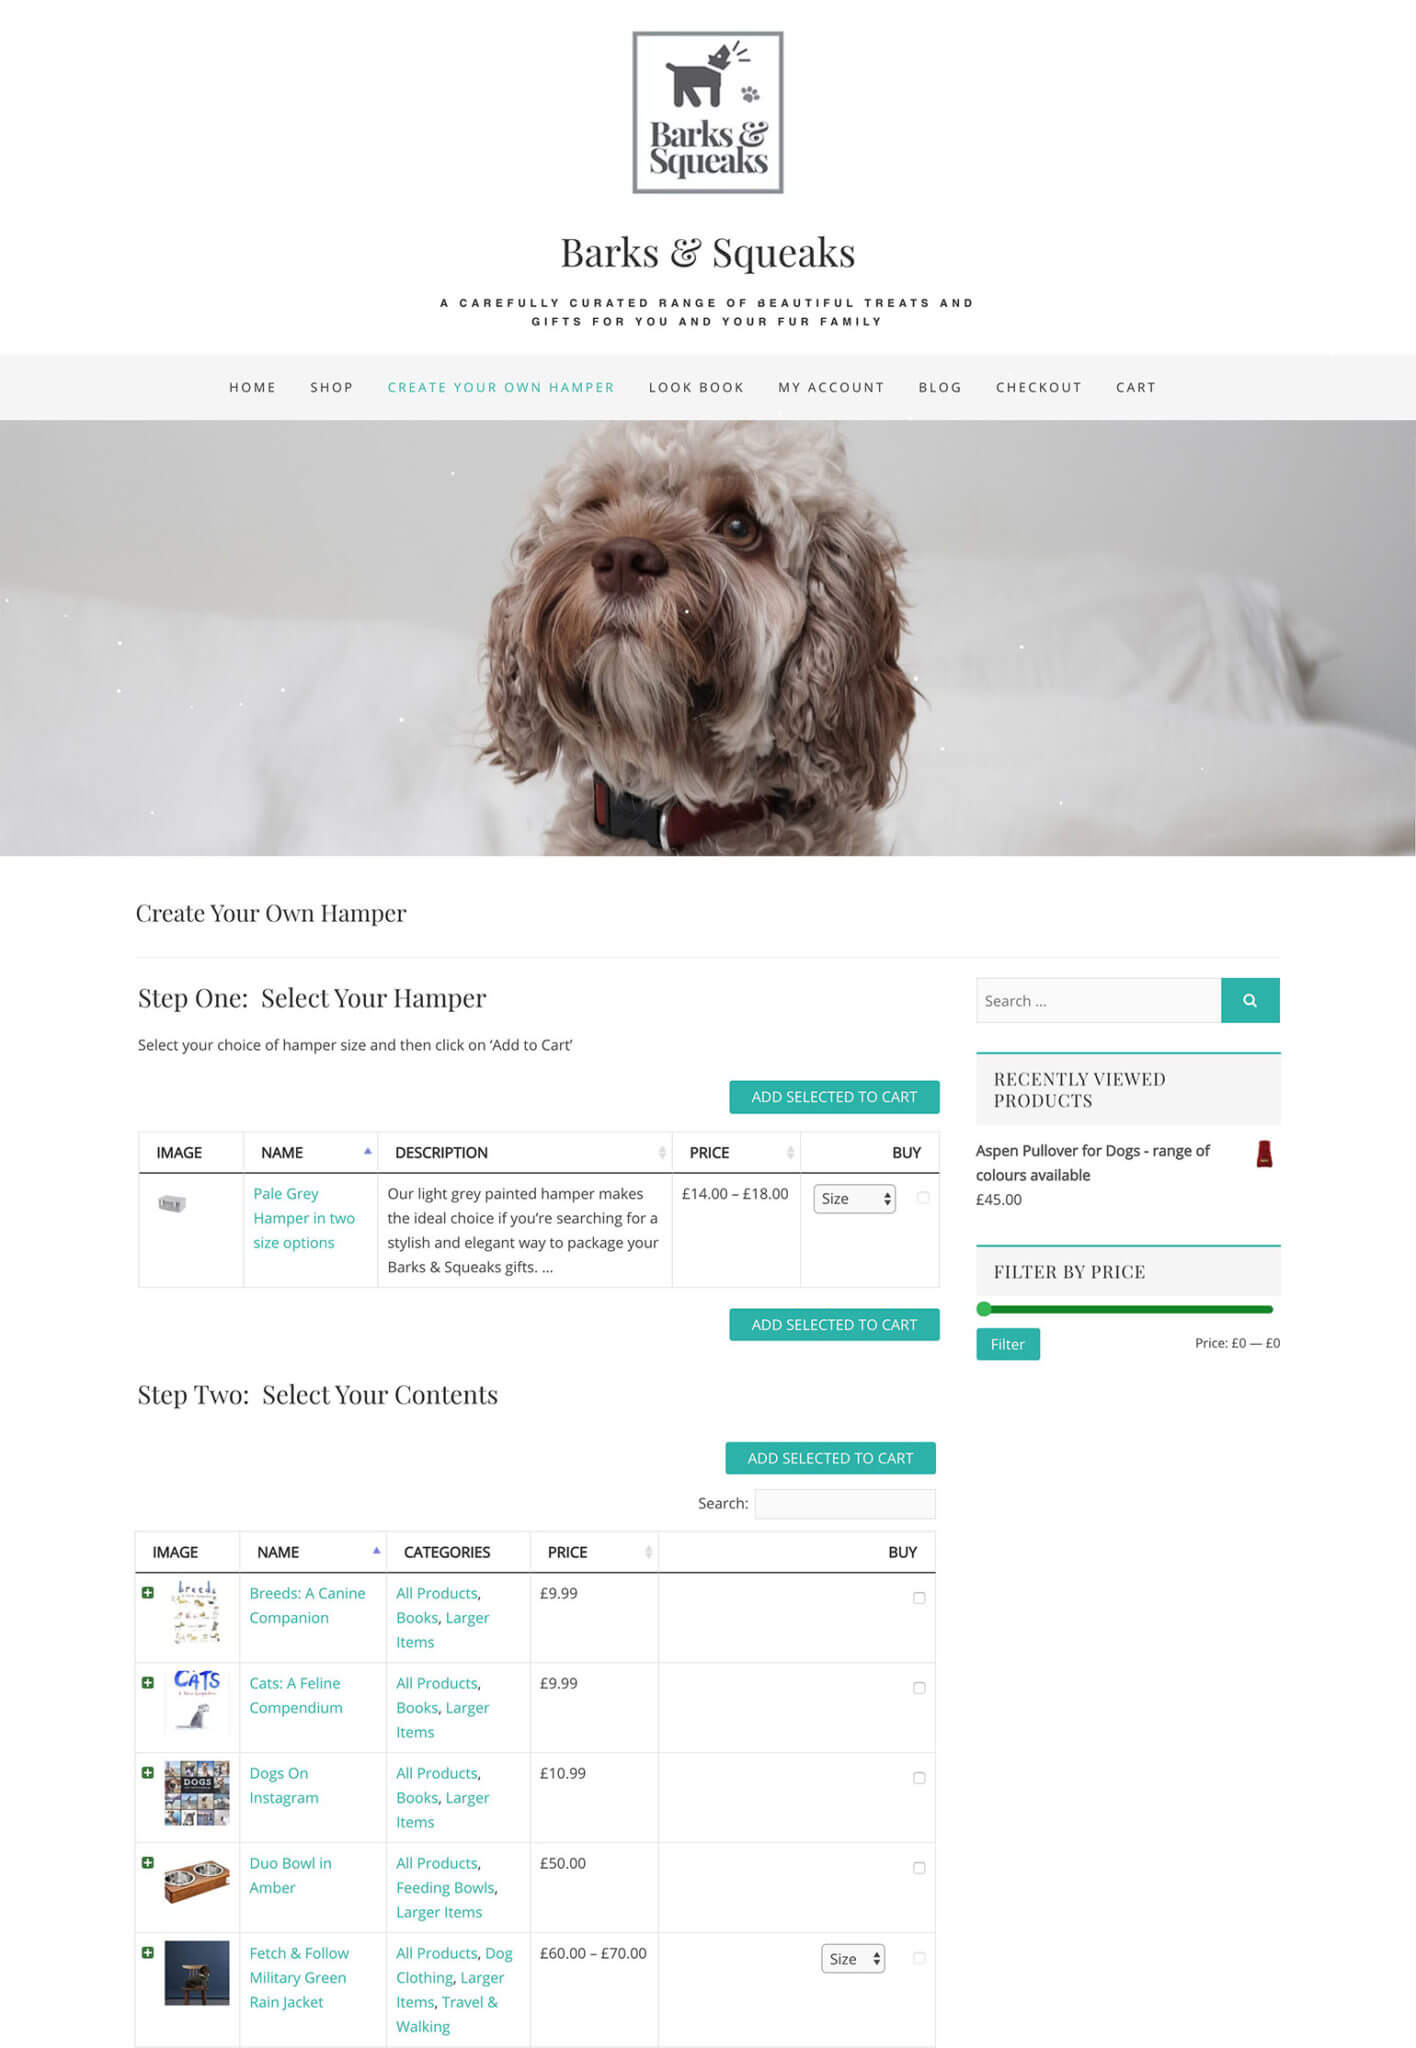
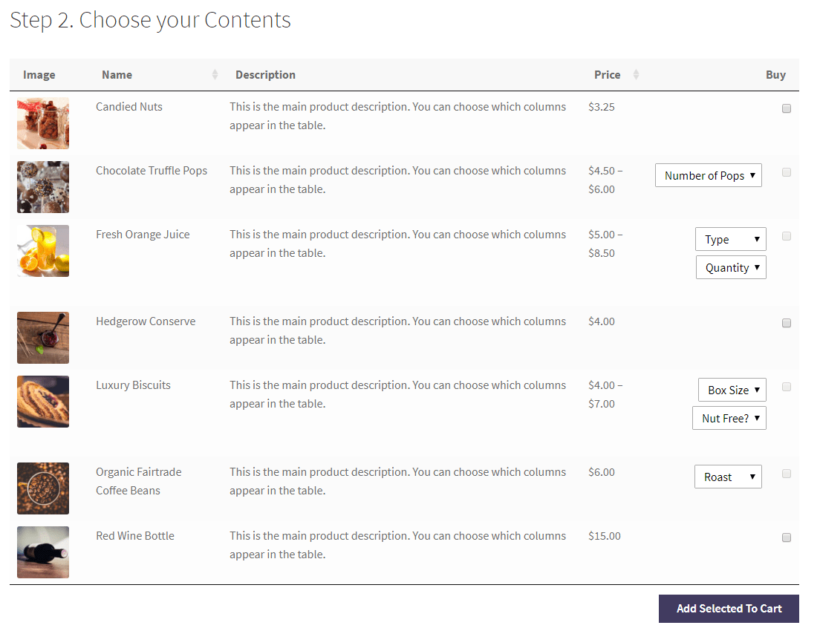
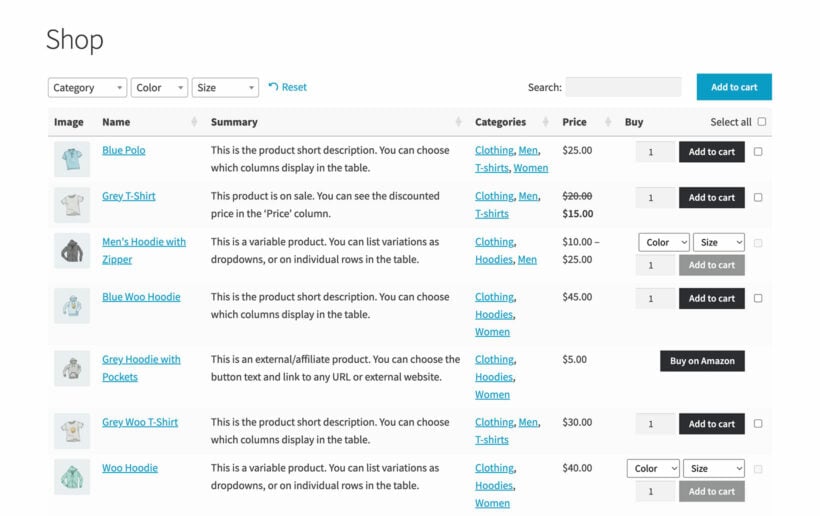
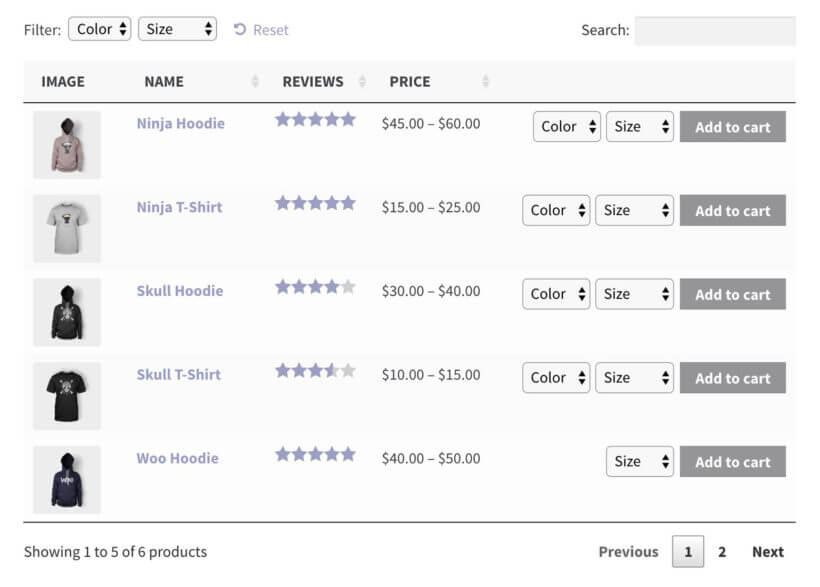
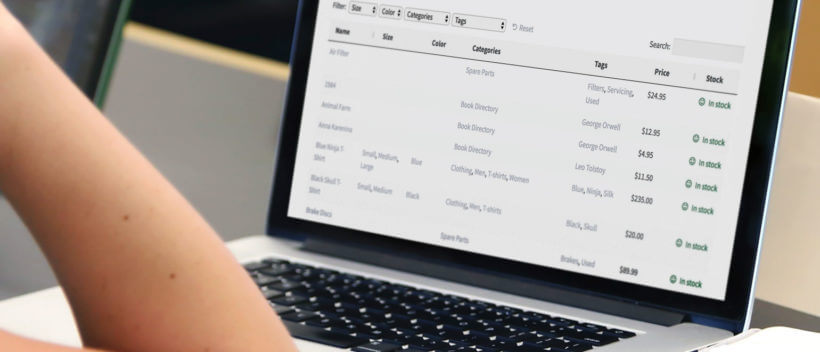
The WooCommerce Product Table plugin automatically replaces the default WooCommerce shop page layout with the table layout. Your shop page should look something like this on the front-end:
Customers can use the filter options to view the category they’d like to purchase from. They can tick the checkboxes next to the products they’d like to purchase and set the quantity selectors to add multiple products to their cart at once. If you sell variable products, customers will be able to choose the variation they’d like to buy directly from the main shop page.
Bonus: Adding extra features to your garden center website
To enhance the user experience your garden center website delivers, you can add other features to it. The sky's the limit wit WordPress and WooCommerce, but here are some examples.
Provide advanced filters to help customers to find products more easily
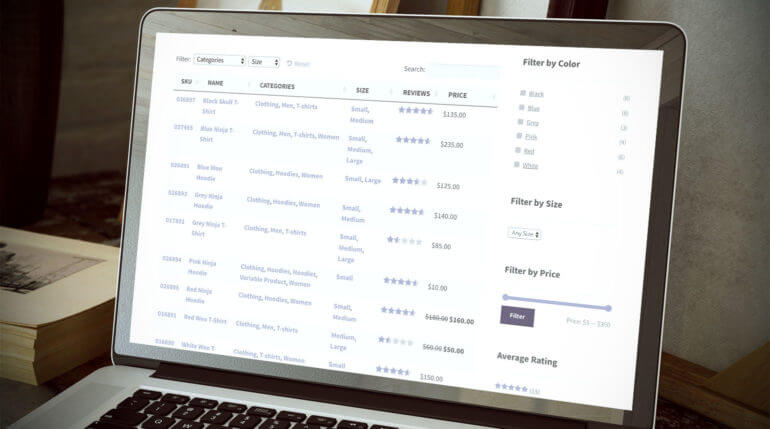
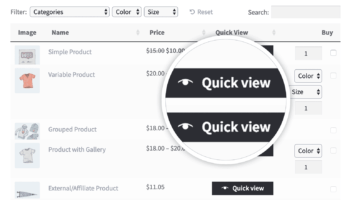
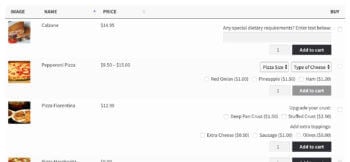
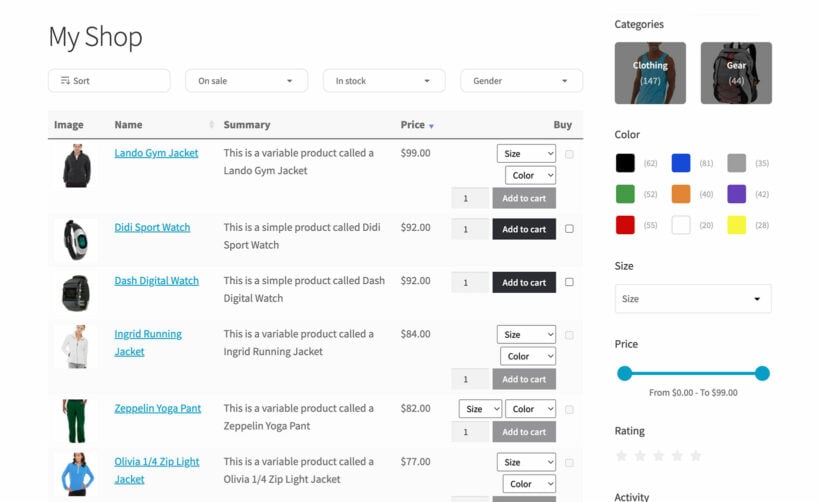
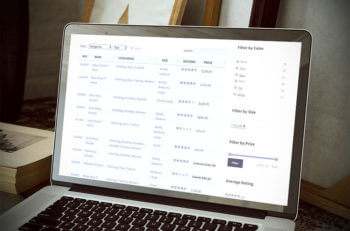
The WooCommerce Product Filters plugin works perfectly with WooCommerce Product Table, and adds even more advanced filtering options to your store:
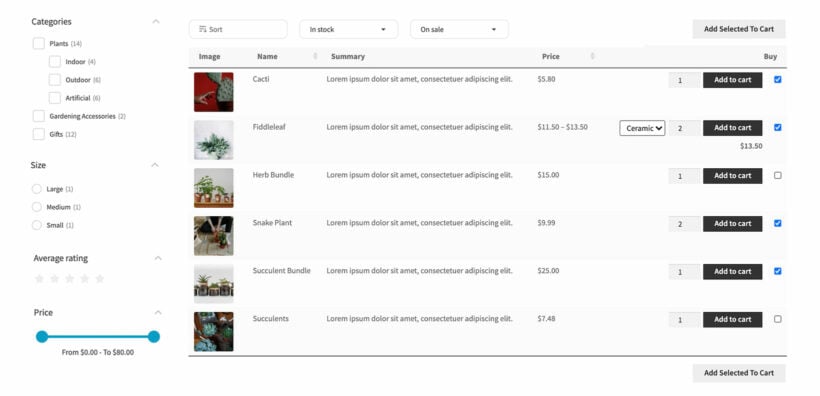
As you can see in the screenshot above, you can use WooCommerce Product Filters to add user-friendly features above and/or next to the list of products. This is perfect for garden centres with lots of products, and helps customers to narrow down their selections and make quick decisions.
Add opening and closing hours
If you have set opening hours and closing hours, you can add a text widget to the sidebar to display them on every page throughout the site.
Go to Appearance → Widgets from the WordPress dashboard and add a Text widget to the sidebar. Enter a title and your opening and closing times.
You can also use widgets to display other information such as testimonials, featured products, on sale products, photo galleries, or garden care tips. For best results, use a free plugin like Widget Context to show different garden care tips on different product categories. This will add value to your customers and is a good way to subtly encourage them to buy more.
Set up your garden center store today
By setting up a garden center website, you can continue running your business during the lockdown. The best part is that you can do this whether you have a physical store or not.
Once you have your WordPress website set up with the WooCommerce plugin installed on it, it only takes a few minutes to set up a complete garden center website. Start by adding garden center products as individual WooCommerce products. Next, configure the WooCommerce Product Table plugin’s settings to display products in a table layout.
You can set up a similar online store if you’re in the gardening business or the landscaping business.
Ready to set up your garden center in WordPress? Get the WooCommerce Product Table plugin!


 The phrase "WooCommerce catalog mode" can be a bit confusing. That's because people use it to refer to different things: