Product Table settings
The WooCommerce Product Table plugin settings page can be found at Products → Product Tables → Settings. It contains options which can only be configured globally and are therefore not available in the table builder.
Note: While most people only use these settings globally, most of them have shortcode options which you can use to configure them for individual tables.
License key
Enter your license key in the box. This is essential for the plugin to work and for you to receive automatic plugin updates. Click 'Activate' or save the settings to activate your license.
Add to cart
Add to cart button
Use this option to change the text of the add to cart button for each product. This is only used for tables that have add to cart buttons visible.
(Tip: Use the free WooCommerce Custom Add to Cart Button plugin to add an icon to the button.)
Multi add to cart button
This option allows you to change the text in the multi add to cart button which appears above and/or below tables that display add to cart checkboxes. This text will only be used when no products are selected in the table.
Multi add to cart button - products selected
Enter singular and plural text which will appear in the multi add to cart button when one or more products are selected in the table. You can add whatever you like here, either as static text or using the following placeholders:
{items}- Displays the number of selected items.{total}- Displays the exact total price of the selected items (e.g. $149.75).{total_rounded}- Displays the total price of the selected items either rounded up or down (e.g. $149.75 would round up to $150, so $150 would be displayed).
Multi add to cart location
This option lets you choose whether the 'Add to Cart' button appears above and/or below the table.
Table content
Description length
If you are using the description column, then this option controls the number of words that will appear in the table. Enter a whole number.
More information
Show hidden products
By default, WooCommerce Product Table respects the visibility settings of each product. This means that if you have used the 'Catalog visibility' settings for a product to hide it from the shop, then it will not appear in the product table either.
You can change this by enabling the 'show hidden products' option. Hidden products will then appear in the table.
Show sticky header
Enable this to keep the top row of the table visible when the user scrolls down. We recommend enabling this if your tables contain a lot of products per page so that customers can always see the table header.
Tip: If your theme has a sticky header and the height doesn't work well with the sticky header in WooCommerce Product Table, then you can fix this using the scroll offset option.
Hide table header
Enable this to remove the top row of the table completely. We only recommend doing this if your table columns are self-explanatory and don't require labels, and if customers don't need to be able to click on the table headings to change the sort order.
Show table footer
Enable this to repeat the header row of the table underneath the bottom row of the table. This is useful for long tables as it allows customers to see the name of each column without having to scroll back up.
Product search
Search box
Positions, shows or hides the keyword search box.
Number of products found
Positions, shows or hides the total number of products in the table.
Reset search
Allows you to display a search reset link.
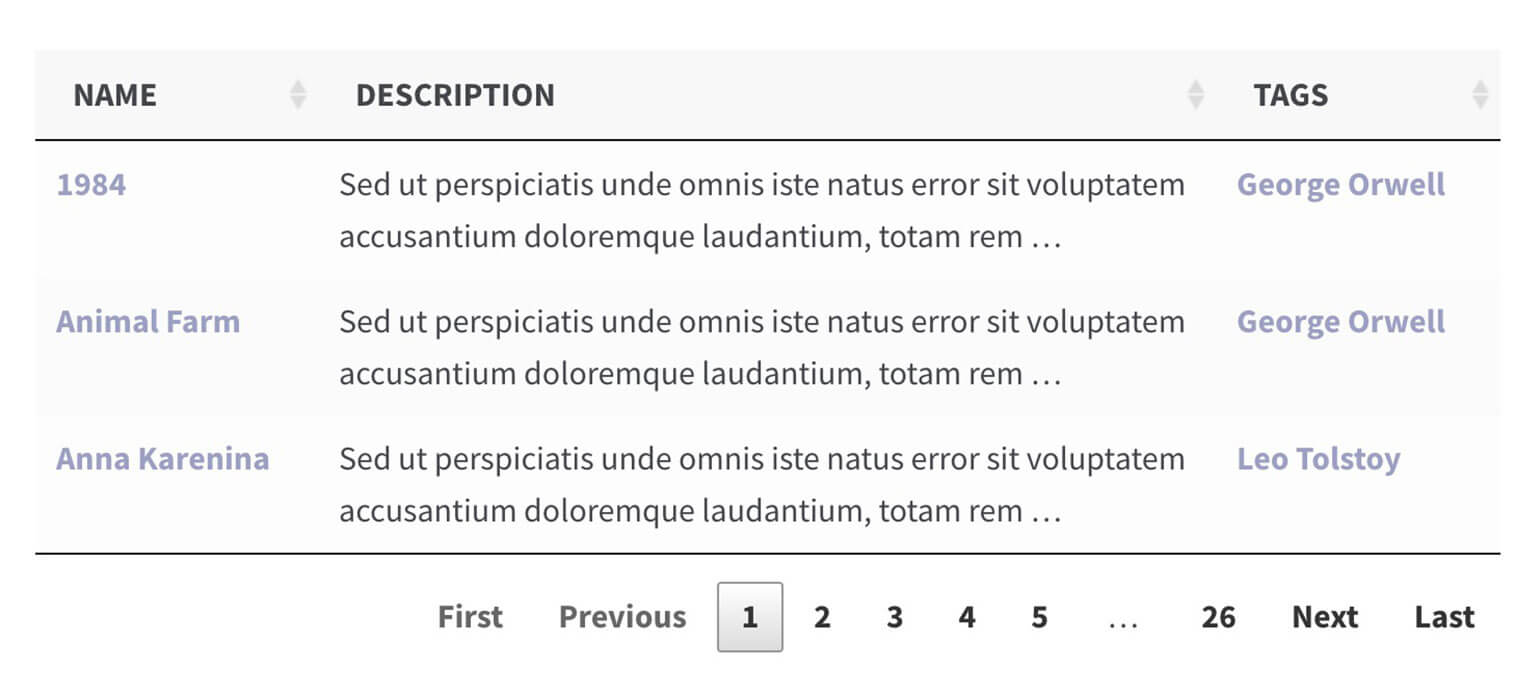
Pagination
Products per page
Enter a whole number to control how many products appear on each page of the table. If there are more products than the number of rows per page then pagination links will appear linking to the other pages.
The default is 20 rows. Setting it to -1 will show all products on one page.
Products per page control
Positions, shows or hides the 'Show [x] per page' dropdown.
Pagination buttons
Positions, shows or hides the pagination buttons.
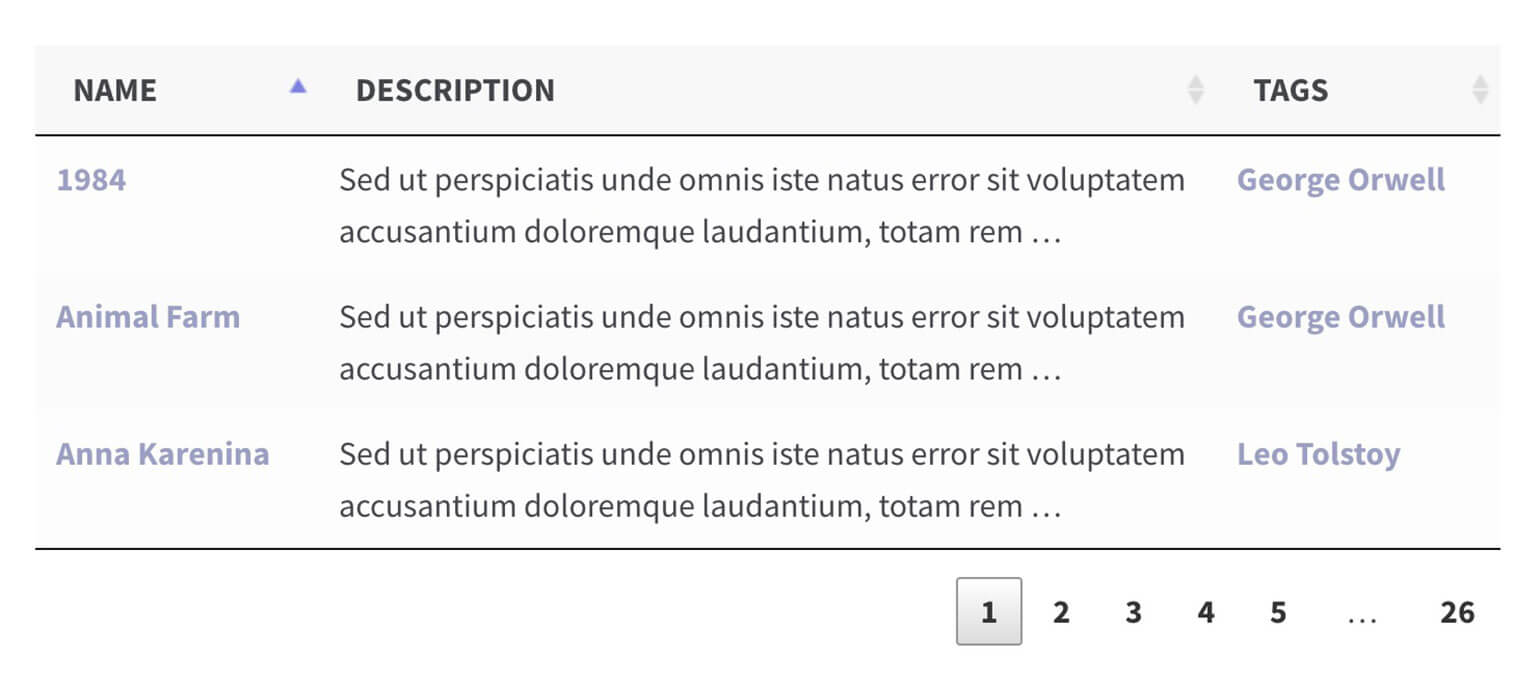
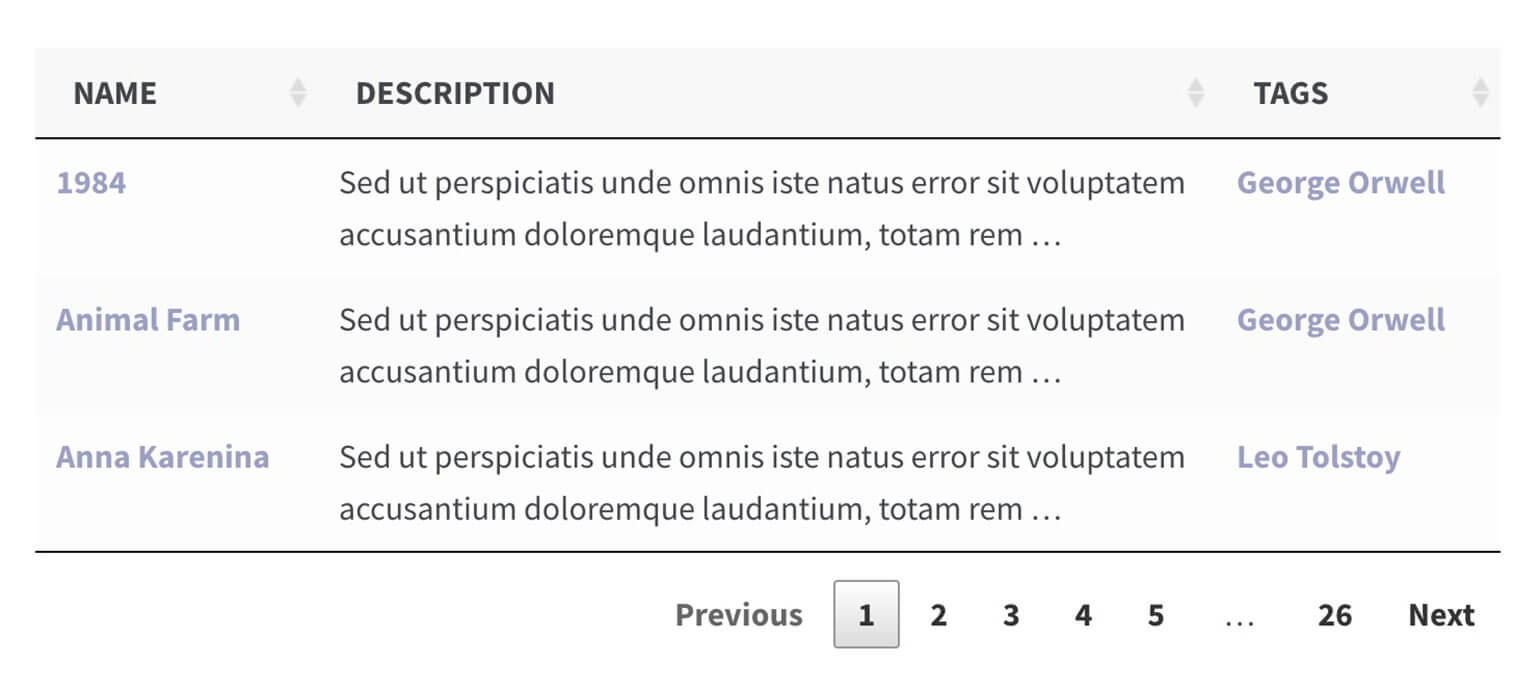
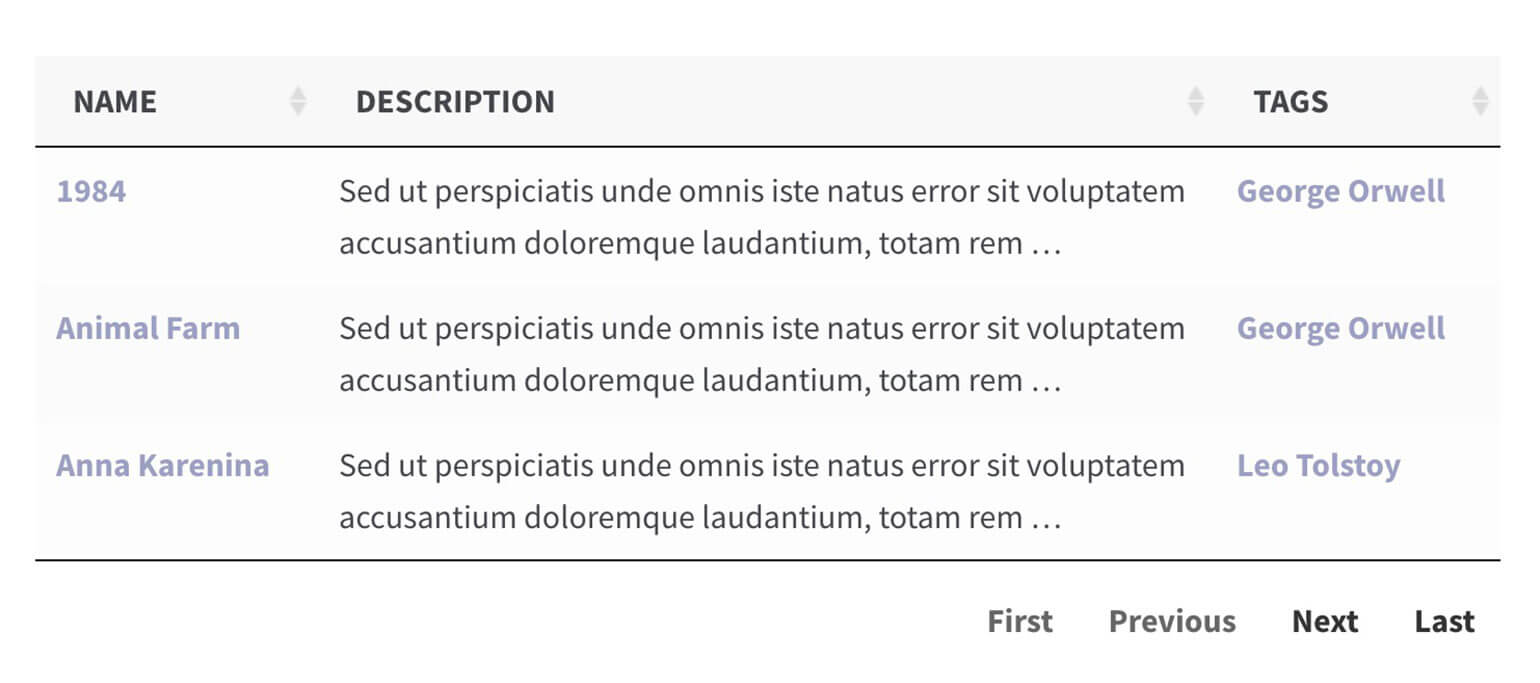
Pagination type
Choose a style for the pagination buttons.
-
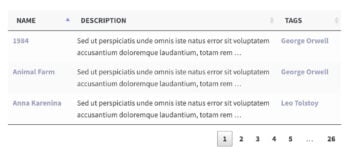
- paging_type="numbers" (default)
-
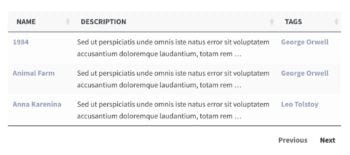
- paging_type="simple"

-
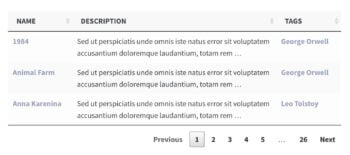
- paging_type="simple_numbers"
-
- paging_type="full"
-
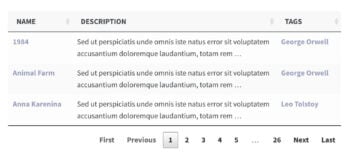
- paging_type="full_numbers"
Responsive options
Responsive display
Control how the "child rows" are displayed when viewing the table on smaller screen sizes (or when there is too much data to fit in the table). Choose from the following options:
- Click a plus icon to display a child row (the default option) - Extra data will be displayed in a hidden child row which can be shown by clicking the "+" icon at the start of each row.
- Expand all child rows automatically – Extra data is displayed in a child row which is expanded automatically when the table is first viewed.
- Click a plus icon to open a modal window – Extra data is displayed in a modal window when the “+” icon is clicked. (Note: Not compatible with the 'checkbox' add to cart option - see further information below.)
More information & screenshots
Advanced
AJAX
Use this option to choose whether to instantly add products to the cart using AJAX, or whether to reload the page. AJAX is enabled by default.
Tip: If you are adding multiple product tables to the same page and are using the add to cart checkboxes, then we recommend disabling AJAX add to cart. When AJAX add to cart is disabled, customers can select products from multiple tables on the same page and use any of the 'Add Selected to Cart' buttons to add ALL the selected products to the cart at once. This isn't possible when AJAX add to cart is enabled.
Shortcodes
Tick this box if you want content added by other shortcodes to appear in the product table. For example, you might be adding a button shortcode to add other types of button; embedded audio or media players; icon shortcodes; etc.
More information
Caching
Choose whether or not to cache the table contents to improve page load times.
Accent-insensitive search
If you are not using lazy load, then you can enable this so that the search box treats accented and non-accented characters as interchangeable (e.g. Zurich and Zúrich).
Date format
Control how the 'Date' column is formatted in the product table. It is also used for any other column you have specified as a date.
If you don’t set this option, the default format in your WordPress settings will be used (see 'Date Format' under Settings → General in WordPress).
You can set the date format to any valid date/time format string. For example: F j, Y will format the dates in this format: “August 24, 2016”. See the WordPress Codex for more information.
No products message
Customize the text that will display if no products are found when the table first loads. For example, this message will appear if you have no products on your site, or if you're showing a category with no products.
Note: this option will have no effect if you have set a custom language using the wc_product_table_supported_languages filter.
No products filtered message
Customize the text that will display if no results are found when the user tries to search or filter the table.
Note: this option will have no effect if you have set a custom language using the wc_product_table_supported_languages filter.
Scroll offset
When paging between multiple pages of results in your table, Woocommerce Product Table will automatically “jump” back to the top each time. This is particularly useful if you are displaying a large number of products on each page. The plugin attempts to scroll to the correct position on the page but sometimes it doesn’t quite calculate this correctly. This is because each website and WordPress theme is different and some can have features which interfere with the scroll position – e.g. sticky navigation menus.
The Scroll Offset option lets you override the scroll amount or disable this behavior altogether. The default scroll amount is 15. If you find that the top of your table is “chopped off” when moving between pages, try increasing this to a larger number (e.g. 50). If you’d like to disable automatic scrolling, then enter "false".
Quick View Pro
The 'Product links' option will only appear if you're using our Quick View Pro plugin alongside Product Table.
Product Addons
These settings will only appear if you're using the official WooCommerce Product Add-Ons plugin with Product Table. These options may be removed at some point because we now have our own WooCommerce Product Options plugin, which works with WooCommerce Product Table without requiring any options.
Clear Cache
A 'Clear Cache' button appears next to the 'Save' button when the caching option (above) is enabled. This removes any cached data. We recommend clearing the cache after making changes to the product table so that you and your customers can instantly see the changes, instead of waiting for the cache to clear on its own.
Next steps
Next, it's time to choose a template and tweak the design of your tables.