Can I display the lead time before a variation is selected?
The WooCommerce Lead Time plugin lets you add a lead time for product variations, indicating when the variation will be despatched. Due to the way the default WooCommerce variation dropdowns work, the lead time is usually only displayed after the customer selects a variation.
Customers sometimes ask us for ways to display the variation lead time before a variation is selected. This article contains some ideas on how to do this.
Option 1 - Set a default variation
WooCommerce itself has a 'default variation' feature which lets you pre-select one variation when the product page first loads. Since the variation is already selected, its lead time will be visible straight away too.
To set a default variation, go to the Edit Product screen, scroll down to the 'Product Data' section and option the 'Variations' tab. You will see a 'Default Form Values' option above the list of variations - this is where you should select the default variation.
Option 2 - Use WooCommerce Product Table to list variations individually
To show the lead time of all variations when the page first loads, you need to display all the variations separately instead of as dropdowns. That way, the customer doesn't need to select a variation in order to see all the information about it.
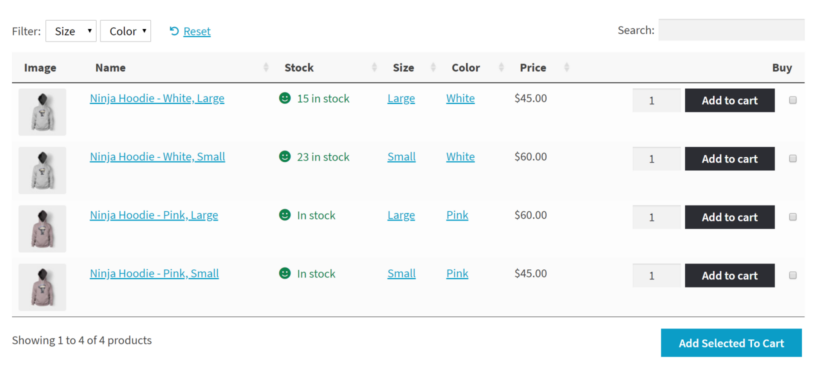
You can do this by using the WooCommerce Product Table plugin to display the variations in a table, with each variation on its own row:
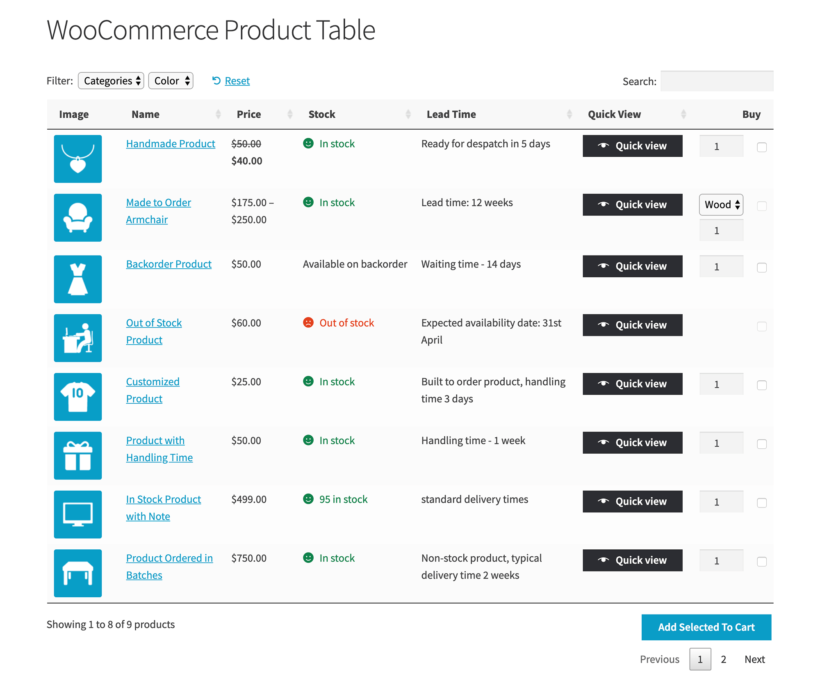
When you use the Lead Time and Product Table plugins together, you can add a lead time column to the table like this:
We have a separate article about how to display product tables on the single product page.