Looking for a WooCommerce checkout field editor to add new fields, remove unwanted ones or reorder what customers see? This step-by-step tutorial walks you through editing WooCommerce checkout fields with YITH WooCommerce Checkout Manager, including conditional logic that shows or hides fields based on what's in the cart.
The checkout is where most ecommerce stores lose sales. A customer who has filled their cart, picked a delivery option and reached the final step won't make it through if the form asks for ten things they don't want to type.
Baymard Institute research finds that the average US ecommerce checkout has 11.3 form fields, but most stores only need around 8. 18% of users abandon a purchase because the checkout is too complex.
Below, I'll walk you how to add, edit and hide checkout fields, and how to speed up shopping with an on-page popup checkout. For the wider picture on customizing the full WooCommerce checkout (one-page layouts, hooks and child-theme overrides), see our guide to customizing the WooCommerce checkout page.
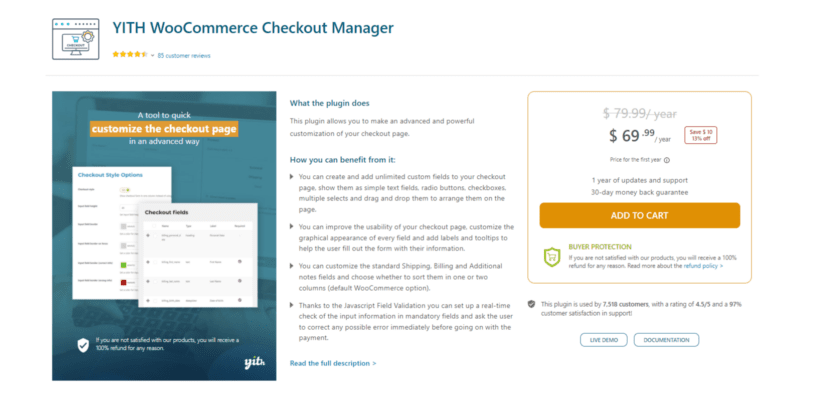
Introducing the best WooCommerce checkout field editor plugin
You can use YITH WooCommerce Checkout Manager to customize your entire checkout page: add new fields, remove unnecessary fields, add extra information with labels and tooltips, and much more. It even lets you use conditional rules to hide or show fields based on the products customers add to their carts.
What I like the most about this plugin is that it's super easy to use, since its drag-and-drop system makes it easy to move fields around based on your preferences. Plus, it pairs well with many plugins, such as WooCommerce Fast Cart, WPML, and others, which are used on many WooCommerce sites.
Top features
You can use YITH WooCommerce Checkout Manager to:
Add unlimited custom fields: Easily add text fields, checkboxes, date pickers, selects, radio buttons, etc to your checkout page.
Remove unnecessary fields: Trim down the checkout form by hiding or removing fields that aren't relevant to your online store.
Rearrange fields: The drag-and-drop feature lets you easily reorder existing fields to be more intuitive.
Add more information: Use labels and tooltips to add extra details to guide customers through the checkout process quickly.
Validate essential details in real-time: It uses Javascript Field Validation to perform instant error checks for mandatory fields to make sure the details customers entered are correct before proceeding to payment.
Show conditional fields: You can use conditional logic rules to make fields dynamically appear or disappear based on cart contents, product categories, or customers' previous selections.
Update styling: Change colors for input field border, Input field border (correct info), error message, and more.
Why we recommend YITH over the official Checkout Field Editor
WooCommerce sells its own Checkout Field Editor extension, and it works fine for basic add-remove-reorder on a small store. We recommend YITH over it for three reasons:
Conditional logic. YITH lets you show or hide fields based on cart contents, product categories, tags or what the customer has already entered. The official extension has no conditional logic at all.
More field types. YITH supports text, select, multi-select, radio, checkbox and date fields. The official extension covers four types (text, select, checkbox and datepicker).
Real-time validation. YITH validates fields with JavaScript as the customer types, so errors surface immediately. The official extension relies on WooCommerce's default validation only.
Log onto your WordPress admin dashboard and go to Plugins → Add New.
Click on "Upload Plugin" and select the plugin ZIP file you downloaded to your computer.
Click Install Now → Activate.
Navigate to YITH → License Activation.
Select 'Checkout Manager' from the 'Choose the plugin' dropdown, enter your license details, and click 'Activate'.
Adding new checkout fields
Navigate to YITH → Checkout Manager → Checkout Fields within your WordPress dashboard.
Follow these steps:
YITH WooCommerce Checkout Manager groups the checkout form fields into three: billing fields, shipping fields, and additional fields. Select the tab for the type of field you want to add.
For this tutorial, I've selected the 'Billing' tab.
Enter the field name into the 'ADD NEW FIELD' box. I've entered 'Billing Address'.
Select the relevant options based on the field you want to create:
Name: Update the field name if you prefer.
Type: Pick what kind of field you want to add: text, number, password, phone, big text area, radio choice, checkbox, dropdown choice, multi-choice, date, time, or heading.
Label: Enter the title for the field.
Placeholder: Add the default text customers will see in the field.
Tooltip: Add the text to be displayed in the tooltip. This will only show if you've turned on the "Enable Tooltip" option on the general settings page.
Position – Pick where the field goes in the line. Selecting "First" sets it on the left, "Last" sets it on the right, and "Wide" takes up the whole line space.
"Class" – Add graphical CSS rules for the field.
"Label Class" – Add graphical CSS rules for the label.
"Validation" – Add validation rules if necessary. This is useful for phone numbers, VAT, country, email, or zip code fields.
"Required" – Make the field a required field.
"Clear Row" – If the field was entered as first in position and is followed by the last field, the second field must have this option checked.
"Display in emails" – Choose whether or not to show the field you just created in the order confirmation email.
"Display in Order detail pages" – Choose whether or not to display the field you just created on the order summary page.
Click on 'Save' near the bottom right corner.
Editing checkout fields, labels, and tooltips
To use the plugin as a checkout field editor, navigate to YITH → Checkout Manager → Checkout Fields within your WordPress dashboard.
Follow these steps:
Select the tab for the type of field you want to modify, whether billing, shipping, or additional fields.
For this tutorial, I've selected the 'Additional Fields' tab.
Click on the 'Edit' button for the checkout field you want to modify to open up the edit panel.
Update the appropriate field. Here are the options and what they mean:
Name: Update the field name if you want to.
Type: Change the field type to text, number, password, phone, big text area, radio choice, checkbox, dropdown choice, multi-choice, date, time, or heading.
Label: Modify the title of the field.
Placeholder: Change the default text that customers see in the field.
Tooltip: Update the text to be displayed in the tooltip. This will only show if you've turned on the "Enable Tooltip" option on the general settings page.
Position – Modify where the field goes in the line. Selecting "First" sets it on the left, "Last" sets it on the right, and "Wide" takes up the whole line space.
"Class" – Update graphical CSS rules for the field.
"Label Class" – Update graphical CSS rules for the label.
"Validation" – Modify validation rules if necessary. This is useful for phone numbers, VAT, country, email, or zip code fields.
"Required" – Make the field required.
"Clear Row" – If the field was entered as first in position and is followed by the last field, the second field must have the Clear Row option checked.
Click on 'Save' near the bottom right corner.
Creating conditional logic rules
Conditional logic lets you hide or display fields based on specific rules. To give you an example of how this works, imagine that your ecommerce store sells both physical and virtual products. You can hide the "Shipping Address" section for customers who add only virtual products to their carts.
You can set conditional rules while adding a new field or editing an existing one.
Follow these steps:
Navigate to YITH → Checkout Manager → Checkout Fields within your WordPress dashboard.
Add a new field or edit an existing one.
Fill in these options to create a conditional rule:
Field: Choose the first criteria (fields or cart contents) to apply the conditional logic.
Condition: Specify the requirement for the field to show.
Value: Type in the field's value, e.g., product/category IDs, to trigger the conditional behavior.
Action: Pick whether to display or hide the current field if the condition is met.
Required: Select this if the current field has to be set as mandatory.
Click on the + (plus) sign if you want to set up more conditions for the same field. Otherwise, select 'Save' at the bottom right corner of the page.
Removing or hiding checkout fields
Navigate to YITH → Checkout Manager → Checkout Fields within your WordPress dashboard.
Follow these steps:
Select the tab for the field you want to remove: whether billing, shipping, or additional fields.
Locate the field you want to get rid of.
You can't delete default fields, but you can hide them from customers' view. Click on 'Disable' or 'Remove', as appropriate.
Scroll down and click on 'Save changes'.
Changing the order of fields on the checkout page
Navigate to YITH → Checkout Manager → Checkout Fields within your WordPress dashboard.
Follow these steps:
Select the tab for the field you want to remove: whether billing, shipping, or additional fields.
Locate the fields you want to reorder.
Drag and drop the fields as desired using the icon on the left side of the screen.
Go to the bottom of the page and click on 'Save changes'.
Changing the design & styling to match your brand
Navigate to YITH → Checkout Manager → Settings → Style options within your WordPress dashboard.
You can change the color of:
Input field height in pixels
Input field border
Input field border on focus
Input field border(correct info) color
Input field border (wrong info) color
Error message color
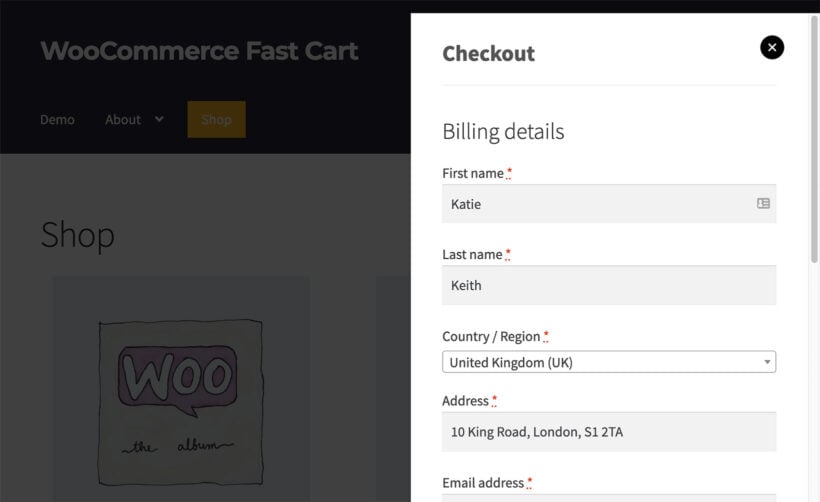
Bonus: Lift conversions further by speeding up the checkout with WooCommerce Fast Cart
Once you've trimmed and rearranged the fields with YITH, the next conversion lift comes from where the checkout itself sits. WooCommerce Fast Cart replaces the standard cart-to-checkout page hop with a same-page popup. Customers click add-to-cart, the cart slides in over the current page and they check out without ever leaving where they were browsing.
Cutting the page hops between adding a product and completing checkout removes the most common drop-off points in a standard WooCommerce store. Stores running Fast Cart consistently see:
Higher conversion rates. Customers complete their order in the same place they were browsing, without page reloads or context switches.
Lower cart abandonment. Removing the cart page removes the biggest drop-off point in standard WooCommerce, especially on mobile.
Higher average order value. Cross-sell and upsell slots inside the popup show related products at the moment of purchase decision.
Better mobile experience. The popup layout adapts to small screens, where the default cart and checkout pages feel slowest.
Key features of WooCommerce Fast Cart:
Same-page popup or floating side cart that opens when customers add a product, so they never leave the page they're on.
Inline checkout fields that pick up every YITH edit, conditional rule and reorder, so your tailored field setup carries straight through to the popup.
Google address auto-complete that fills out shipping and billing as the customer types.
Cross-sell and upsell slots inside the popup to lift average order value.
Multiple payment methods including Stripe, PayPal, Apple Pay and Google Pay.
Drop-in compatibility with your existing WooCommerce cart and checkout pages, so you can run Fast Cart alongside the defaults or replace them entirely.
Ready to edit your WooCommerce checkout fields?
The default WooCommerce checkout asks too much, in the wrong order, of every customer. YITH WooCommerce Checkout Manager gives you the field-level controls to fix that: Add, remove, reorder, validate and conditionally show fields without writing code. Pair it with WooCommerce Fast Cart for a same-page popup checkout and you've cut friction at both the field level and the page level.