How to create product options with repeater fields
While WooCommerce Product Options doesn't have a 'Repeater field' option, you can use conditional logic to achieve a similar result.
What are repeater fields?
Repeater fields in WooCommerce are extra product options which the customer can duplicate in order to add more and more of the same type of option.
Traditionally, repeater fields display a +/plus icon to the right, which customers click in order to display another field below. They then repeat this process to create as many fields as they like.
Repeater fields in WooCommerce Product Options work similarly to this, with a couple of differences:
- Instead of allowing customers to add an unlimited number of fields, you choose the maximum number of fields that can be displayed.
- Instead of displaying a + icon, you can use any of these methods to allow customers to add an additional field:
- As soon as the customer completes the first field, another identical field appears underneath. When the customer starts to complete the second field, a third one appears underneath - and so on.
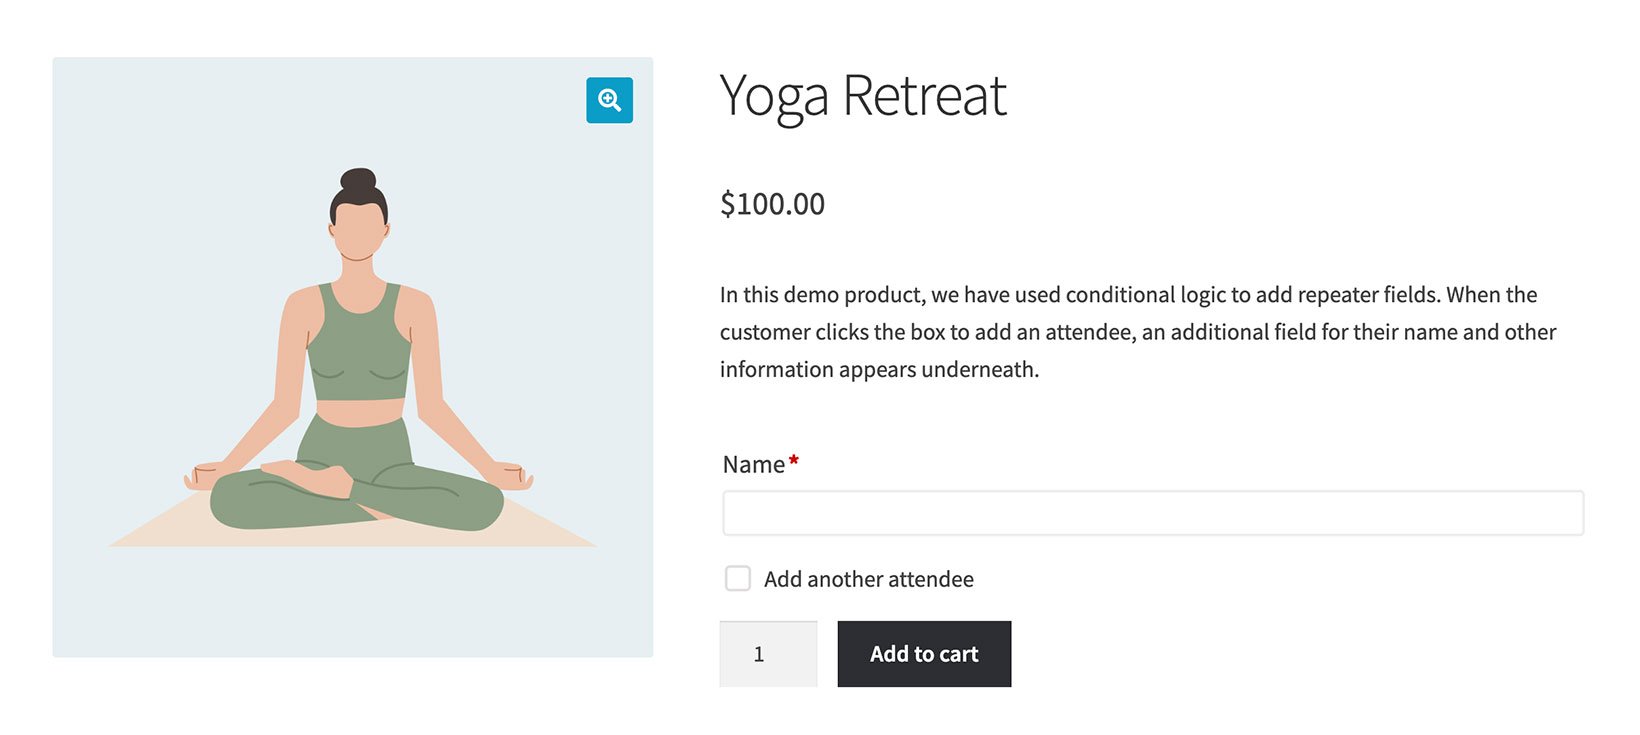
- Alternatively, you can add an "Add more" checkbox (which you can call whatever you like, e.g. "Add another attendee") which customers click in order to reveal additional fields underneath.
-
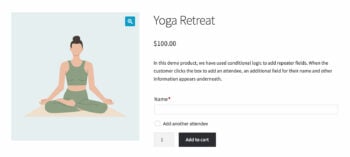
- Initial page load
-
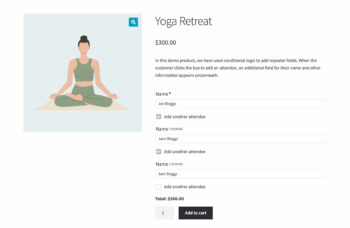
- 2 repeater fields enabled

How to add repeater fields in WooCommerce Product Options
- Go to Products → Product Options, add or edit an option group, and click 'Add option'.
- Add a field that you wish to be visible when the page first loads (we'll call this "Field 1").
- The next step depends on which of the methods described above you wish to use for customers to activate the next repeater field:
- Option 1 - Display fields automatically when the customer fills in the Field 1:
- Add the field that you wish to display when the customer completes the first field (we'll call this "Field 2").
- Open the Advanced settings for Field 2 and use conditional logic to display it when Field 1 contains any value.
- Repeat these steps for as many fields as you wish to create.
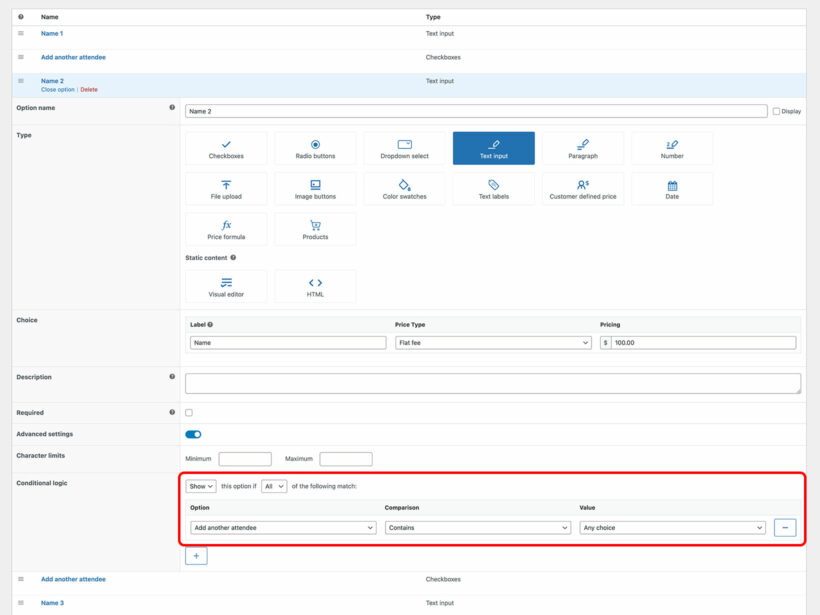
- Option 2 - Create "Add more" checkboxes which customers click to reveal additional fields:
- Create your first field as usual (we'll call this "Field 1").
- Next, add a 'Checkbox' field and call it something like "Add another attendee".
- Now create Field 1, open its Advanced settings and use conditional logic to display it when the checkbox is enabled.
- Repeat the last two steps to add as many checkboxes and fields as you like, each one referencing the previous checkbox in its conditional logic.
- Option 1 - Display fields automatically when the customer fills in the Field 1:
If searching the knowledge base hasn't answered your question, please contact support.