Document library layout
Document Library Pro comes with a choice of two layout options, which allow you to control the appearance of your lists of documents. You can choose a layout for all your document libraries globally on the settings page, and you can override this in the shortcode for each library.
Table layout
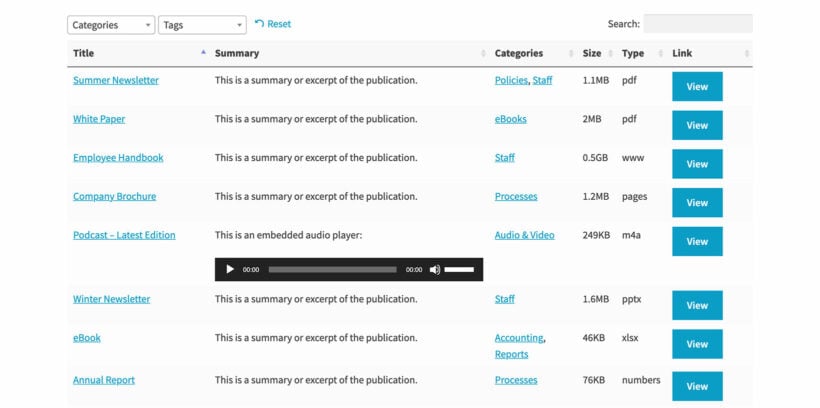
Shortcode example: [doc_library layout="table"]
The table layout is the most advanced way to list your documents because it is incredibly flexible. You have full control over which columns of information to include in the table, and can display advanced data such as custom fields and taxonomies.
You also have fine-grained control over other elements such as how the table behaves on different screen sizes and devices.
The table layout is designed for listing large numbers of documents. It has sortable columns, keyword search box and filter dropdowns to help visitors to find specific documents quickly and easily.
Grid layout
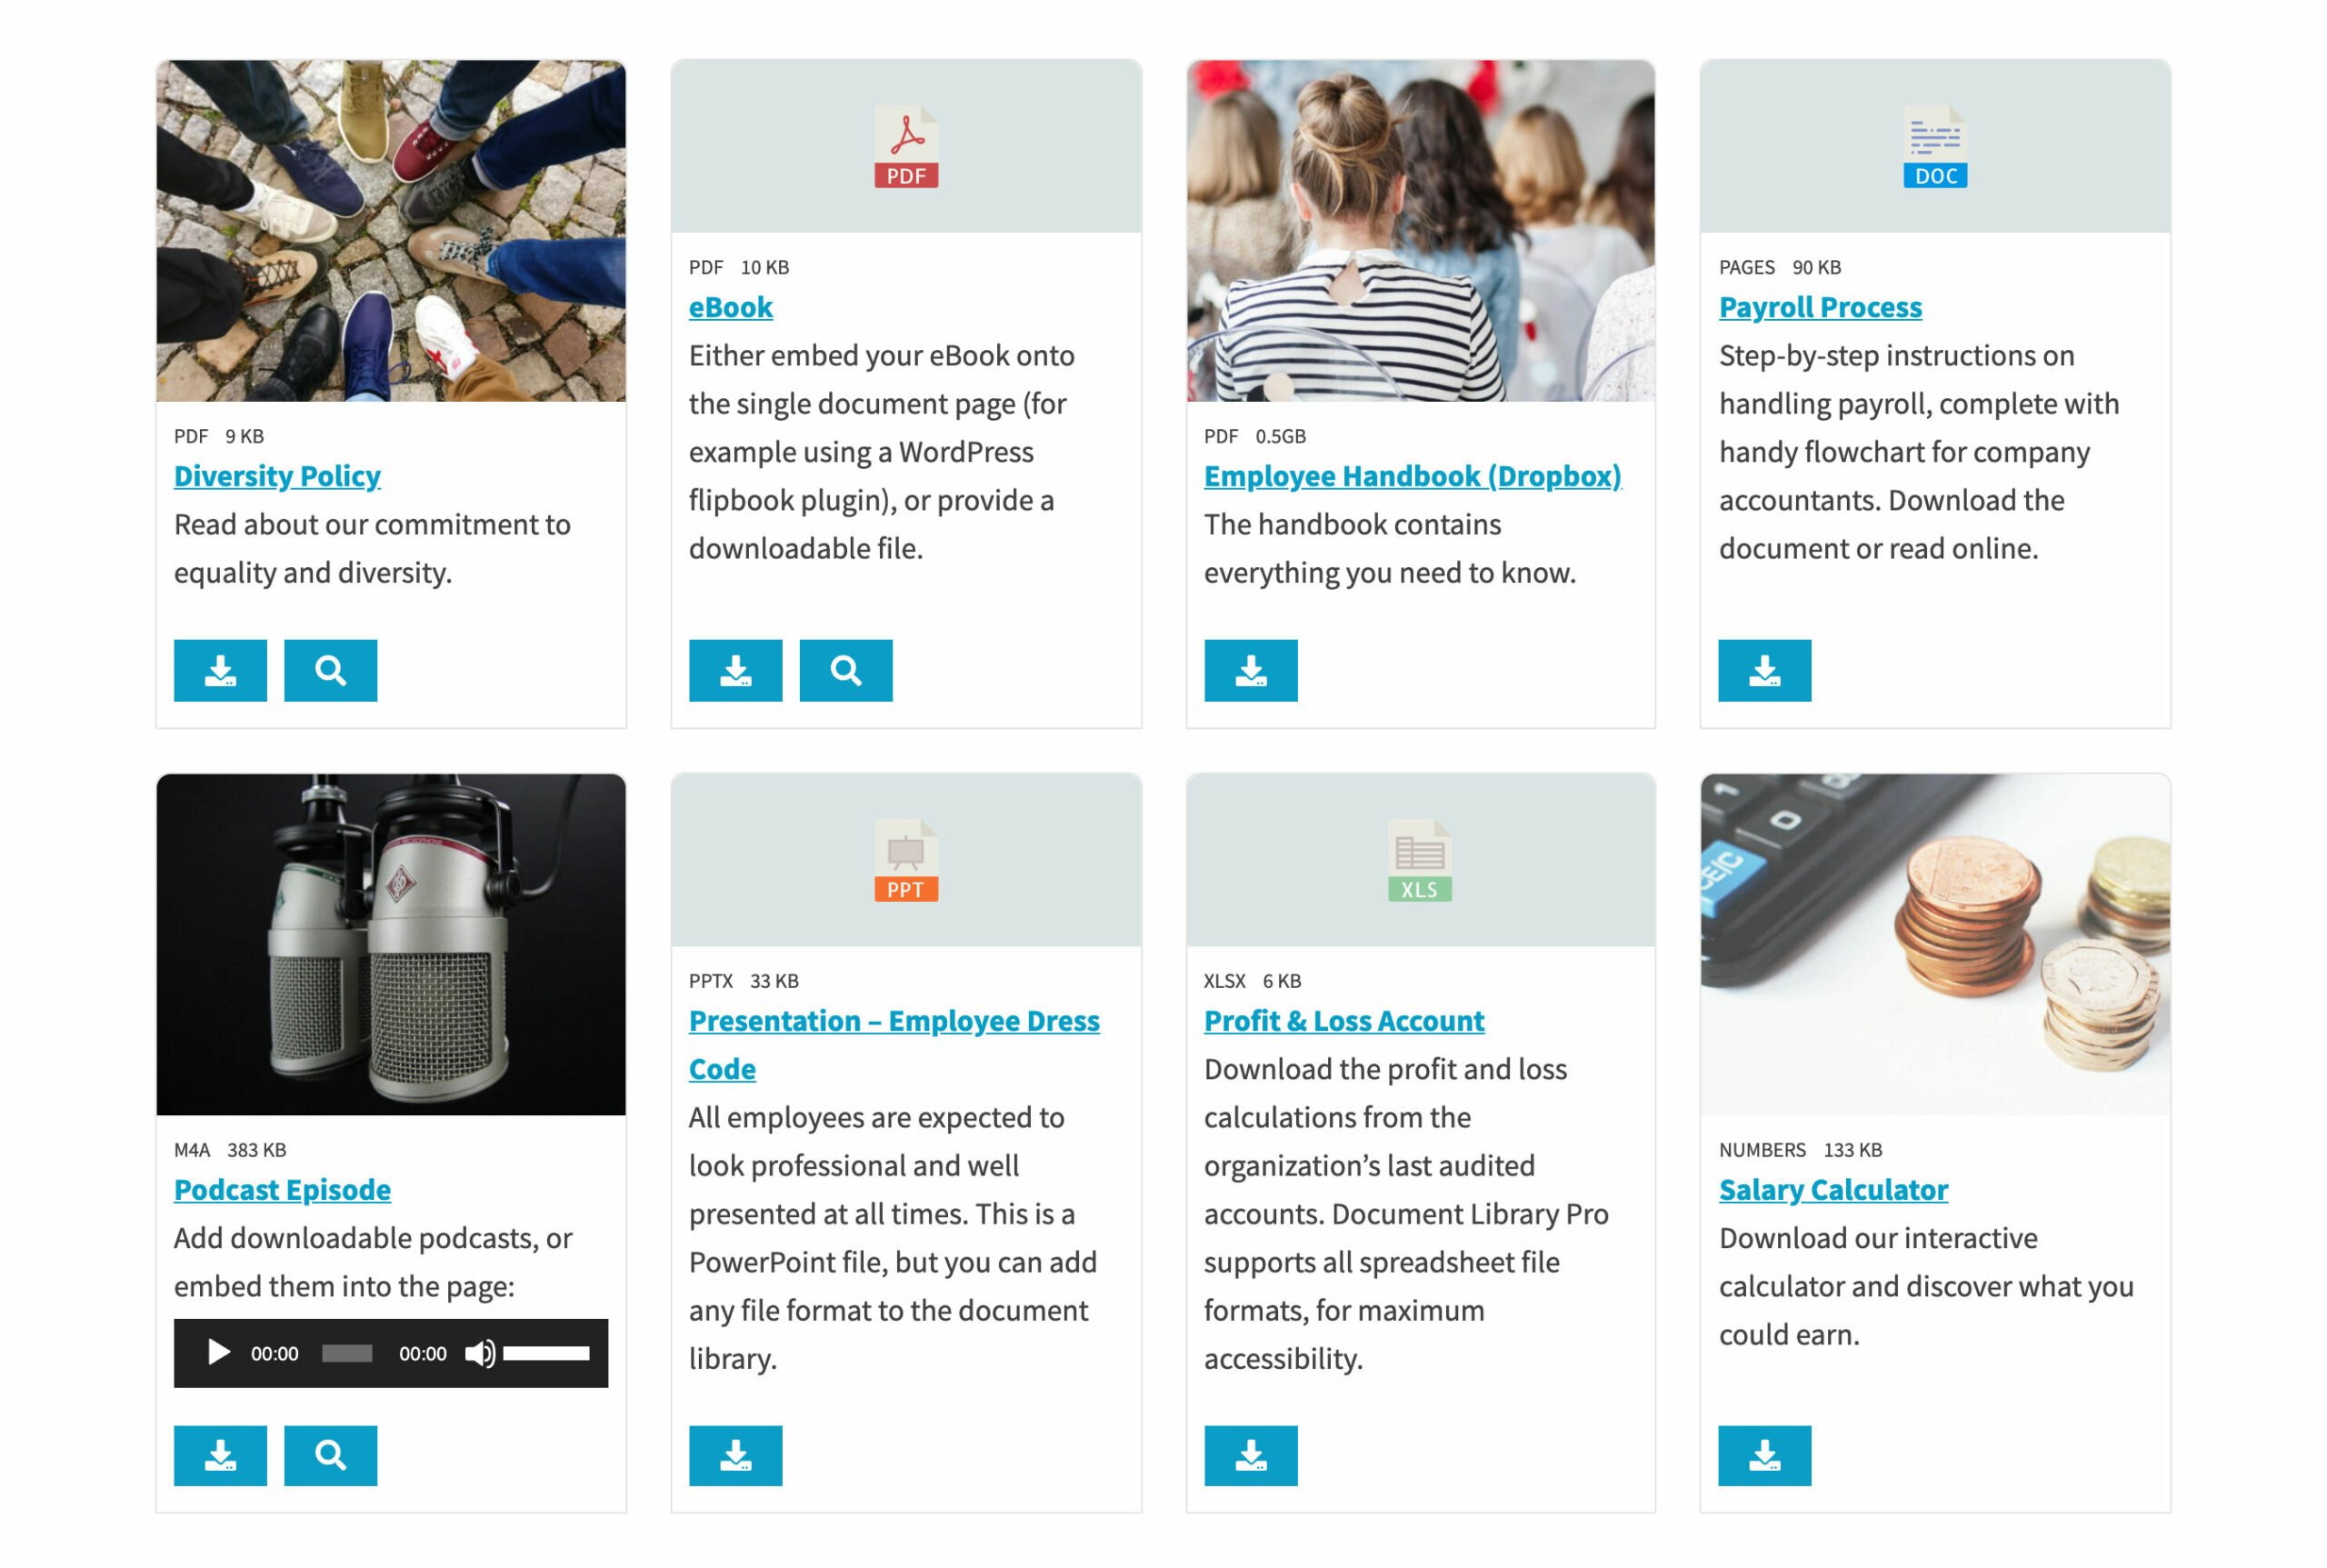
Shortcode example: [doc_library layout="grid"]
The grid layout presents documents in a more visual way by listing them in a tiled format, similar to a Kanban or Trello board, or Netflix.
The default grid is set to 'Auto-size', which means that the number of columns is determined by the device screen size and the available space on the page. If you want to set the number of columns, you can select between 1 and 4 columns under Documents → Settings → Document Grid. You can also set the number of grid columns directly in the shortcode, for example [doc_library grid_columns=2].
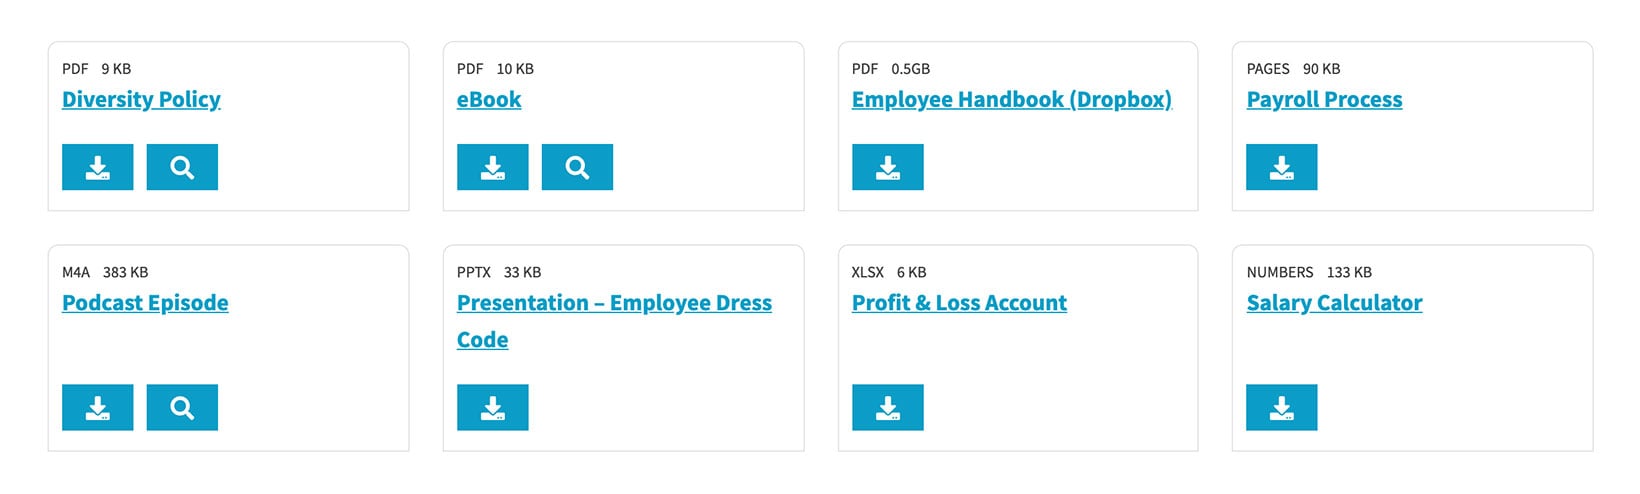
The document grid is intended to be simpler than the table, as you can fit a limited amount of information within each file. It supports a fixed number of fields about each document which you can enable or disable as needed.
You can add a keyword search box and filter dropdowns above the document grid.
If you have enabled the 'Image' field in the document grid then it will show the document's featured image if there is one. If there is no image then the file type icon will show instead.
Which layout should I use?
The following advice will help you choose which layout to use for your document libraries:
- Appearance - Choose whichever layout you like the look of best.
- Number of documents - The grid layout is perfect for displaying small numbers of documents. You can enable the Folders option to structure the library into categories, so that visitors will only see documents from one category at a time. If you have a large number of documents in each category then we recommend using the table layout because of the option to add filter dropdowns above the table. The table also comes with a lazy load option which helps with performance for larger document libraries.
- Information to display - If you want to display standard information such as the document image, title, file size, file type, categories, excerpt and download/preview buttons then either layout is fine. However, you should use the table layout if you want to display additional fields (e.g. taxonomies), or more advanced content such as embedded audio files or videos.
- Search box - Both the table and grid mode can have a search box. However, the grid search only looks at the document title, excerpt and content - whereas a non-lazy loaded table can look at all the information which is displayed in the document library. Learn more about the search logic.
Can users switch between the table and grid views?
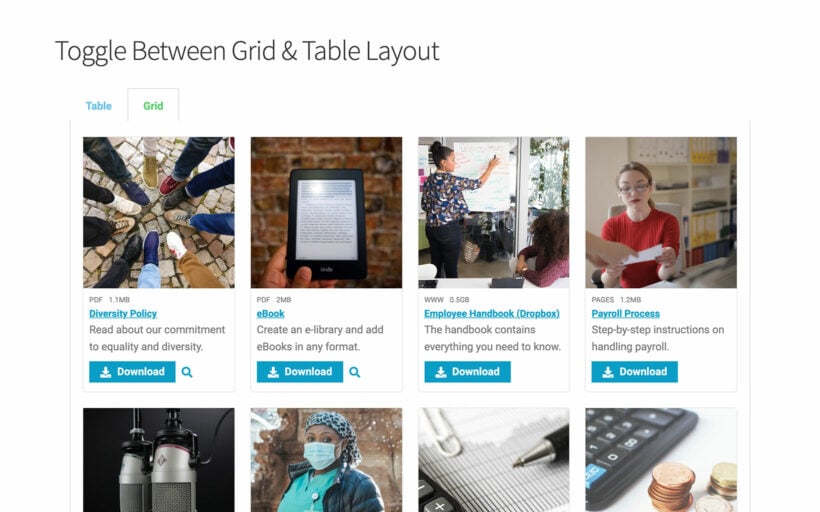
While Document Library Pro doesn't have a 'Switch Layout' button that people can use to toggle between the two layouts, you can easily achieve this. Simply create two tabs or toggles using your preferred page builder plugin, and add a different document library shortcode to each one. The following instructions are based on the Elementor page builder, but you can use any method for adding tabs/toggles/accordions:
- Create a page and edit it using Elementor.
- Add a 'Tabs' element to the page. (This will have two tabs by default, which is what you want.)
- Rename Tab 1 to "Table" and add the following shortcode to the tab content:
[doc_library layout="table"] - Rename Tab 3 to "Grid" and add the following shortcode to the tab content:
[doc_library layout="grid"] - Save and view the page.