Add your document library to Wix
You can add your hosted document library to any Wix page using the Embed Code element. This guide walks through every step.
Step 1: Copy your embed code
In your hosted dashboard, open the Libraries screen and click Copy code next to the library you want to display. Your embed code is one snippet (use the exact code from your own dashboard, not this example):
<iframe src="https://your-library.documentlibrary.app/?dlp_embed=1" title="Document library" style="width:100%;border:0;height:600px;" loading="lazy"></iframe>
<script src="https://your-library.documentlibrary.app/?dlp_embed_resize=1" async></script>
This is the same code you use on every platform.
Step 2: Create a page for your library
In the Wix editor, open Pages & Menu, click + Add Page, choose a blank page, and name it Document Library. Wix adds it to your site's menu automatically.
Step 3: Add an Embed Code element
On your new page, click Add (+) in the left toolbar, choose Embed Code, then select Embed HTML.
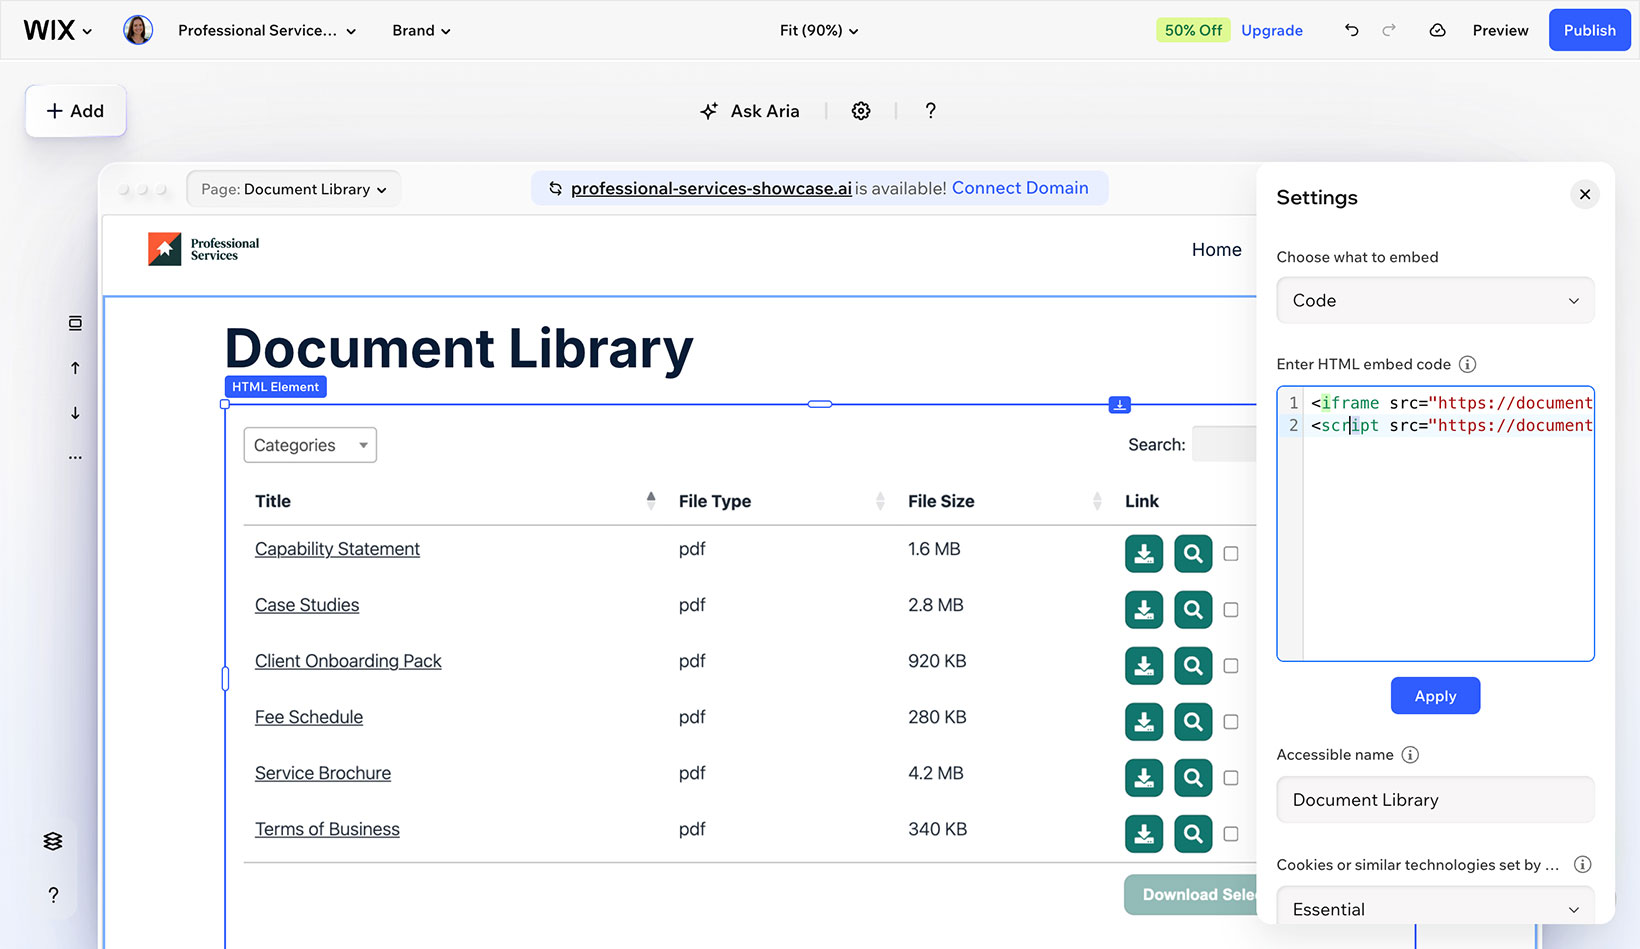
Step 4: Paste your embed code
In the settings panel, set Choose what to embed to Code, paste your embed code into the box, and click Apply. Your library appears in the element.
Step 5: Resize the box to fit your library
This step is important. Drag the element's edges to make it full width and tall enough to show all your documents (around 700px is a good starting point for six documents). If the box is too short, the library scrolls inside it; if it is too narrow, the table collapses to a single column.
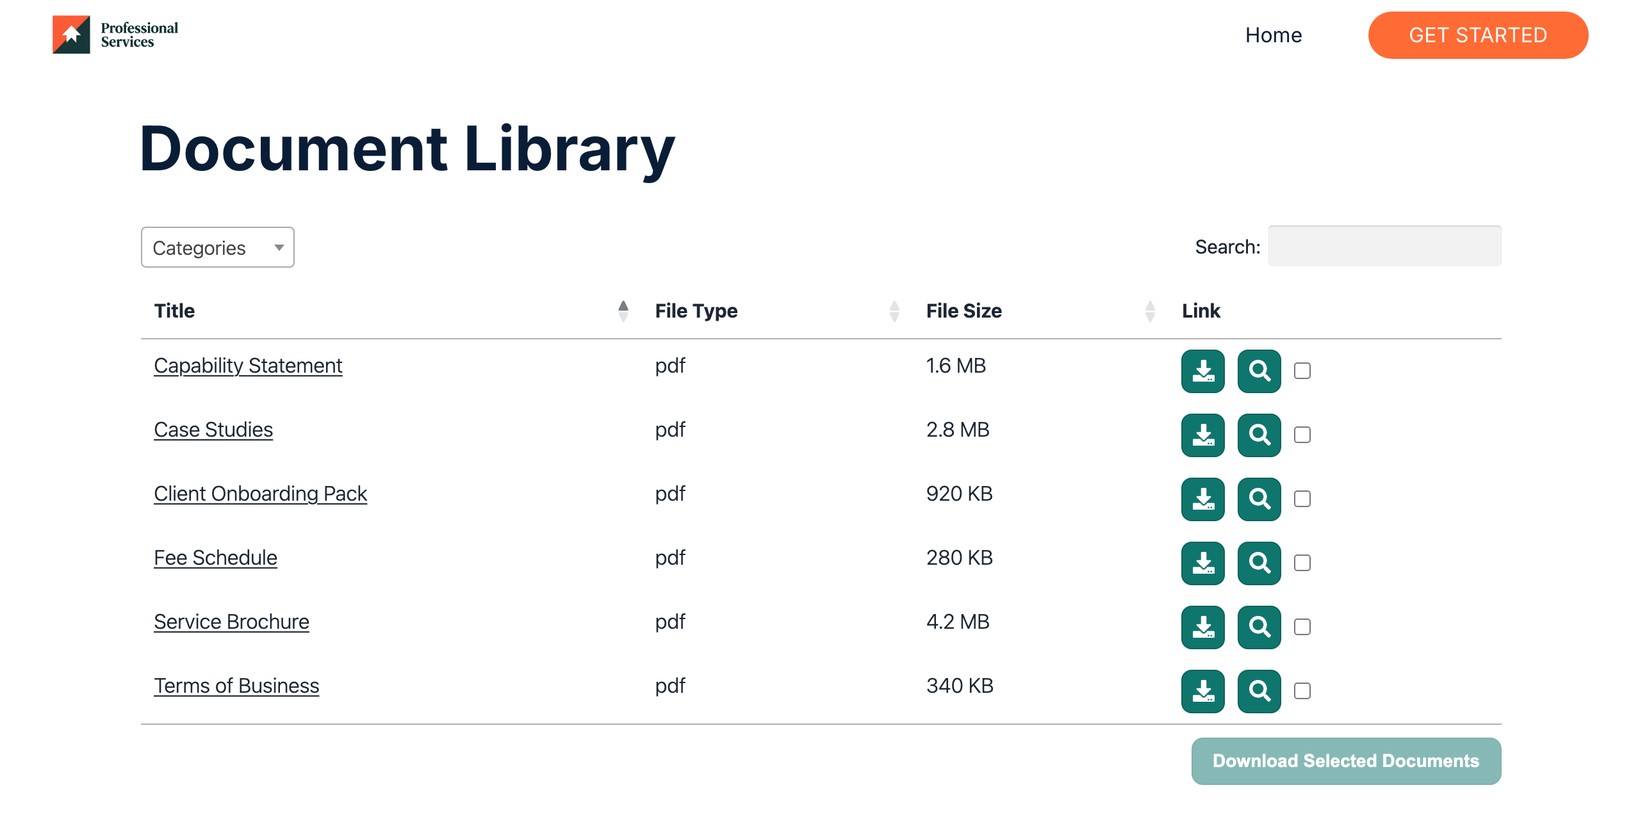
Step 6: Publish and view your library
Click Publish. The Wix editor's Preview does not run embeds, so you will only see the live library on your published site. Visit your published page to see your document library, where visitors can search, filter by category, and download or preview each document.