Steps to import multiple product variants in Shopify

Most Shopify stores selling products with multiple options need a reliable way to get those variants into the system. This article covers two methods: Shopify's native CSV import and a faster spreadsheet-based approach using Setary.
Both methods let you import product variants in Shopify without entering each one manually. The CSV method gives you full control and works well for large one-time imports. Setary removes the CSV friction entirely with a live editable grid. Read on for the full steps on both approaches.
What are product variants in Shopify?

A product variant is a specific version of a product defined by one or more options, such as Size: Small or Color: Red.
Shopify supports up to three options per product and up to 100 variants per product. That 100-variant limit is worth keeping in mind, especially for large catalogs. Each variant can have its own price, SKU, barcode, inventory quantity, weight, and image. So a single T-shirt product with three sizes and four colors would have 12 separate variant rows, each with its own data.
Let's look at the different ways you can import variants in bulk with Shopify.
Method 1: Import variants using Shopify's native CSV import
Shopify's built-in CSV import is the standard way to import product variants in Shopify. It requires careful formatting. However, it works ok once you understand the structure if you're prepared to spend time preparing the CSV file.
Step 1: Export an existing product CSV as your template
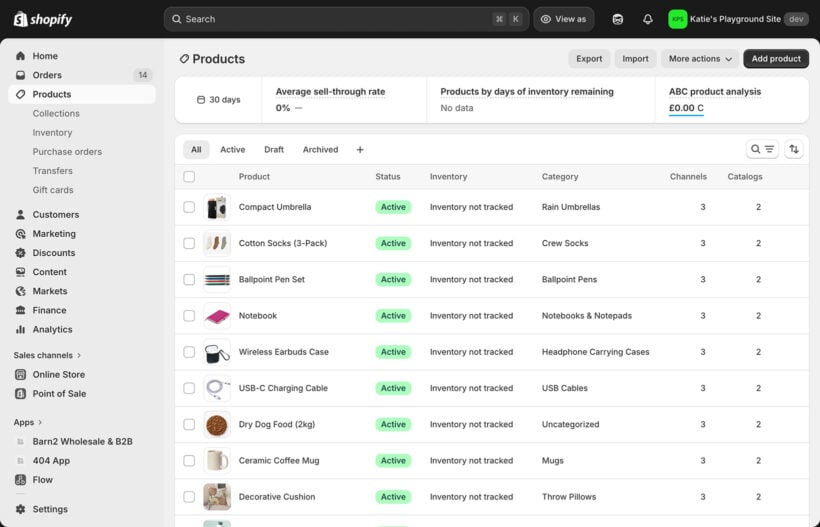
Go to Shopify admin → Products → Export. Choose to export a few existing products as a CSV file. This gives you the correct Shopify product CSV format with all the right column headers already in place.
Starting from a blank spreadsheet is error-prone. The exported file is your safest starting point. Open it in Excel or Google Sheets and use it as your template for the Shopify variant CSV file.
Step 2: Understand the key CSV columns for variants
The Shopify CSV import variants format uses specific columns. Here are the ones you need to pay attention to for variant imports:
- HandleA unique identifier for the product. Every row belonging to the same product must share the same Handle.
- Option1 Name / Option1 ValueDefines the variant attribute name (for example, "Size") and its value (for example, "Small"). Shopify supports Option1, Option2, and Option3.
- Variant PriceThe price for each specific variant.
- Variant SKUA unique identifier per variant.
- Variant Inventory QtyThe stock level for each variant.
- Image SrcThe product-level image URL. This goes on the first row of a product only.
- Variant ImageAn image specific to that individual variant.
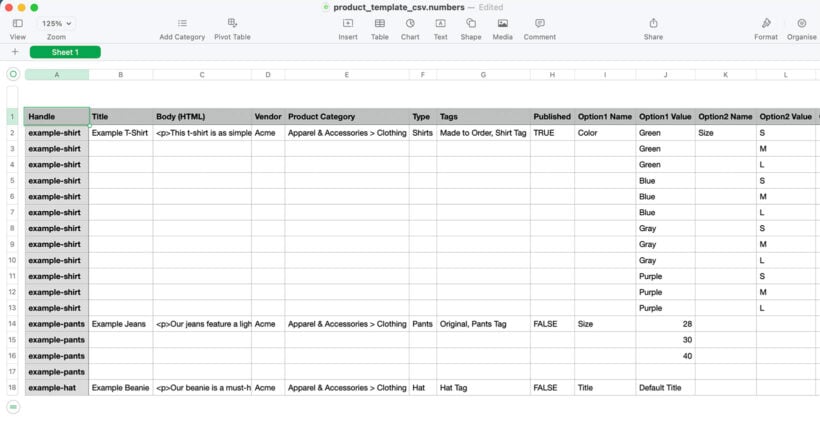
The first row for each product carries the title, description, vendor, and main image. Subsequent rows for the same product share the same Handle but leave the Title and Body (HTML) columns blank. This is the core logic of the Shopify product CSV format.
Step 3: Structure your CSV for multiple variants
A practical example helps here. A T-shirt with three sizes and two colors produces six variant rows, all sharing the same Handle.
The first row carries the product title, description, vendor, and main image. All six rows carry the variant-specific data: size option, color option, price, and SKU. The Handle must be identical across every row for that product. If any row has a different Handle, Shopify treats it as a separate product. You can include multiple products in the same Shopify variant CSV file. Each product simply gets its own unique Handle.
Step 4: Import the CSV file into Shopify
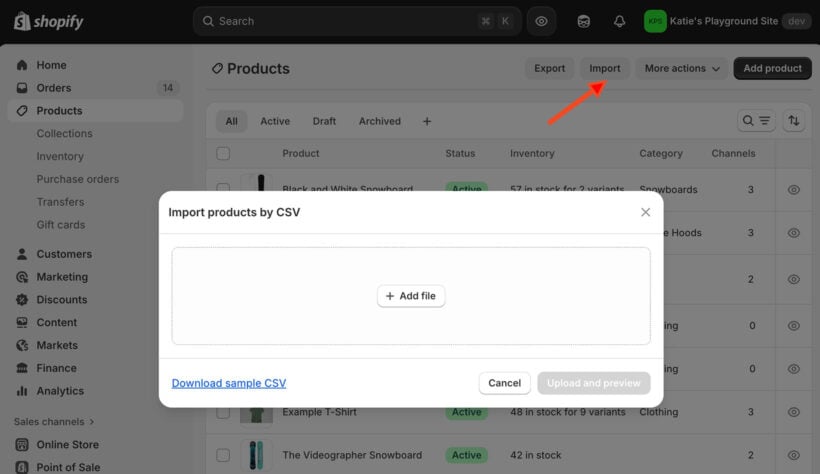
Go to Shopify admin → Products → Import. Upload your CSV file. Shopify shows a preview so you can check the column mapping before confirming.
Click 'Import products'. Large imports may take a few minutes to process. Once complete, go to Products and check that all variants have been created correctly. Spot-check a few products to confirm the option values, prices, and SKUs look right.
Step 5: Common problems when importing variants via CSV
The Shopify CSV import variants process has a few reliable failure points. I find these are the ones that cause the most confusion:
- Handle mismatches cause variants to import as separate products instead of grouping under one product.
- Exceeding the 100-variant limit per product causes the import to fail or truncate silently.
- Variant images not appearing because the image URL is in the wrong column or the image is not publicly accessible.
- Blank cells in required columns break the import entirely.
- Formatting errors such as extra spaces, incorrect date formats, or special characters in option values.
The CSV method works, but there is a lot that can go wrong, especially when managing large catalogs or making frequent updates. That leads naturally to the alternative approach.
Method 2: Import and manage variants without CSV using Setary
Setary removes the CSV process entirely. It gives you a spreadsheet-style interface directly inside Shopify where you can add, edit, and manage variants without ever touching a file.
What is Setary?
Setary is a Shopify app that lets you manage your entire product catalog, including variants, from a live editable grid inside Shopify. Instead of exporting, editing, and re-importing CSV files, you edit your products directly in a spreadsheet that syncs with your store automatically. The interface will feel familiar to anyone who has used Excel or Google Sheets.
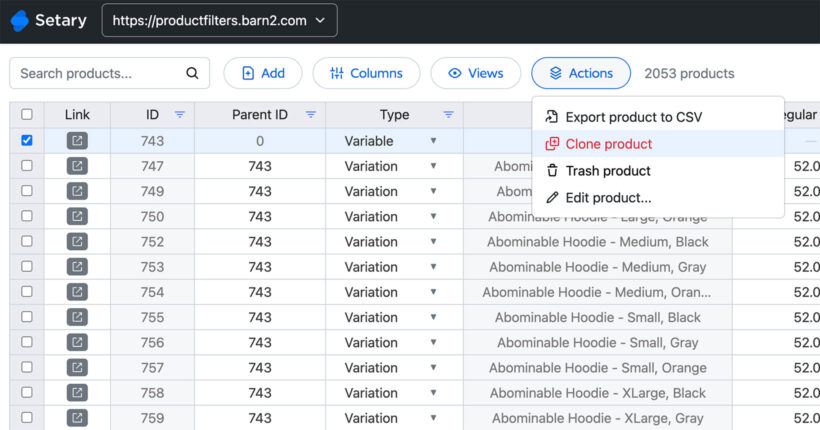
Adding new variants by duplicating existing rows
In Setary's spreadsheet editor, each product variant appears as its own row. This mirrors the logical structure of a CSV, but everything is editable directly in the browser.
To add a new variant, duplicate an existing row for that product. All shared data, including the product title, handle, and images, carries across automatically. Then edit the variant-specific columns: option values, price, SKU, and stock quantity. This is significantly faster than the CSV method for stores adding a handful of new size or color combinations. There is no exporting, no reformatting, and no re-importing involved.
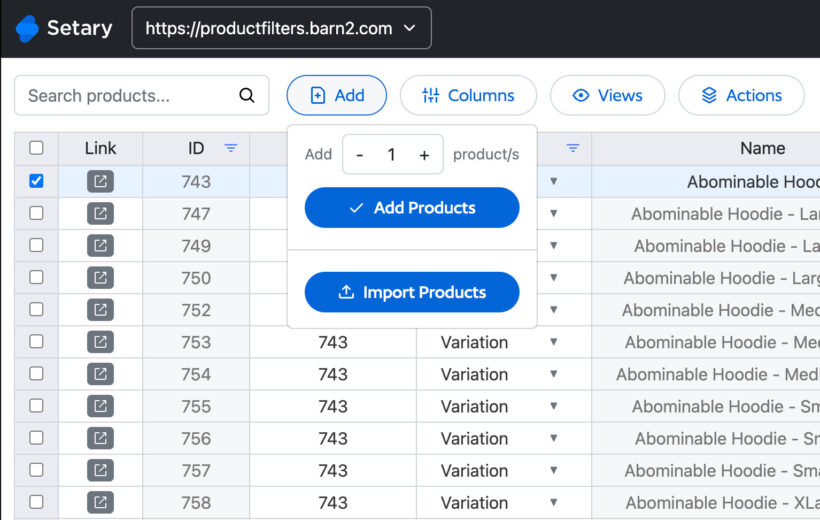
Adding new variants by inserting a new row
Alternatively, add a completely blank new row and fill in the variant data from scratch. This works well when adding a brand new product with variants that does not yet exist in the store at all.
The row-based interface makes the relationship between a product and its variants visually obvious. You can see at a glance which rows belong to which product, so there is no risk of the Handle mismatch problems that trip up CSV imports.
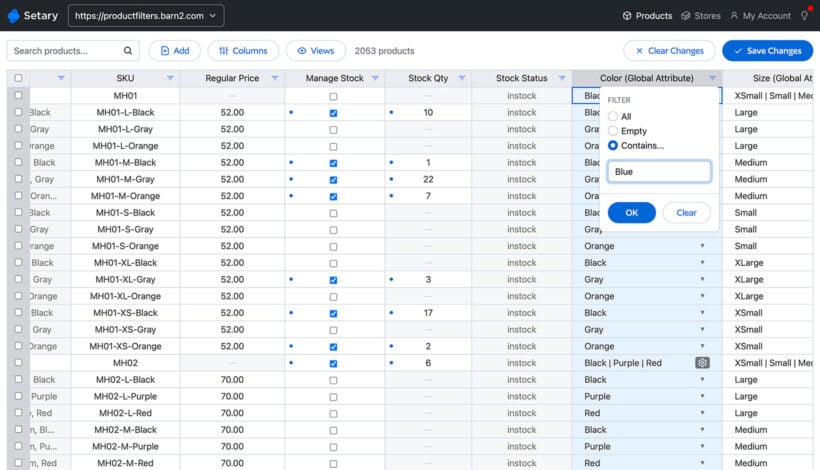
Bulk editing variants with filters and bulk actions
Setary includes filtering so you can narrow the variant list down to a specific subset. For example, you could filter to all variants of a particular product, or all variants with a specific option value like Size: Large.
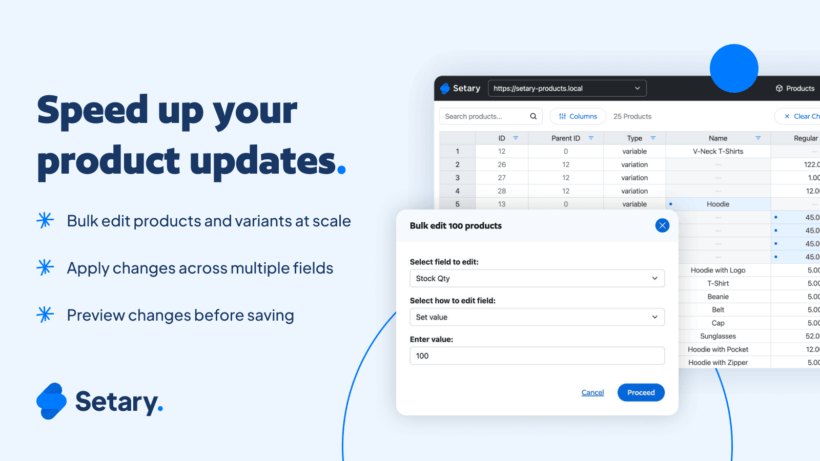
Once you have filtered the list, select all visible rows and apply a bulk action to make the same change across all of them at once. This is where Setary pulls ahead of the CSV method for existing catalog management. Changing the price of 40 size variants in a CSV means editing 40 individual cells. In Setary, it is a filter and a single bulk action.
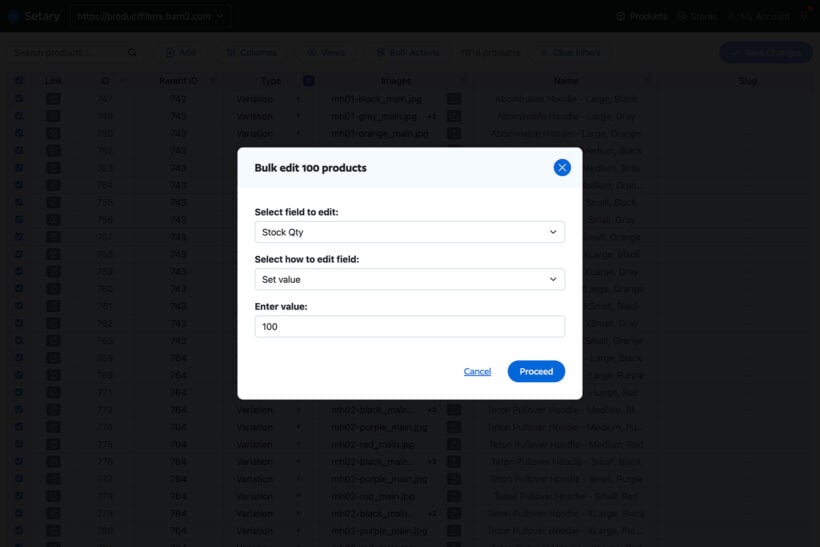
Good use cases for the bulk action include:
- Price updates across a range of variants after a supplier change.
- Stock adjustments after a new delivery arrives.
- Applying a sale price to a specific color option across all products.
- Updating the weight of all variants in a particular size.
Why Setary is easier than the CSV method ✨
You get several direct practical benefits from using Setary to bulk import variants instead of CSV. There is no risk of Handle mismatches. There is no re-importing and no waiting for a file to process. Changes are live and visible immediately in your store.
The spreadsheet interface is familiar, which means there is very little learning curve. And because you are editing data that already exists in Shopify rather than preparing a file outside of it, there is far less room for formatting errors to creep in.
Which method should you use?
The CSV method makes sense in specific situations. Use it when you are migrating from another platform and already have a large product export ready, when you are doing a one-time bulk import of an entirely new catalog, or when a developer or data team is preparing the file and can handle the formatting correctly.
Setary makes more sense when you are adding or editing variants on a regular basis, when you want to avoid CSV formatting errors, or when you need to bulk import Shopify variants and make fast bulk changes to existing variant data. For day-to-day catalog management, the live spreadsheet approach is simply less work.
The easy way to bulk import Shopify variants
Shopify's native CSV import works for getting variants into your store, but it requires careful attention to formatting and structure. Setary removes that friction by giving you a live spreadsheet editor where you can add, duplicate, and bulk-edit variants without touching a CSV file. This can save you a huge amount of time and de-risk the process entirely, leaving you free to focus on the tasks that matter.