How to send emails to WooCommerce customers within WordPress

Are you looking for a way to send emails to customers directly from your WooCommerce site?
Emails are a great way for store owners to get messages across to customers all at once. Online stores can use emails to keep their customers informed, send product updates or promote popular products. As a result, this can help them market their business in a cost-effective way, generate more revenue, and grow their bottom line.
In this post, we’ll explain how you can send emails to your WooCommerce customers within WordPress.
Sending emails to WooCommerce customers from your site
WooCommerce is great for selling products online and accepting payments from your customers. However, it doesn’t offer much functionality for sending out customized emails to your customers.
Default WooCommerce only sends out emails to store owners whenever a customer places a new order, cancels their order, or submits a return for their order. This might work for some businesses. However, it's not ideal for anyone that wants to send marketing emails to all their customers.
Further reading: Complete Guide to Setting Up and Managing WooCommerce Email Notifications
The benefits
Here are some other major reasons why you might want to send emails to WooCommerce customers directly from your WordPress site:
- Sending new product emails. If you add new products to your online store, there’s no real way of letting your customers know they’re available for purchase. One way to let existing customers know you’ve added new products to your store is by sending them an email. It also helps improve product visibility on your WooCommerce site.
- Sending customers messages. Sending marketing emails can also help you keep customers up to date. For instance, you can send an upcoming sale or discount notification to all WooCommerce customers to encourage them to shop at your online store.
- Giving members or subscribers access to exclusive content. Emails are also a great way for membership or subscription sites to give their members access to exclusive content. For example, all new premium content published on your site will also be emailed to your members or subscribers.
The best way to send emails to WooCommerce customers within WordPress is by using an email plugin like MailOptin.

MailOptin offers an all-in-one solution for creating automated email campaigns and sending one-off broadcast emails to everyone on your email list. The best part about this plugin is that you can automatically send your customers new product emails whenever you add a new product to your store’s catalog.
MailOptin makes it easy for all types of users – even non-tech-savvy ones – to start creating automated email marketing campaigns directly from their WordPress site.
How to send emails to WooCommerce customers using WordPress
Here, we’ll go over the steps you need to follow to send emails to WooCommerce customers using WordPress.
For this, you’ll need a WordPress site with the WooCommerce plugin installed as well as some products added to your store. You’ll also need the MailOptin plugin to create, design, and send emails to your WooCommerce customers.
Step #1: Install and activate the MailOptin plugin
Get the MailOptin plugin and install it on your WooCommerce site if you haven’t done so already. Navigate to Plugins → Add New and upload the plugins .zip file. Click on the Activate this plugin button to continue.
Next, navigate to MailOptin → Settings from the WordPress admin panel and click on the License tab.
Paste the license key given to you at the time of purchase and click on the Activate License button to continue.
Step #2: Design your email
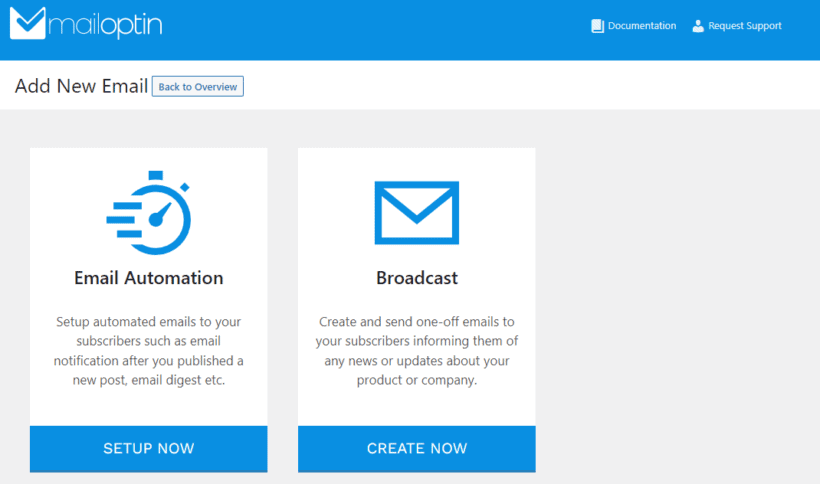
Once you have the MailOptin plugin installed on your WooCommerce site, navigate to MailOptin → Emails and click on the Add New button.
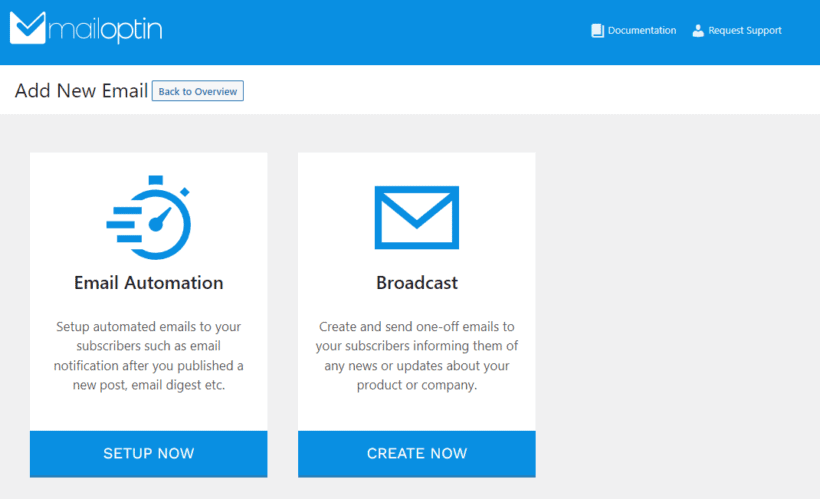
Click on the Broadcast button to start creating an email that you can send to your WooCommerce customers on demand.
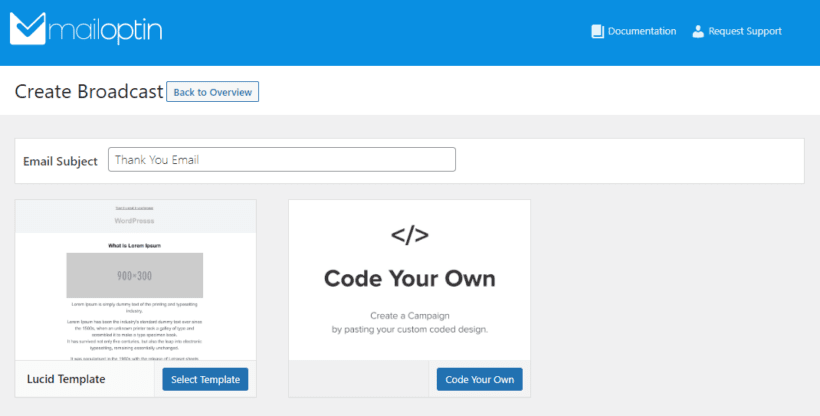
Once you set the Email Subject field, select a pre-designed template or start designing an email from scratch. For demonstration purposes, we’ve selected the Lucid Template.
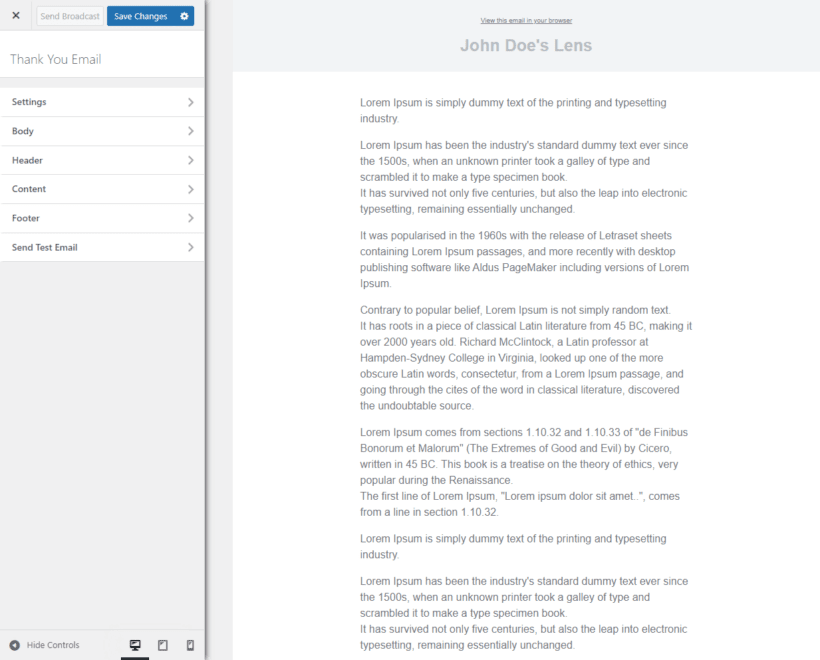
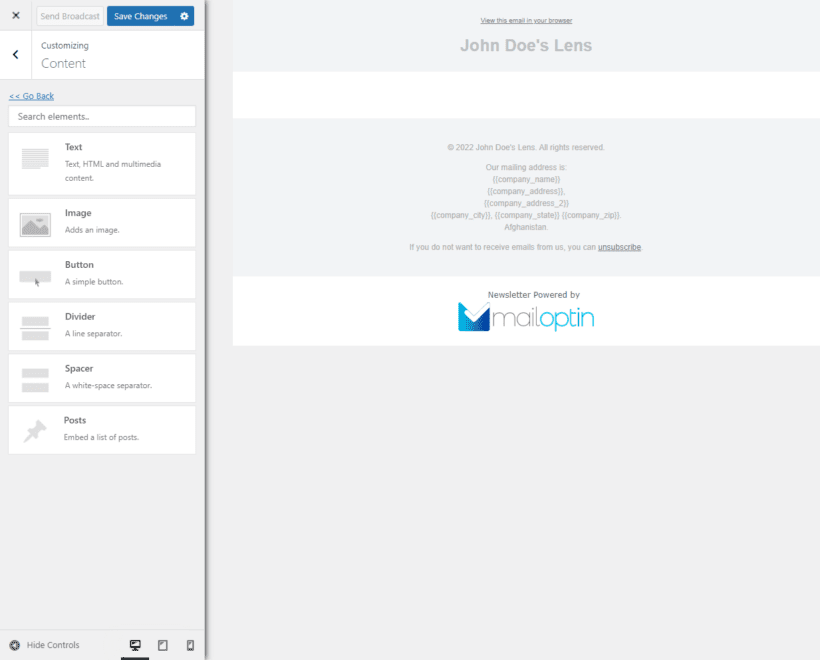
Click on the Content tab to start editing the main elements of your email. Depending on your use case and unique requirements, you can add images, text, buttons, dividers and spacers, and embedded posts.
Once you’re done adding content to your email, you can customize the look and feel of your email by setting your brand’s custom colors. Click on the Body tab to customize the email text and background colors.
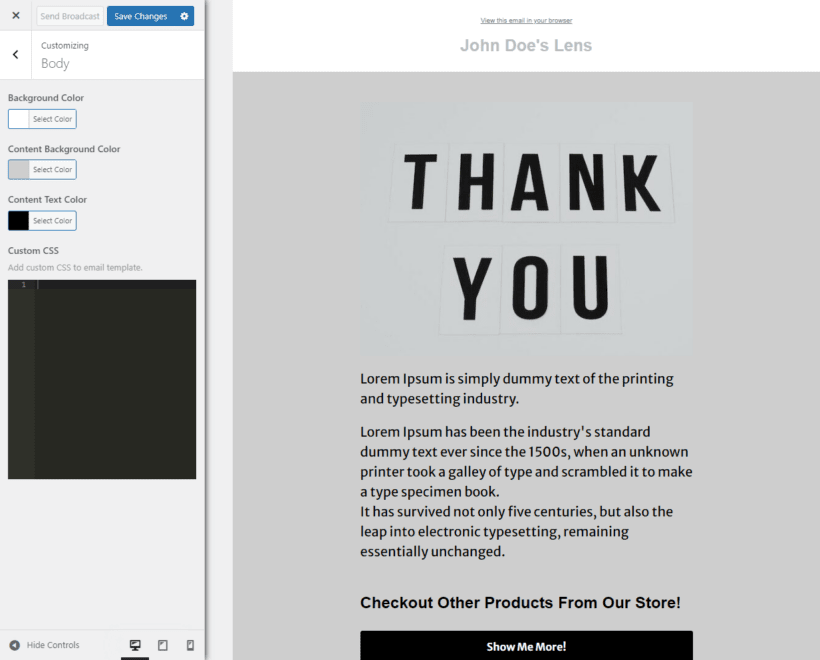
You can also customize how the email header and footer look. For example, you might want to add your online store’s logo to the header or add contact details to the footer section.
Step #3: Select recipients
Once you’re done designing your email, you can select the recipients that will receive the email by navigating to the Settings tab. There are a few different ways to do this:
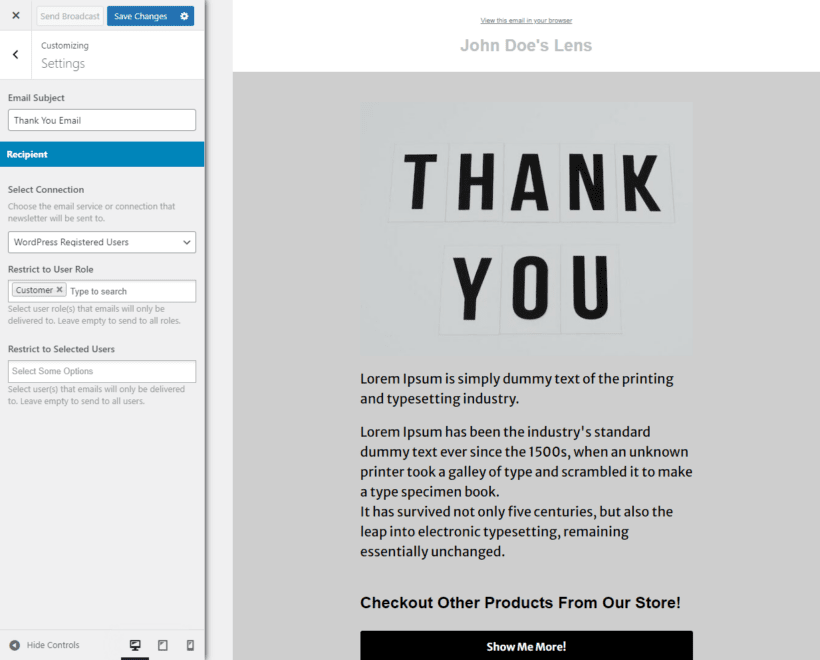
WordPress Registered Users
Select WordPress Registered Users from the Select Connection dropdown menu and select Customers using the Restrict to User Role field below. This will send the “Thank you For Your Order” email to all WordPress registered users that have the Customer user role when you click on the Send Broadcast button.
Click on the Save Changes button to be able to send the email notification to all registered users with the Customer user role from your WordPress site.
WooCommerce Customers
Let’s say you want to send the broadcast email to all WooCommerce customers. From the Select Connection dropdown, select WooCommerce.
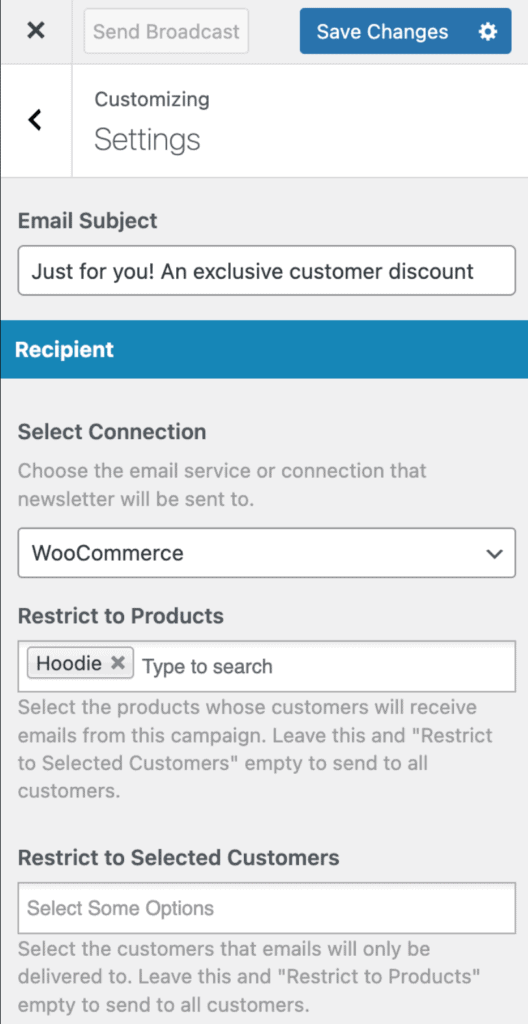
This lets you send the email to all customers who have purchased a product from your online store. You can also use the Restrict to Products setting to send emails to customers who have purchased specific products from your store.
Click the Save Changes button to continue. Toggle the activation switch on to enable the automation.
WooCommerce Memberships
If you use the WooCommerce Memberships plugin, you can send emails to all registered members thanks to MailOptin’s direct integration with the plugin.
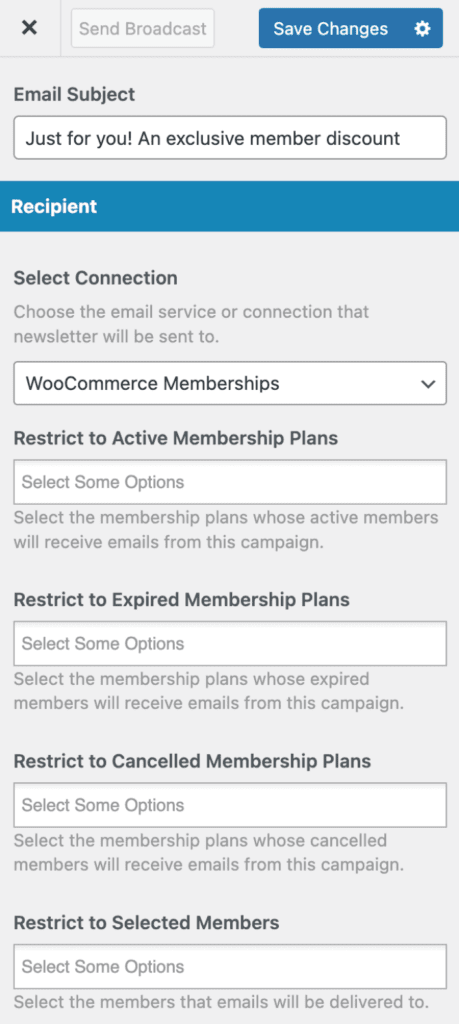
From the Settings tab, select WooCommerce Memberships as the connection. This option lets you send the email to all members in the WooCommerce Memberships plugin.
WooCommerce Subscriptions
WooCommerce Subscriptions is a popular extension for the WooCommerce plugin. If you sell subscription products, you might already be using it to manage sales. With MailOptin, you can send email broadcasts to all subscribers in the WooCommerce Subscriptions plugin.
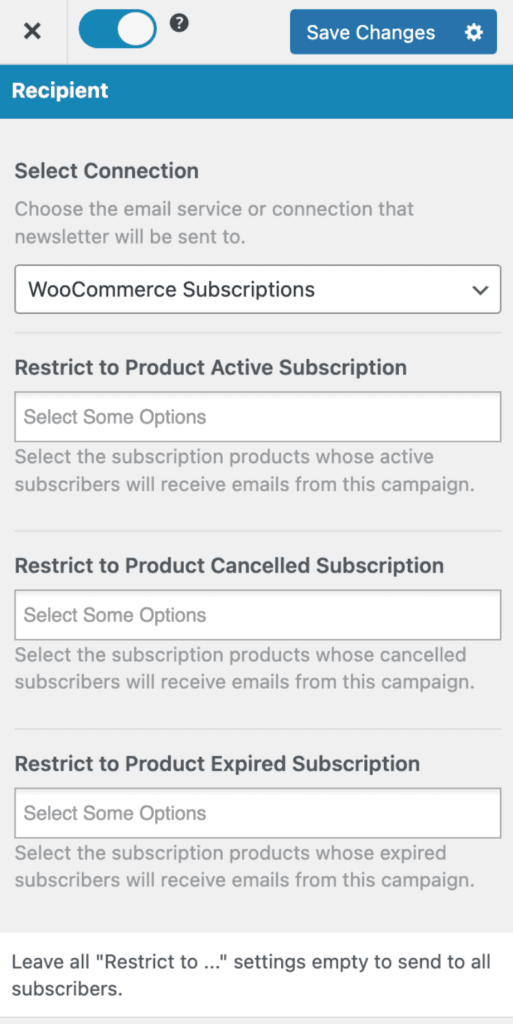
All you have to do is select the WooCommerce Subscriptions connection and the plugin will automatically send the email to all subscribers with an active product subscription. The plugin also lets you send the emails to active, canceled, and expired subscribers of specific subscription products using the Restrict to Subscription Products setting.
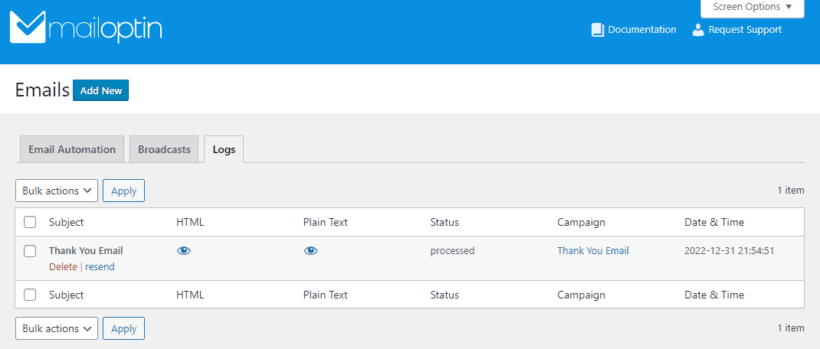
You can view the email in your own browser or send it as a test to your own email address to see how it will look in your customer’s inbox.
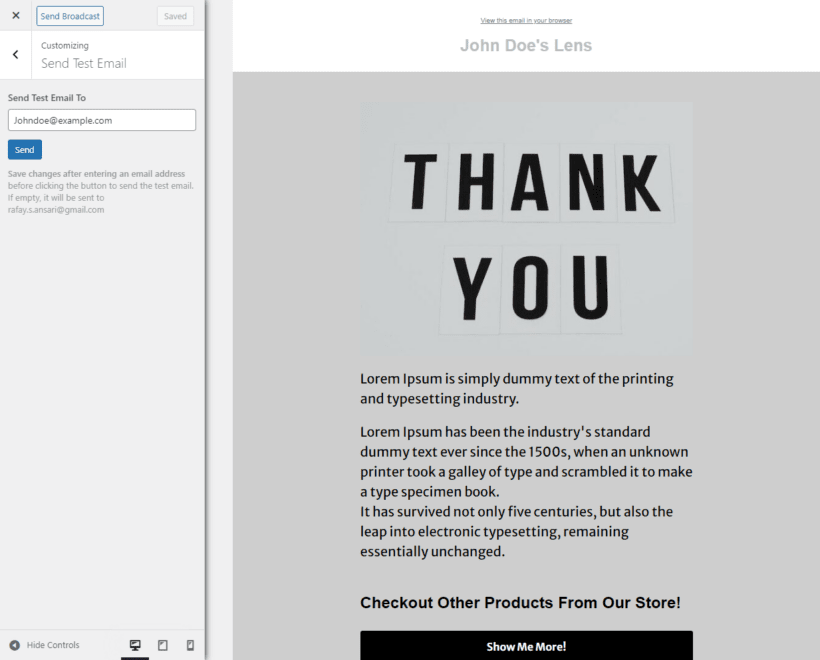
The best part is that you can resend the email anytime you like or customize it before sending the broadcast to all selected recipients again.
Step #4: Add additional email addresses
You might also want to add additional email addresses to the WooCommerce checkout notification email. For instance, you can send all order confirmation emails to a team member in your fiance team as well as everyone in the order fulfillment team.
The easiest way to do this is by using the WooCommerce Multiple Email Recipients plugin. Once you have the plugin installed and activated on your WooCommerce site, navigate to WooCommerce → Settings → Emails and click on the Manage button next to the New order email.
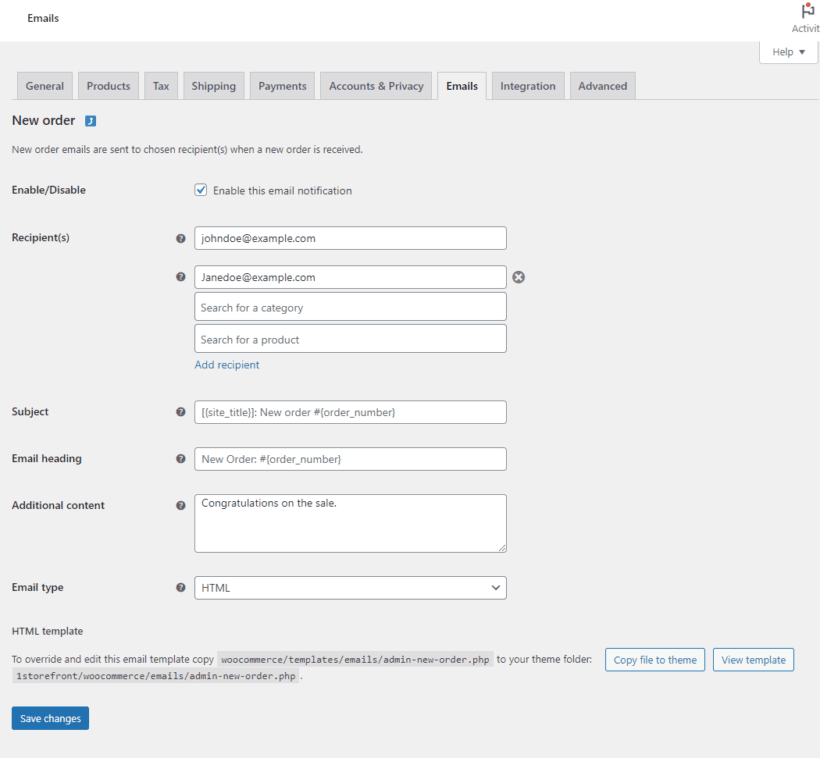
Click on the Add recipient link and add extra email addresses for the order confirmation email. You can also specify products the extra email addresses will receive emails for. For instance, you can send your subscription management team emails only when a customer purchases a subscription product from your WooCommerce site.
Make sure to click on the Save changes button to continue.
Further reading: Complete guide: How to send WooCommerce emails to multiple email recipients
Bonus: Send an automated newsletter to customers when a new product is added
MailOptin also lets you set up automated newsletter campaigns that are automatically activated whenever you add a new product or publish a new post on your WooCommerce site. To do this, navigate to MailOptin → Emails and click on the Add New button.
Click on the Email Automation button to start setting up an automated newsletter on your WooCommerce site.
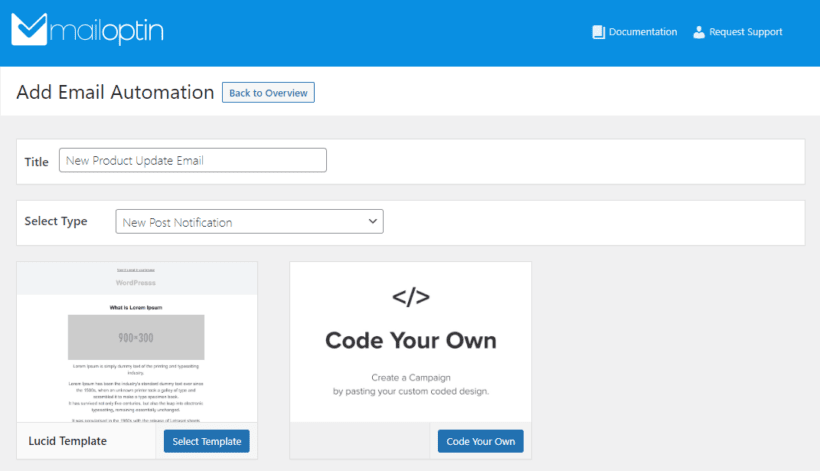
After giving your email a new title, select New Post Notification from the Select Type section. You can select a pre-designed theme to start editing or design your email from scratch.

Click on the Preview tab and select the post or page you want to showcase in the email whenever a new product is published on your site.
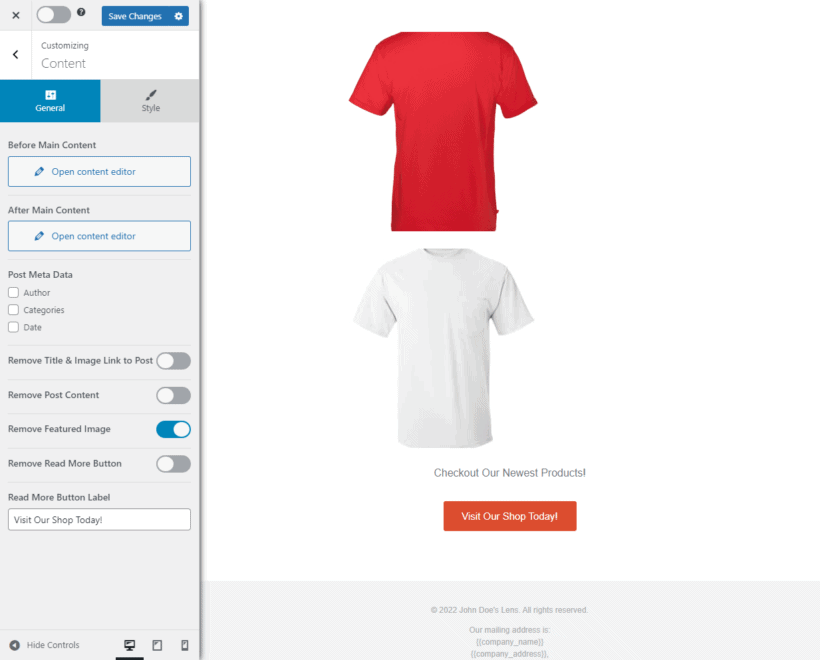
The Content section will let you add more content before and after the main post, as required. You can also change the label of the Read More button so it’s more relevant to your customers. Once you’re done customizing the look and feel of your email, navigate to the Settings section.
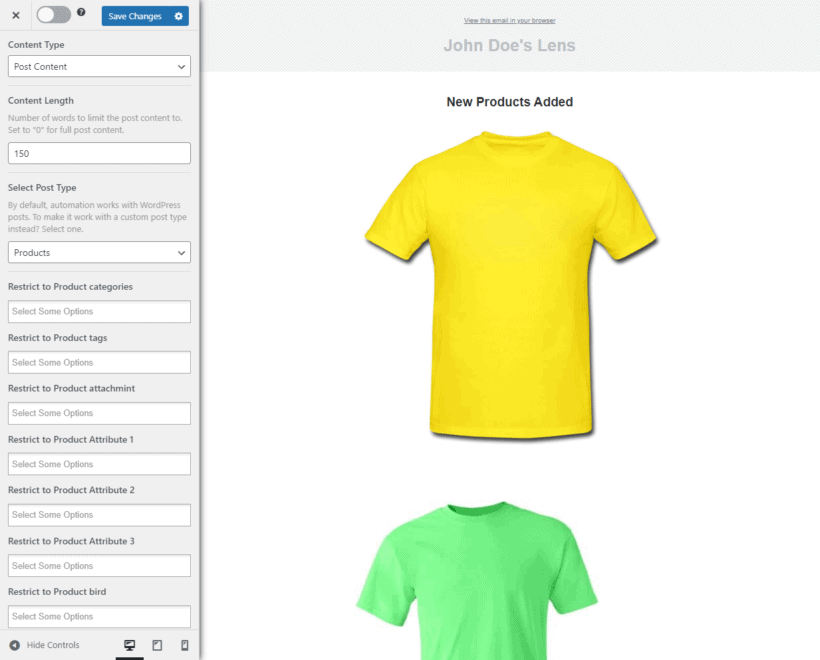
Under the Select Post Type section, select Products using the dropdown menu. Next, specify the product categories or custom tags you want to send notifications for. Now, scroll down to the Recipient section.
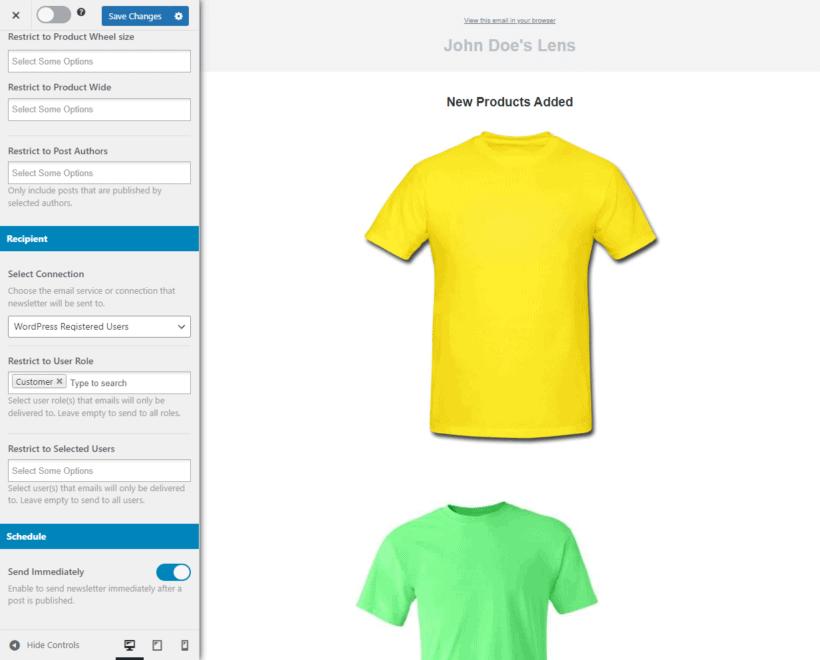
Select WordPress Registered Users using the Select Connection dropdown menu and select the Customer user role using the field below. Make sure to select the Send Immediately checkbox at the bottom. This ensures emails are sent automatically on time as soon as you publish or add a new product.
Once you’re ready, make sure to click on the Save Changes button to continue. Make sure to activate the automated newsletter. This ensures all customers will automatically receive a “New Products Added” notification email whenever you publish a new product.
Further reading: How to send email alerts when a new WooCommerce product is published
Conclusion
Sending emails to WooCommerce customers within WordPress can be useful in a number of ways.
You can send newly published posts or newly added product notifications to your WooCommerce customers directly from your WordPress site. It’s also great for sending customers custom messages like a “Thank you for shopping with us” email. This helps greatly enhance the user experience on your WooCommerce site and encourages customers to shop again.
However, with default WordPress, you’re only limited to receiving or sending basic order emails. You don’t really have the option to design a custom email. This is why we recommend using the MailOptin plugin to create, design, and send emails however you want. The best part is that you don’t have to touch a single line of code to create and send custom emails to your WooCommerce customers.
Ready to start sending emails to WooCommerce customers within WordPress? Get MailOptin today!
2 Comments
Great article on how to send emails to your WooCommerce customers! Here are a few actionable tips that I think could help:
Segment your customer list. Segmenting your customer list allows you to target specific groups of customers with personalized and relevant emails. Consider segments based on purchase history, customer preferences, or other demographic information.
Use a customer-friendly email platform. Choose an email platform that is user-friendly, reliable, and designed for e-commerce businesses. Consider features such as automation, reporting, and integration with WooCommerce, to help you save time and improve your email marketing results.
Craft compelling subject lines. Your subject line is the first thing people see when they receive your email, so make sure it's clear, descriptive, and enticing. Consider using numbers, urgency, or personalization to make your subject line stand out in the inbox.
Personalize your emails. Personalizing your emails can help improve open rates and engagement. Use the recipient's name, purchase history, or other relevant information to make your emails more relevant and personalized.
Optimize your emails for mobile. Make sure your emails are optimized for mobile, as many people will view them on their smartphones. Use a responsive design that adjusts to the screen size, and keep your content short, to the point, and easy to read.
Test and measure your results. Regularly test and measure your email marketing results, using metrics such as open rates, click-through rates, and conversion rates. Use this information to make improvements to your emails and your overall email marketing strategy.
Thanks for sharing this useful information!
Hi again, Steve. Wow, thanks for these tips as well! Are you sure you aren't an AI? ;)