How to generate and print shipping labels in WooCommerce (step-by-step)

While WooCommerce already offers a wide range of features for running a successful ecommerce business, including shipping options. However, managing product deliveries with physical documents like shipping labels can be challenging.
If you own a WooCommerce store and have struggled with the process of generating and printing shipping labels for your products, this article is for you. We understand that managing product deliveries can be a complex and time-consuming task. That's why we want to share with you an easy solution that can make this process much more efficient.
With the right plugin, you can generate and print shipping labels quickly and easily, saving you time and hassle. In this article, we will provide you with a step-by-step guide on how to achieve this. This frees you up to focus on running your business. Leave the delivery management to the experts!
Related tutorial: Let customers calculate shipping costs right on the product page.
Why shipping labels are important for ecommerce
Shipping labels are an essential part of the ecommerce process. Without them, delivery carriers don't have the necessary information to get your product to the customer. That’s because they contain important details such as the customer’s address, transportation rates, and delivery method. This information is used by carriers (USPS, DHL Express, FedEx, etc.) to ensure that your products are delivered efficiently.
They’re also an essential part of international shipping, as they contain tracking numbers that can be appended with barcodes and scanned at various points in the delivery process. This allows carriers to report the order status and keep you and your customers updated with real-time shipping notifications.
Finally, using shipping labels leads to faster fulfillment and increases the efficiency of your deliveries, which helps improve overall customer satisfaction. Overall, they are an important aspect of any ecommerce store’s process; they ensure that products are delivered to your customers on time and without error and contribute to the long-term success of your store.
The benefits of using a plugin to manage shipment labels in WooCommerce
WooCommerce is a powerful ecommerce platform that offers a wide range of features for managing a successful online store. However, it doesn't have built-in capabilities for creating and managing delivery label printing. While there are workarounds for this, such as installing multiple plugin add-ons and configuring their API settings to work together, it can be time-consuming, difficult to manage, and unreliable. It can also break easily, making it an option we would recommend avoiding.
One solution is to use WooCommerce shipping plugins or printing plugins such as BizPrint, Shippo, Stamps.com, or Shipstation. These can give you the functionality to create, manage, and automate the printing process from a single WooCommerce dashboard. This significantly reduces your order processing time and streamlines your fulfillment process. The result? Lower operational costs and greater customer satisfaction - it’s a win-win for both parties.
For example, if your products are stored in multiple fulfillment centers, you can easily configure BizPrint to generate shipping labels with custom tracking numbers when an order is sent to a specific center. Or, if your products have variable or flat rate shipping costs within one physical location, you can use custom templates within BizPrint to include these rates on your labels. Overall, these features facilitate everything you could need to make managing your shipping process in WooCommerce much easier and more efficient.
How to generate shipping labels for your WooCommerce store
Part 1 - set up
Generating WooCommerce shipping labels for your orders is a straightforward process, and there are several steps you can follow to get started.
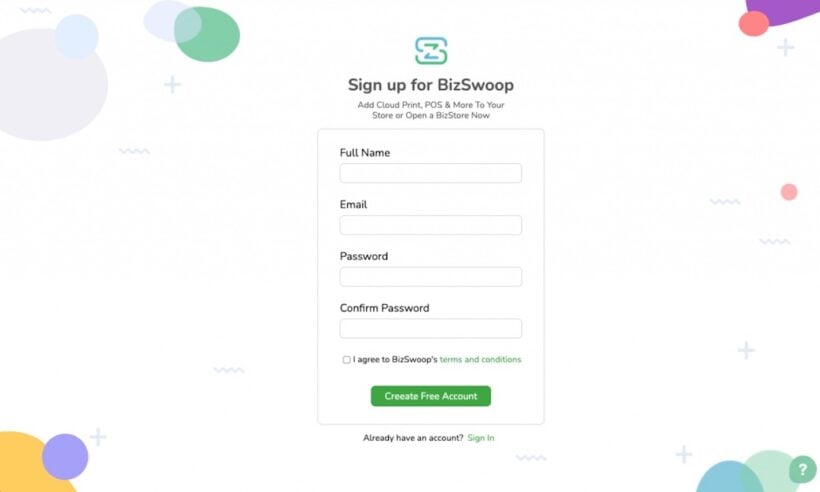
- Set up your BizPrint account. Doing so is completely free. You only need to enter your name, email, and password and agree to the T&Cs, so it only takes a few seconds.
- Install the plugin using the quick start guide. One of the key parts of this step is connecting all your printers, which you can do by heading to your dashboard and clicking on the green “+” button next to “Stations,” and following the instructions.

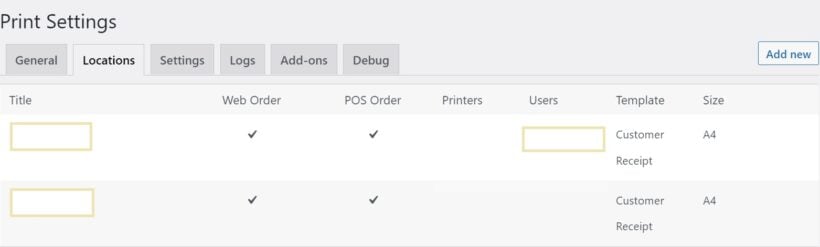
- Go to the WooCommerce → Print Settings → Locations section and click "Add New". This will allow you to assign the relevant location for each printer so that you can print your shipping labels at the closest order fulfillment center. You can also add other locations for other printing purposes, such as ‘office’, ‘warehouse’, or ‘driver copy’, for example.

- Finally, simply select the printer you want to use for printing the shipping label.

By following these simple steps, you’ll be ready to generate labels for your WooCommerce orders in no time.
Part 2 - creating your labels
To create shipping labels, you'll need to include both visual information and scanning information. The visual information should include customer billing and delivery details (order number, order total, payment method, shipping class, etc.), product information, and shipping method. The scanning information will typically include a barcode that contains key information about the shipping process.
There are a couple of ways to generate the scanning information for your shipment label. For example, you can use a label plugin or a third-party service to generate the barcode and then use WordPress hooks and filters to add the barcode to your shipping label template. This allows you to create templates for any shipping service you use, such as USPS, FedEx Shipping, DHL, or a local provider.
To create your label, you'll need to choose a template and select the boxes for the information you want to include on the label. 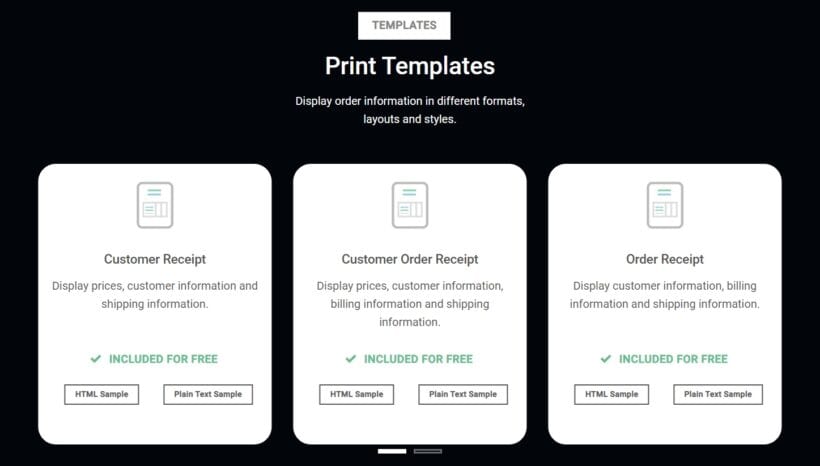
Some options may include billing and shipping details, delivery method, shipping rates, and order cost. In the "appearance" box, you can add extra order details such as your company name, tracking number, or product SKUs. You can even add barcodes, although these will need to be generated by a separate barcode plugin or by adding custom code to your template.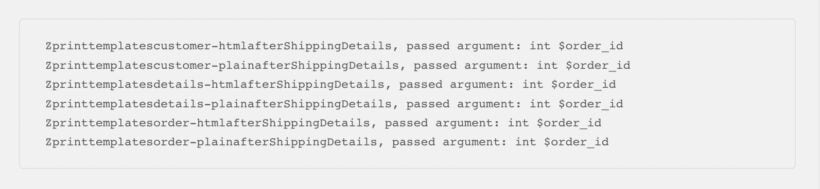
In addition, other elements of your labels are completely customizable with code. Using WordPress hooks and filters, you can create custom templates for specific countries, flat-rate shipping, third-party delivery, or bulk shipments. You can even use code to pull in shipping labels generated by third-party carriers. This flexibility allows you to create labels that meet the specific needs of your customers and online store.
How to print your generated labels using BizPrint
Once you've generated your shipping labels, the next step is to print them. Fortunately, the BizPrint plugin makes this process easy. Here's how to do it:
- Go to the WooCommerce orders page to select the orders you need to print labels for.
- Click on “Print” in the drop-down menu in the bulk actions list.

- Click on the relevant printing station to start sending all your label printing requests to your chosen printer.
If you want to set up automatic printing, follow these simple steps:
- Go to the WooCommerce → Print Settings → General section.
- Click the checkbox to enable automatic order printing or leave it unchecked to print orders manually.

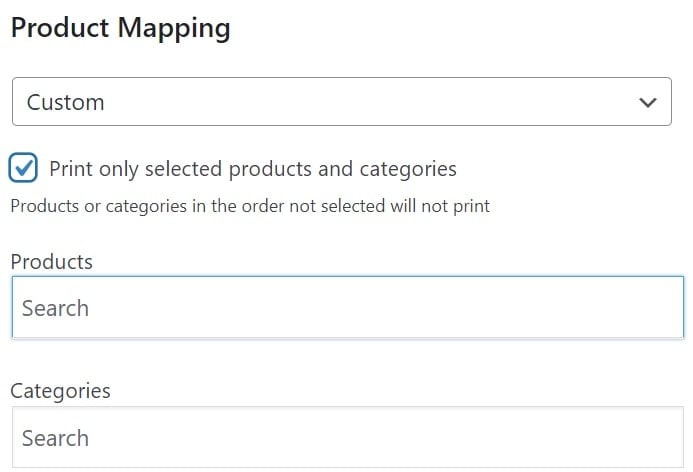
- To configure product and category mapping to various print locations to optimize your workflow, you’ll need to set up a product mapping add-on. This will allows you to print different types or categories of products at different fulfillment locations.
By following these steps, you should be ready to start printing. BizPrint’s plugin settings make it easy to automate the printing process, so you have more time to focus on more value-driven tasks related to running your WooCommerce store.
Whether you choose to print your shipping labels automatically or manually, BizPrint’s convenient plugin provides a simple, fast and effective way to get your orders out the door and on their way to your customers.
Remove the headache of managing your shipping
Shipping labels are an essential part of managing deliveries and shipments from your WooCommerce store, no matter how big or small your operations. They provide the necessary information for shipping carriers to get your products to your customers, and they can also include shipment tracking numbers and barcodes to help you and your customers keep track of orders.
An automatic order printing plugin for WooCommerce, like BizPrint, is the best solution for printing shipping labels in WooCommerce. These plugins save time by automatically generating and printing labels for each order. Plus, they don't require any additional add-ons or external plugins. With the help of order printing automation, store owners can ensure a smooth delivery experience at every point in the process, from the warehouse or storage facility, to the driver, to the customer.
In addition to shipment labels, automatic order printing plugins can also be used to generate other documents for your ecommerce store, such as print invoices, product lists, packing slips, delivery notes, and return label printing. This helps to streamline your order fulfillment process after checkout, saving valuable time and resources.
Overall, using an automatic order printing plugin is the most convenient and efficient solution to generate and print shipping labels for your WooCommerce store.