Improve your conversion rate with a custom WooCommerce checkout page
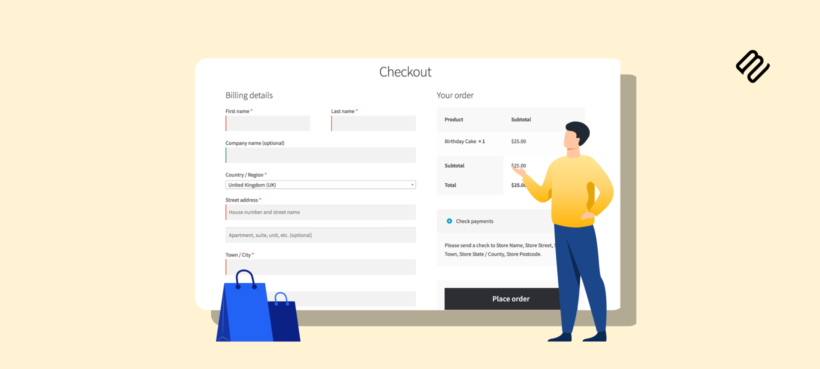
A few targeted changes to the WooCommerce checkout reliably lift your conversion rate, often more than redesigning the rest of the shop. Here's how to make them without writing code.
The default WooCommerce checkout page asks for more information than most stores need, without letting you add extra fields. It presents it all in one long form and gives you no easy way to tailor it. To help you with this, I'll cover the three ways to optimize the checkout page that consistently lift conversion rates:
- A field editor for adding, removing and reorganizing what customers see.
- A popup checkout that eliminates the multi-page cart-to-checkout page process.
- A one-page checkout for catalog-style stores.
After that, I'll tell you about some code options for developers who want full control over the checkout page markup.
Why customize the WooCommerce checkout page?
Customizing the checkout page fixes the part of the buying process that costs you the most sales. The wins compound on each other:
- Higher conversion rates. Shorter, clearer forms reduce friction at the most critical step in the funnel. Cart-to-purchase abandonment is consistently the biggest leak in ecommerce, and the checkout is where most of it happens.
- Higher average order value. A streamlined checkout makes it easier to surface order bumps, upsells, "frequently bought together" suggestions, and other checkout add-ons without overwhelming the customer.
- Stronger trust. A clean, branded checkout signals legitimacy. Customers who see a generic default checkout often hesitate at the payment step.
- Useful customer data. Adding the right custom fields lets you collect information your business actually uses (delivery instructions, gift messages, VAT numbers), and skip the fields you don't.
With this in mind, let's look at the different ways you can customize the WooCommerce checkout page.
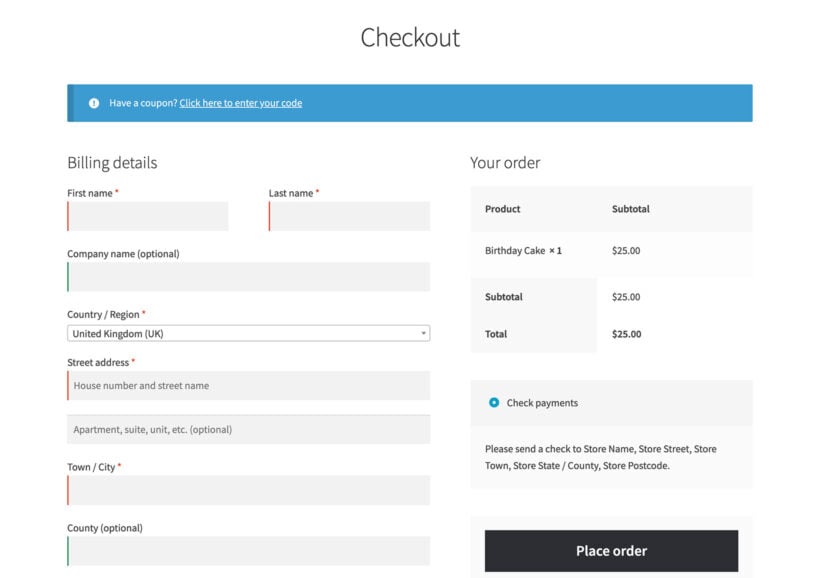
Customize the WooCommerce checkout fields
The default WooCommerce checkout has a fixed set of billing, shipping and order-note fields. To add new fields, remove unwanted ones, change the order or update the labels, you need a checkout field editor plugin.
I recommend YITH WooCommerce Checkout Manager. It adds drag-and-drop field reordering, six field types (text, select, multi-select, radio, checkbox and date), real-time JavaScript validation and conditional logic that shows or hides fields based on cart contents, product categories, tags or what the customer has already entered.

For the full step-by-step on installing YITH, adding fields, setting up conditional logic and reordering the form, see our dedicated WooCommerce checkout field editor guide.
Customize field labels, tooltips and on-page text
YITH WooCommerce Checkout Manager also lets you change the on-page wording in the billing, shipping and order-note sections of the checkout. You can rewrite the label on any field, attach a tooltip with extra context (useful for explaining VAT numbers, delivery instructions or company-account fields) and choose between a single-column or two-column form layout.
Speed up the checkout with WooCommerce Fast Cart
Another way to customize the checkout page is by using a popup checkout plugin to set a single-page cart and checkout page for faster order processing.
As mentioned above, the checkout process for any ecommerce store needs to be seamless, and having a one-page checkout mechanism makes it perfect for this. You can either do this by listing the checkout form underneath your products, as described earlier, or by adding a popup checkout.
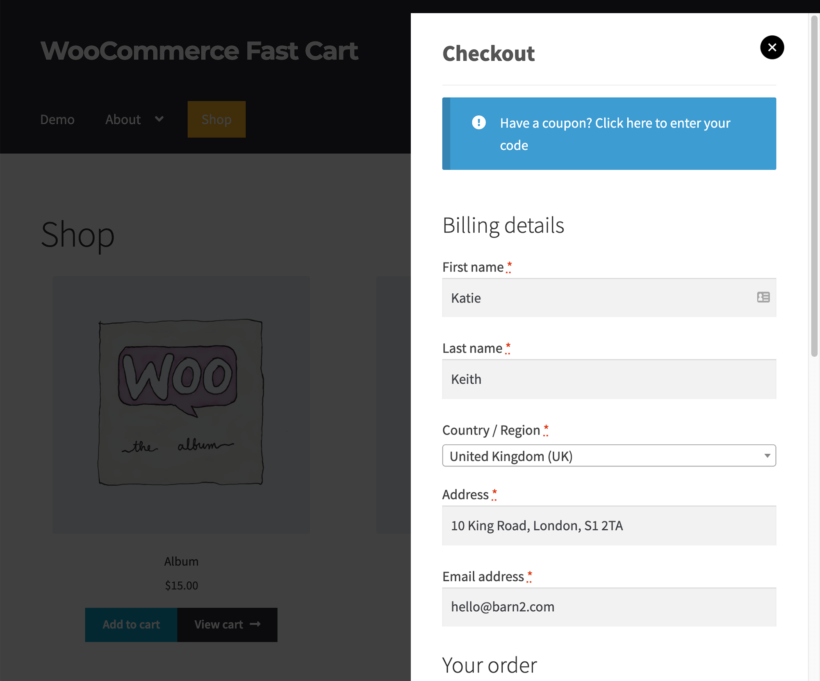
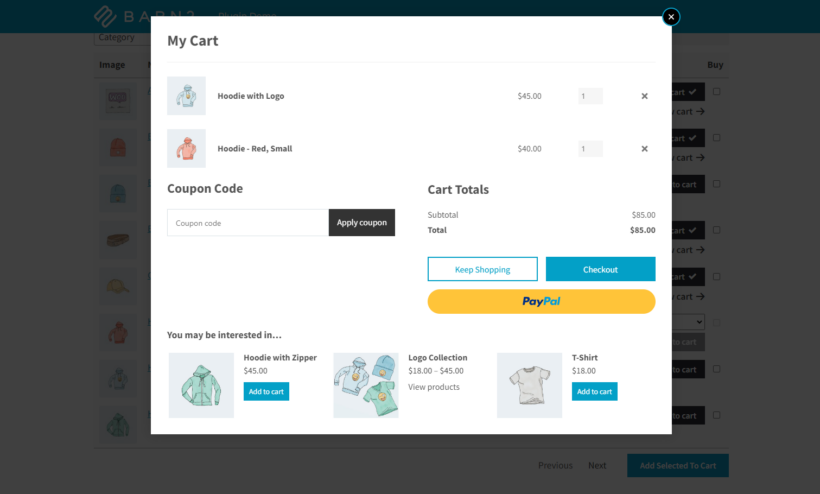
WooCommerce Fast Cart makes the checkout process for any store as swift as possible. Customers can easily review their cart, enter their mailing details, and complete the payment from a single page.
The plugin is super easy to get started with as well. Here's a simple tutorial on how you can set it up:
- Install and activate WooCommerce Fast Cart on your website. If you don't have the plugin, you can get it here.
- Once the plugin is activated, you'll be redirected to a setup wizard. Enter the plugin license keys and follow the wizard to set up the plugin.
- Once you are done, and the settings are saved, WooCommerce Fast Cart will get triggered when a customer adds a product to their cart or initiates the checkout process.
You can always return to the plugin settings page and change how the fast cart functions and behaves.
If increasing conversions and reducing cart abandonment is one of the primary goals, I highly recommend giving WooCommerce Fast Cart a try. You can also see it in action on the plugin demo page.
Alternative method: Create a one-page checkout with a customizable product table
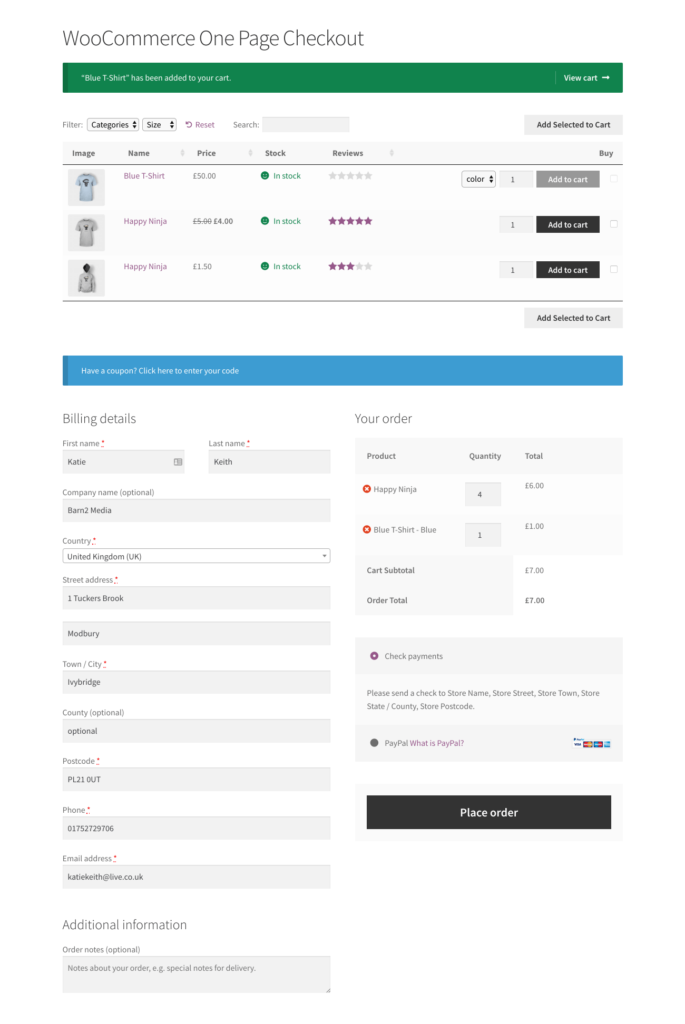
For stores where customers regularly buy several products in one order (auto parts, food and drink, B2B catalogs, restaurant ordering or wholesale shops), a one-page checkout outperforms the standard cart-to-checkout flow. Customers see every product in a structured table at the top of the page, tick what they want, pick variations from inline dropdowns and complete checkout further down the same page.
The setup uses two plugins together. WooCommerce Product Table renders the product grid, and the official WooCommerce One Page Checkout extension drops the checkout form onto the same page.
- Install both plugins.
- Build a table at Products → Product Tables with the Quantities option ticked and the Checkbox or Button-plus-checkbox add-to-cart style so customers can tick multiple items in one go.
- Create a new page that contains the Product Table block followed by the
[woocommerce_one_page_checkout]shortcode. Customers tick their products at the top, the cart and checkout form populate immediately below and they place the order on a single page without navigating away.
Code options for developers
If you have developer help and you can't (or don't want to) do what you need with a plugin, you can drop down to PHP. There are two routes: Add code to your child theme's functions.php with WooCommerce hooks, or override the checkout template files directly. Both belong in a child theme so they survive plugin updates.
Customize the checkout with WooCommerce hooks
You can manually override and edit your checkout template if you're a developer familiar with PHP files and JavaScript. Do this by using custom code and editing the WooCommerce checkout page. However, it's important to note that this cannot be done without a developer's help.
To insert additional content into your checkout template, you can edit the functions.php file for your store's child theme and use WooCommerce's built-in checkout hooks.
By default, WooCommerce offers 9 action hooks on your checkout page:
woocommerce_before_checkout_formwoocommerce_checkout_before_customer_detailswoocommerce_checkout_billingwoocommerce_checkout_shippingwoocommerce_checkout_after_customer_detailswoocommerce_checkout_before_order_reviewwoocommerce_checkout_order_reviewwoocommerce_checkout_after_order_reviewwoocommerce_after_checkout_form
You can use these hooks to insert your own content or fields.
For example, to insert content or display fields before the customer details fields, you could use this code snippet:
add_action( 'woocommerce_checkout_before_customer_details', function() {

echo '<p>Content you want to display before customer details fields</p>';

});
To simplify managing these code snippets, you can use a free version plugin like Code Snippets rather than adding them directly to your functions.php file. In practice, these steps can be handy when adding another shipping address or payment method to the WooCommerce checkout page.
Override the checkout template in a child theme
If hooks aren't enough and you need to change the actual HTML structure of the checkout, you can override the WooCommerce checkout template in a child theme. This gives you full control over the markup, but it means taking on responsibility for keeping the template in sync with WooCommerce updates.
WooCommerce templates live in wp-content/plugins/woocommerce/templates/. The checkout template is templates/checkout/form-checkout.php, and the individual form sections sit in the same folder (form-billing.php, form-shipping.php, payment.php and so on).
To override one in a child theme:
- In your child theme folder, create a woocommerce/checkout/ directory: wp-content/themes/your-child-theme/woocommerce/checkout/.
- Copy the template file from wp-content/plugins/woocommerce/templates/checkout/ into your child theme's woocommerce/checkout/ folder. For example, copy form-checkout.php to override the main checkout layout.
- Edit the copied file in your child theme. WooCommerce will load your version instead of the plugin's default.
- Check the file header for the WooCommerce template version (e.g. @version 7.0.1). When WooCommerce releases a new version of the template, the admin shows an "outdated template" warning. Diff your overridden file against the new plugin version and merge any breaking changes in.
The benefit of this approach is full control over the markup, which lets you remove blocks WooCommerce includes by default, reorder fields without hooks or rewrite the order review table. The cost is that every WooCommerce update becomes a maintenance task for these templates, so most stores are better off using hooks or a plugin unless they need structural changes that can't be done any other way.
Ready to customize your WooCommerce checkout?
A customized checkout is the difference between customers completing a purchase and abandoning the cart at the last step. The right combination of plugins gets you there without a developer:
- WooCommerce Fast Cart is the highest-leverage change for most stores. It replaces the standard cart-to-checkout flow with a same-page popup, cuts page-load friction and consistently lifts conversion rates.
- YITH WooCommerce Checkout Manager handles the field-level work: Adding new fields, hiding the ones you don't need, rewriting labels and adding conditional logic.
- WooCommerce Product Table is the right choice when you want a single-page order form for stores with lots of products to scan and tick, such as auto parts, food and drink, wholesale catalogs or restaurant ordering.
Start with Fast Cart if you only do one thing. Layer in the other plugins as the rest of the checkout demands more from you.