
In a standard WooCommerce setup, allowing customers to choose options for a configurable product is far from easy.
Instead of being able to select options to customize a product and see the results of that customization, customers are left confused. Images don’t update, or if they do, it usually doesn’t match their selection.
For the store owner, it’s just as frustrating. Trying to show a customer what the end result will look like in a standard WooCommerce store is a time-consuming task.
We’ve solved both these problems. By the end of this article, you’ll know exactly how to create a configurable product in WooCommerce. The best part? You’ll be able to do it in 4 steps with the configurable product plugin, WooCommerce Product Configurator.
WooCommerce Product Configurator
Use transparent image layers for your variable products, removing the need to create hundreds of final product variation images.
How WooCommerce Product Configurator works
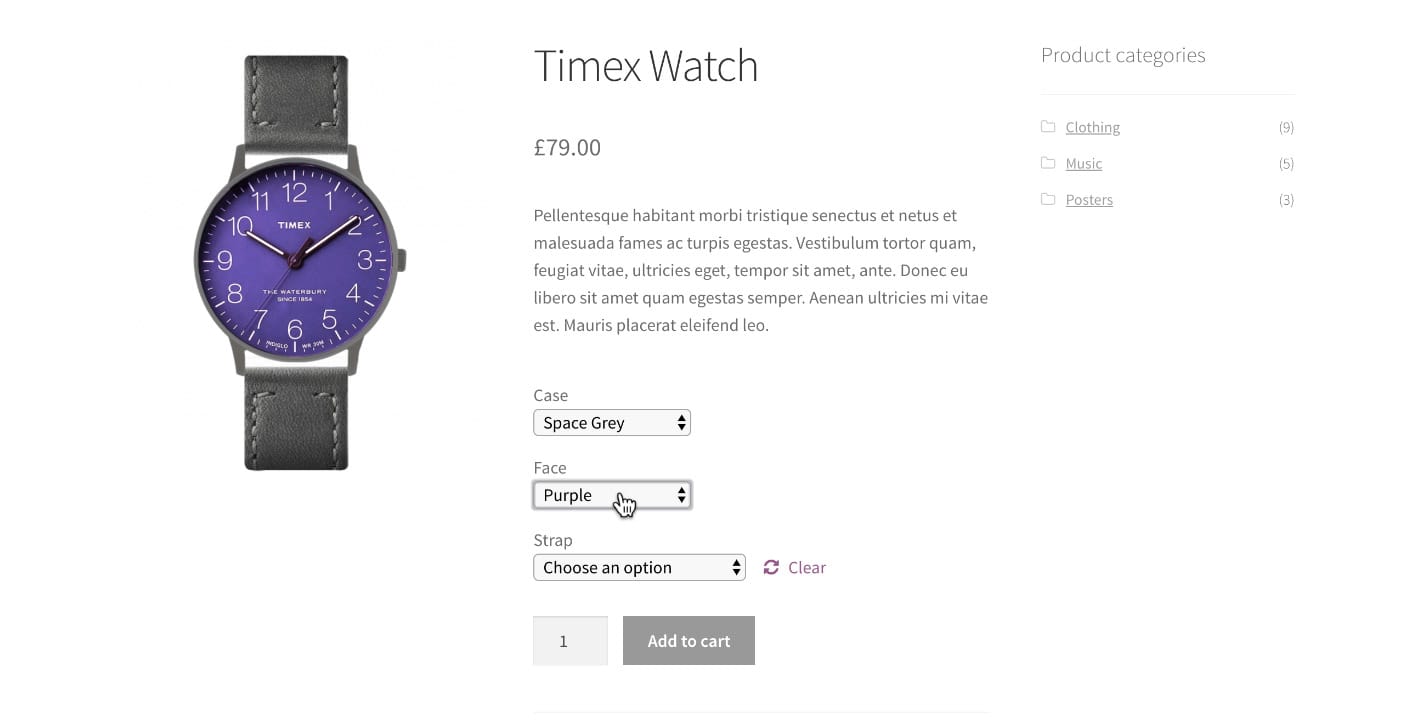
When viewing one of your configurable products in WooCommerce, customers will be presented with multiple customization options.
Depending on what you’re selling, this could be anything from a change of color, to an added component.
In this case, we’re allowing the customer to configure a watch, so we have options for the strap type, case, and face color.
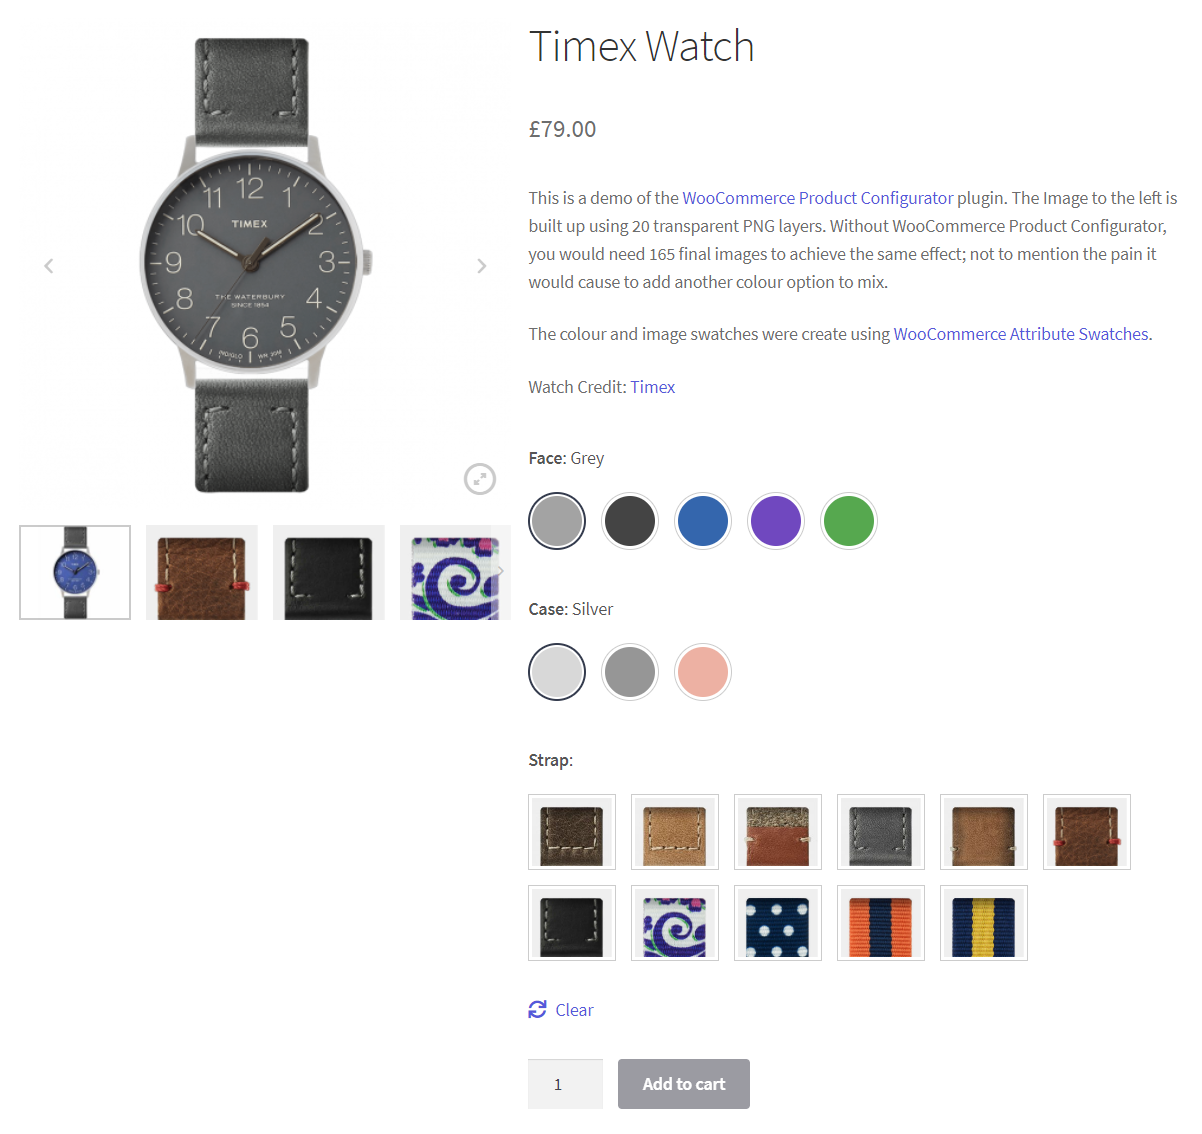
The customer can then select and change different elements of the watch to suit them.

Once done, they simply add the product to their cart and proceed as normal.
How WooCommerce Product Configurator works for store owners
For the store owner, WooCommerce Product Configurator aims to save as much time as possible.
Instead of having to create 100s of individual end result images for the different combinations of watches, WooCommerce Product Configurator allows the store owner to upload one transparent image for each attribute. These then layer on top of one another to create the result for the customer.
This has the potential to save hours of image creation for the store owner. For example, if you had 3 attributes, each with 5 options, you’d need to create 125 final images. With product Configurator, you only need 15.
So now we know how WooCommerce Product Configurator works, let’s create your WooCommerce configurable product.
How to create a configurable product in WooCommerce
To create a configurable product in WooCommerce, you’ll need to:
- Install the configurable product plugin, WooCommerce Product Configurator.
- Create a variable product.
- Create your configurable product images.
- Add the images to your configurable product.
That’s it. Below we’ll outline these steps in detail so you can start making more sales for your online store.
Step 1: Install WooCommerce Product Configurator
To get started, purchase WooCommerce Product Configurator from the Iconic store: iconicwp.com/woocommerce-product-configurator
Then follow these steps:
- Go to Plugins > Add New > Upload Plugin.
- Choose the zip file you downloaded, upload, and then click Activate.
- Once activated, you’ll need to enter your licence key.
Now that we have WooCommerce Product Configurator installed, we can move on to creating your configurable product in WooCommerce.
Step 2: Create a variable product
WooCommerce Product Configurator uses variable products as its base. So, we need to start by creating one. If you need help at this stage, our variable product guide will help you set one up.
The watch we’re creating has three attributes for customers to change. The face, the case, and the strap. Each of these then has multiple different options to pick from, as seen below:

Next, you’ll need to create your variations. In this example, we have one variation available (customers can pick any combination attributes to suit them).
You might want to create additional variations if your variations have different:
- Prices (this can be counteracted with WooCommerce Attribute Swatches)
- SKUs.
- Stock amounts.
- Images.
- Or even if you don’t offer a certain variation (you might have Small/Blue, but not Small/Red).

Note: Make sure your variations are in stock and have a price. Without this, they won’t be available to the customer.
Once done, save the product and we’ll move on to enabling Product Configurator.
This step is simple, to enable Product Configurator, do the following:
- Scroll down to the Product data section of the product you’re editing.
- Select the Configurator tab.
- Once there, click the Product Configurator checkbox.
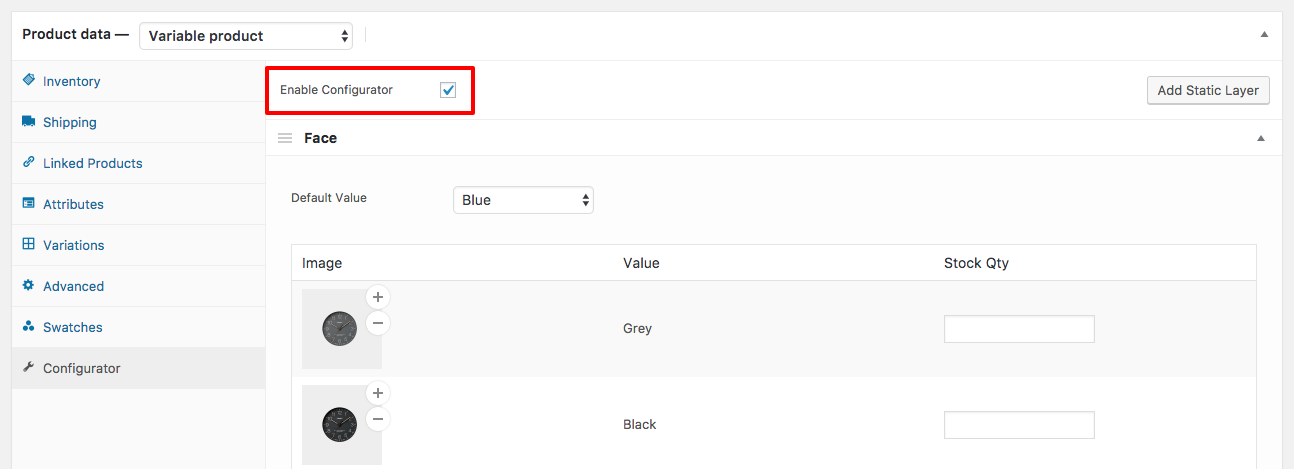
- Then Save your product.
Next, we’re going to prepare the product images.
Step 3: Create your configurable product images
Creating good configurable product images is key when using Product Configurator. The following steps will walk you through this.
Note: You will need to use an image editing program like Adobe Photoshop or Affinity Photo for this section.
- Start by creating an artboard in your program of choice. We recommend making it 1000px by 1000px minimum.
- Start putting together your image layers. These are the individual elements of the product that your customer can configure. In this case, we’ve created a layer for each watch strap, case and face type.
- When adding new a new product element, make sure it’s on its own layer with a transparent background, ensuring everything lines up to the layer below.

- Save each layer at the size of the artboard (1000px x 1000px) with the background remaining transparent like below.

- One all layers are saved as individual images, you’ll lastly need to create a background layer. This can be a solid color, if you like, but it must still be saved as a PNG image.

Step 4: Add the images to your configurable product
Navigate back to the product you’d like to configure in WooCommerce.
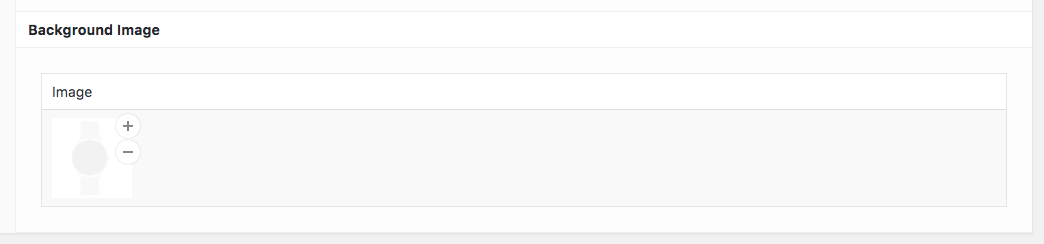
Below the checkbox to enable Product Configurator, you’ll see a list of your attributes. We’ll add the image layers here.

- To add an image to one of your attribute values, click the plus (+) icon on the grey square.
- Then, upload your previously created image layer to the media library.
- Click Set image and your image layer will be displayed in the grey box.

- Repeat these steps until all your individual images are assigned to their values. If you need to, you can remove any images by clicking the minus (-) icon.
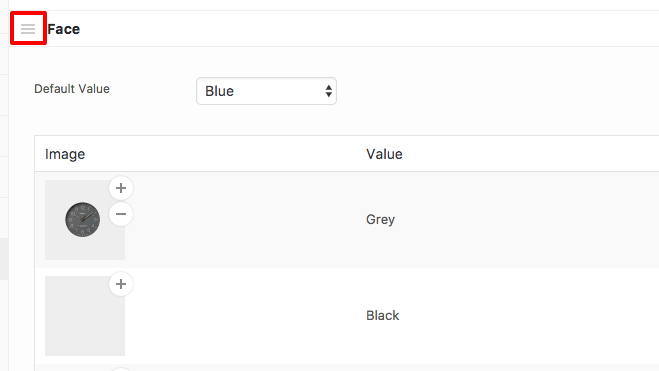
- Make sure to re-order the layers to sit properly on the final product. For example, we want the watch face to displayed on top of the watch strap, so the order of our attributes will reflect this.
- To re-order the attributes, click the 3 lines icon to drag and drop them.
- Finally, add the background layer. This is a required part of the configurator and helps the plugin to know the size of your artboard.
- Once done, Save or Update and your configurable product will now be added to your WooCommerce store.
Make configurable products user-friendly
That’s it, your WooCommerce store now has a configurable product in place. With this up and running, customers will be able to see and select configurable product options in a much more user-friendly way, resulting in more sales for your online store.
Make these changes quickly and easily with WooCommerce Product Configurator.
WooCommerce Product Configurator
Use transparent image layers for your variable products, removing the need to create hundreds of final product variation images.